This week we have been adding much needed corbels at Victorian by the Bay.
Some people may question why I am adding corbels to the house if they weren’t there originally.
I am trying to stay true to the original house design where I can.
I do want to jazz the old girl up a bit.
In this case; however; the corbels are a huge necessity.
Exterior corbels were originally added to old houses in the eave of a roof overhang to help support it. They are also used in interiors to support a ceiling or beam and in some cases are now used as decorative shelf supports.
EXHIBIT “A”
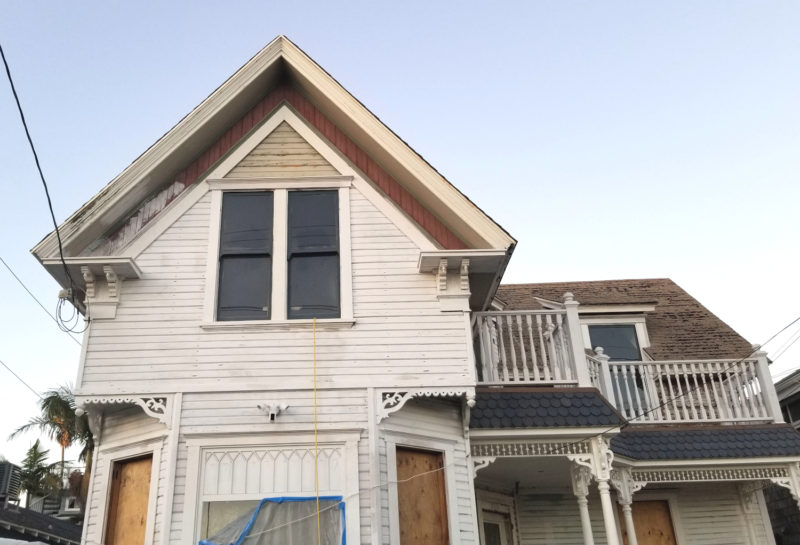
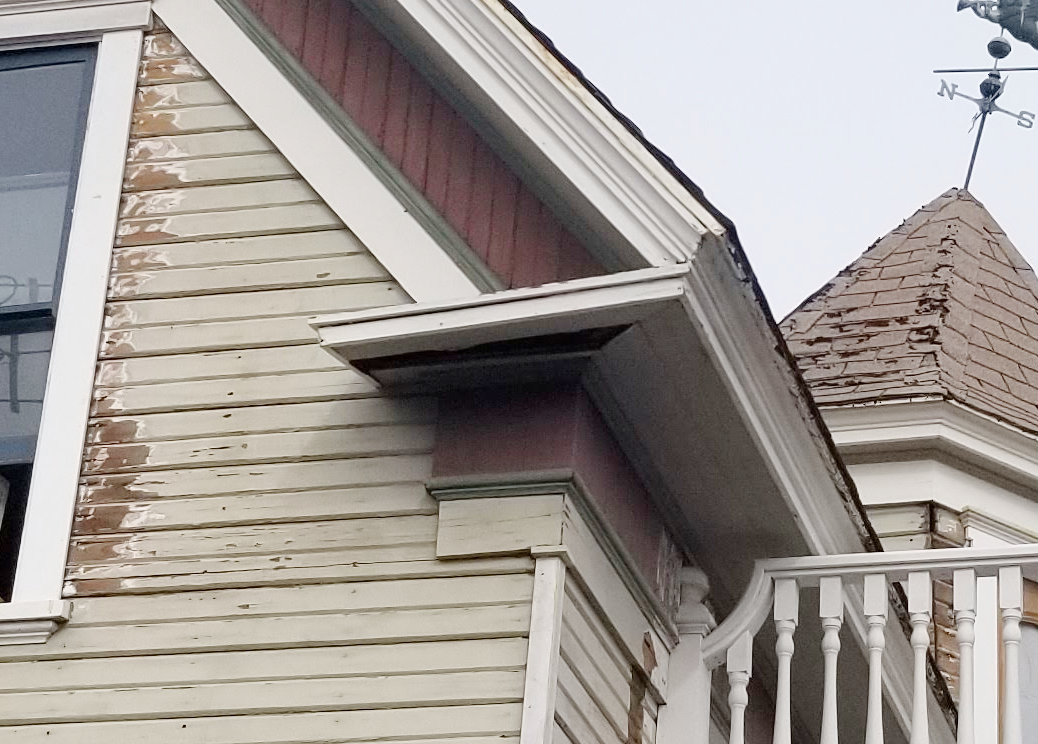
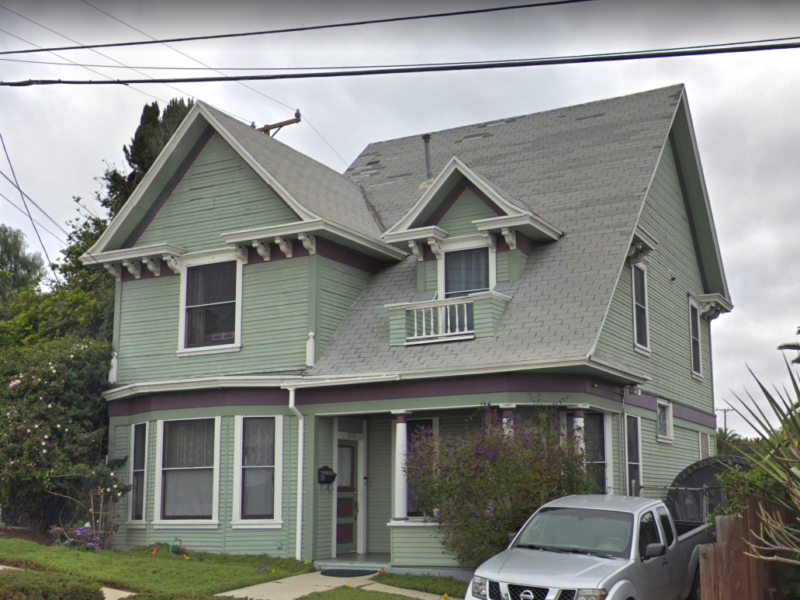
There has already been an extensive amount of restoration completed on the house. Something that really stands out now are the sagging gable eaves. There is nothing to hold them up.

Throughout the years, water has damaged the eaves. Sections of the wood ceilings on the eaves have fallen out. You can see this on the gable eave on the right.
Apparently they were never built properly, a key theme that keeps playing out around the house.
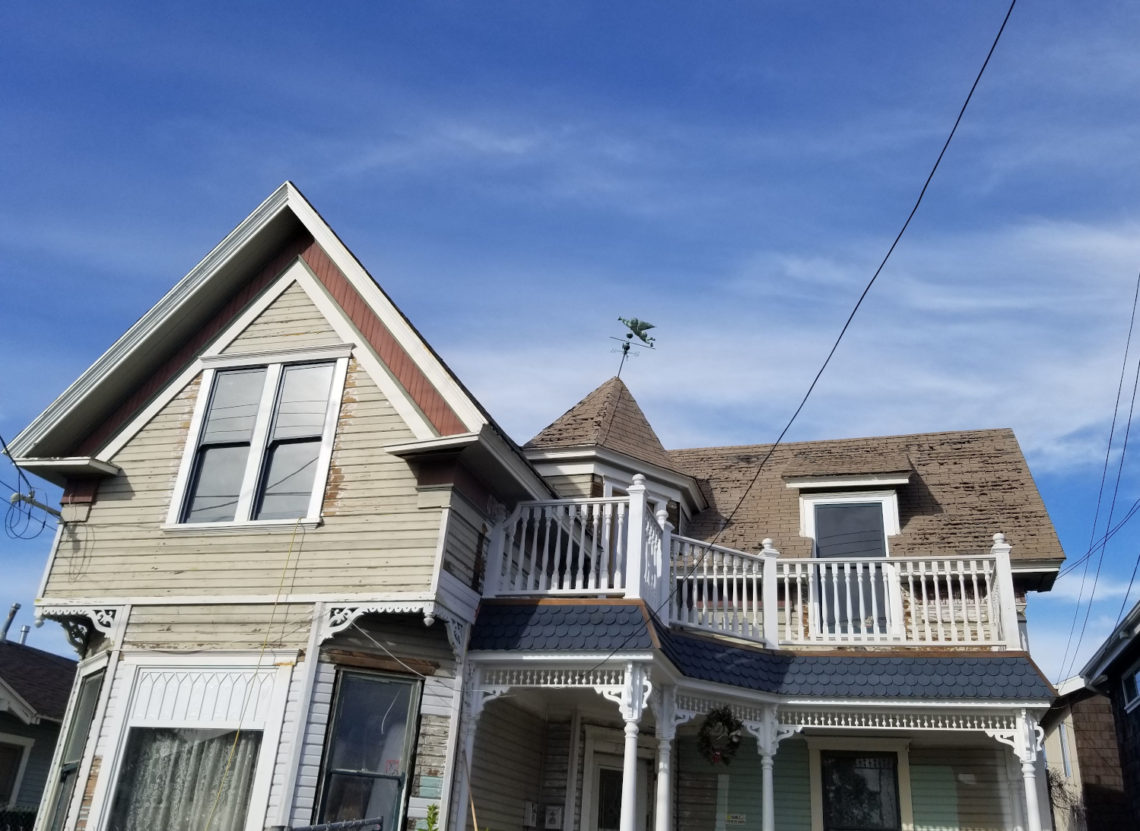
I drove around my neighborhood and studied some of the other Victorian homes. Here is one that was built just after mine. It is very similar in design
EXHIBIT “B”
You can see the corbels are doing their job. They are helping to support the gable eaves. No sagging. It works
The Queen has 3 gables, 1 in the front and then 1 on each side of the house. ALL of them are sagging.
Thankfully I was only going to need 12 Corbels. 2 on each side of an eave.
I wanted to keep them simple but also echo a design that would compliment the existing brackets and woodwork.
An online search was conducted and I found some antique corbels that were very close to what I wanted.
Then, Photoshop, was used to draw what I wanted and sized it accordingly.
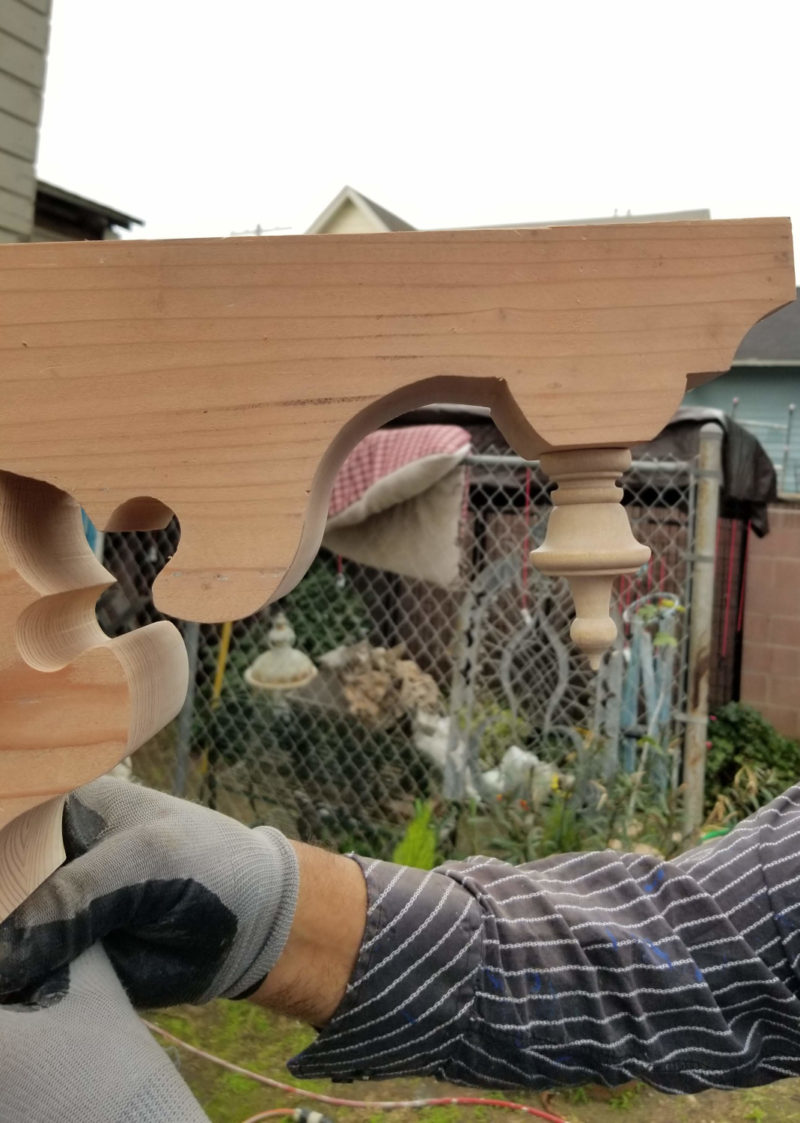
The image was printed out the actual size needed without the finial and brought to my wonderful woodturner Scott at Abaroot Woodturning

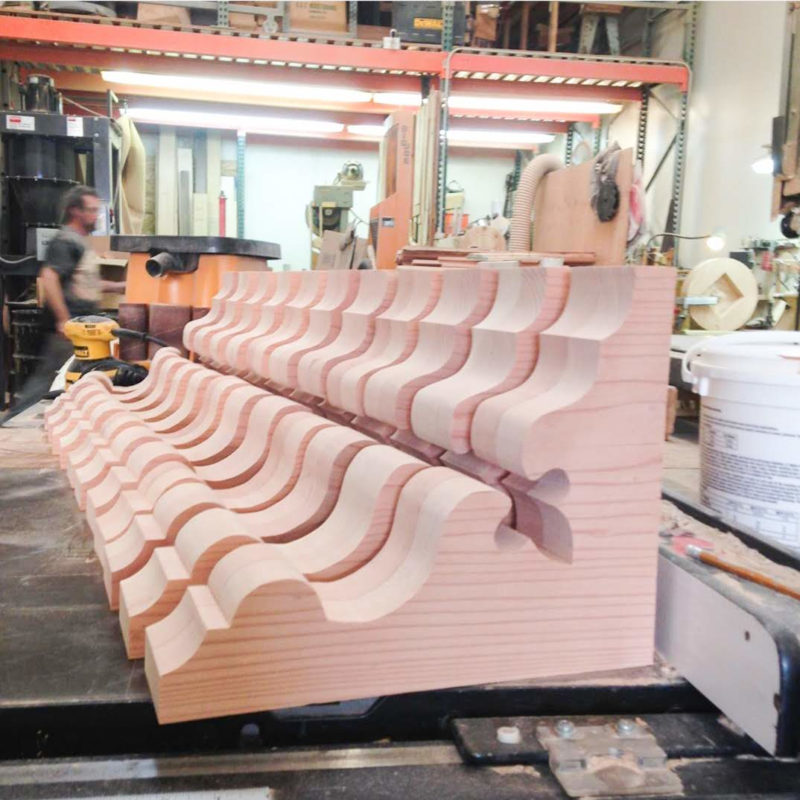
The corbels needed to be 12 x 10 x 3 inches thick.
Scott & Jessie did an amazing job with these Corbels
Expertly cut from redwood to withstand the test of time.
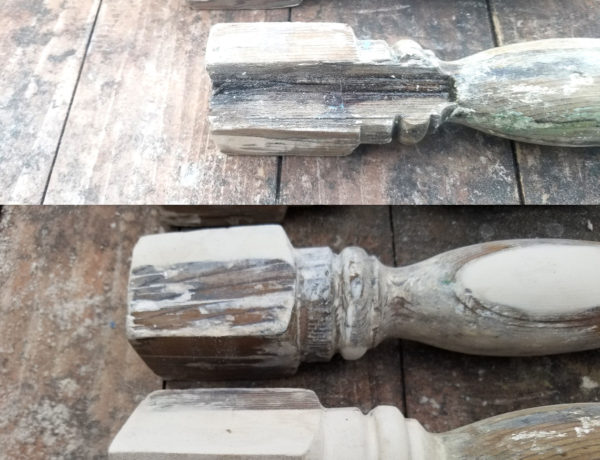
Sometimes Plans Don’t Work Out
We noticed a design flaw as the finials were being attached. I didn’t leave a flat enough surface for them to rest on. Thankfully Omar was quick to properly trim all of the corbels to accommodate the finials.
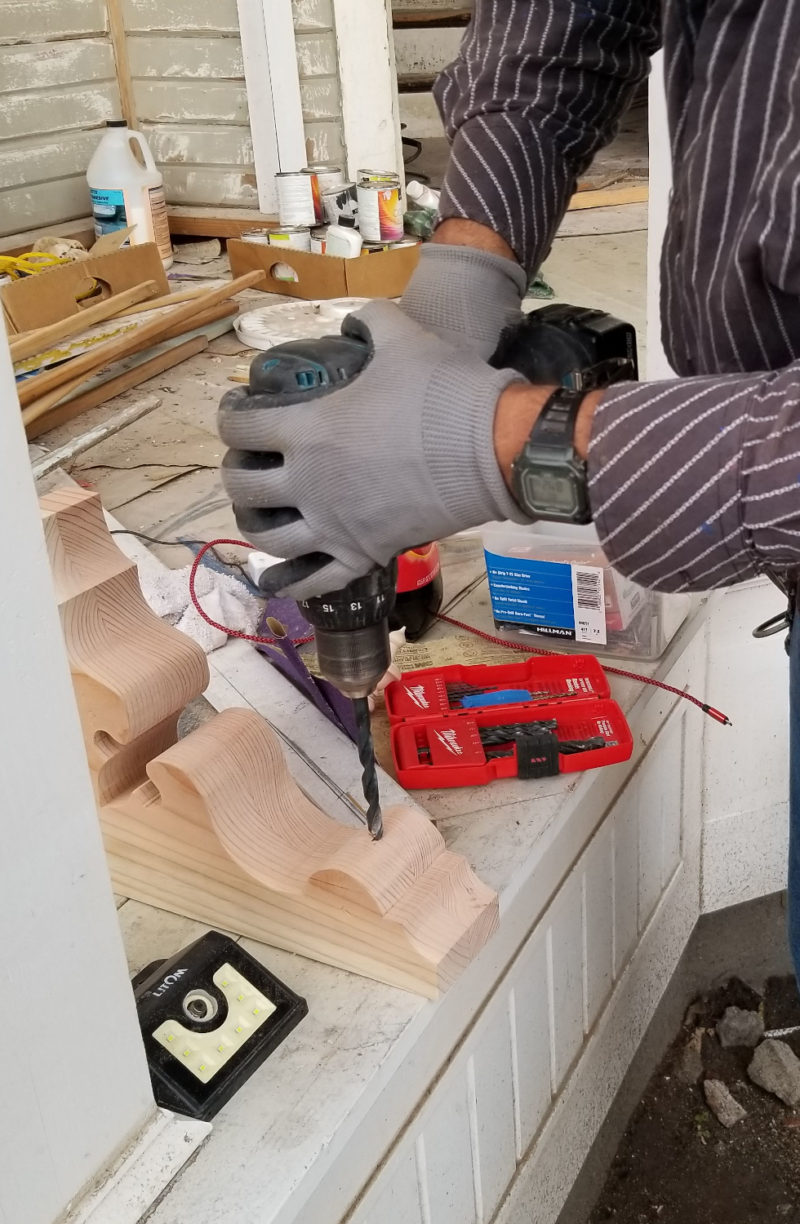
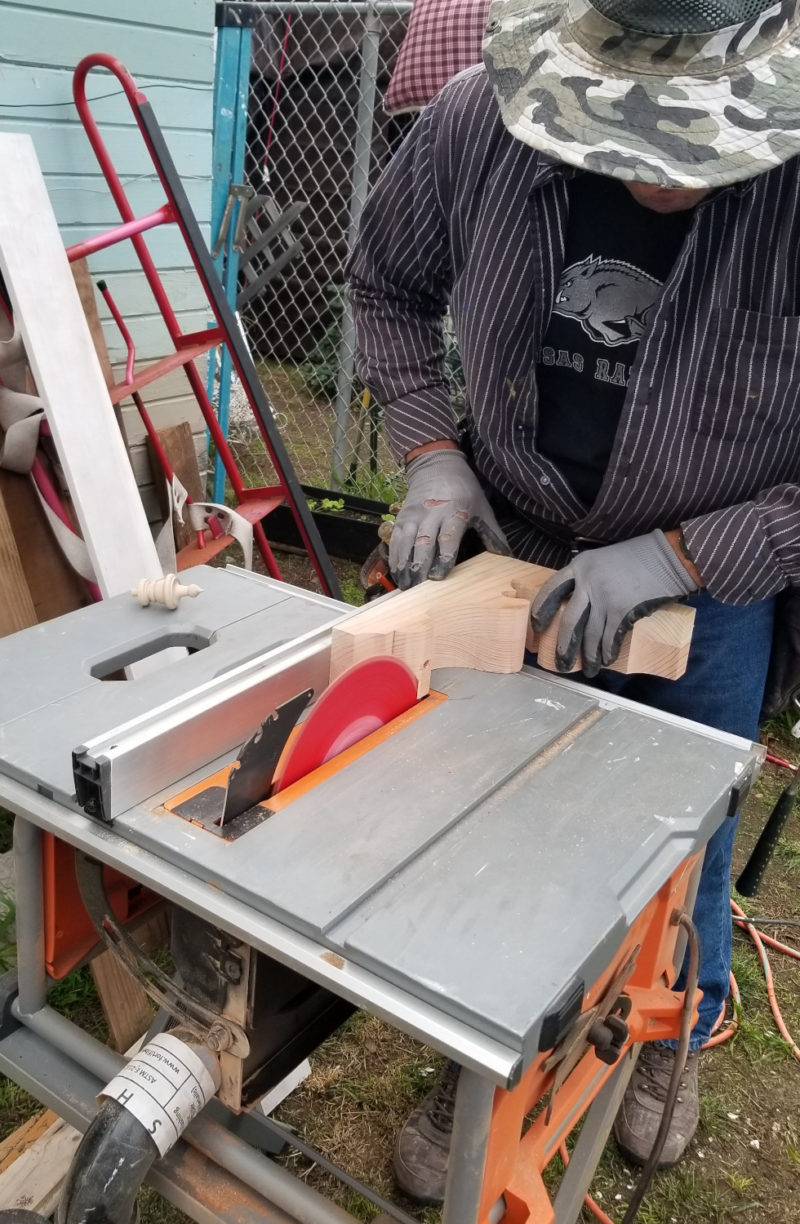
That’s better! Thank you Omar!
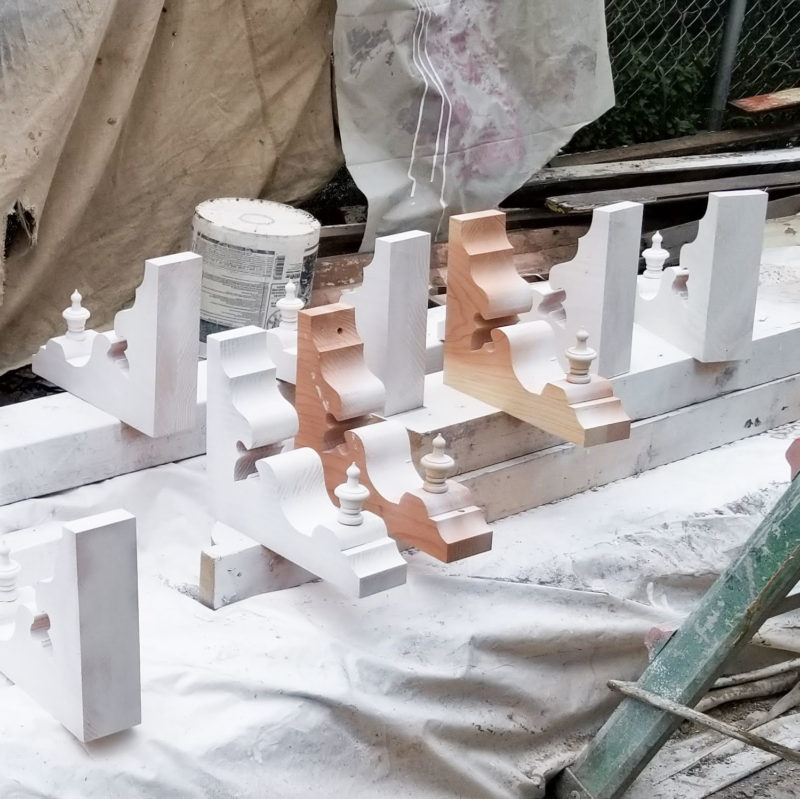
A Little Bit of Primer
Corbels are primed before installation. We have been priming ALL surfaces of any new woodwork before installation.
My Painter, Joel has been kind to stop his work and jump in and prime whatever needs primer so the job can keep moving ahead smoothly.
Time For Installation
The corbels were test fitted to allow for correct spacing.
There is a ton of repair work to be done before they can be installed.
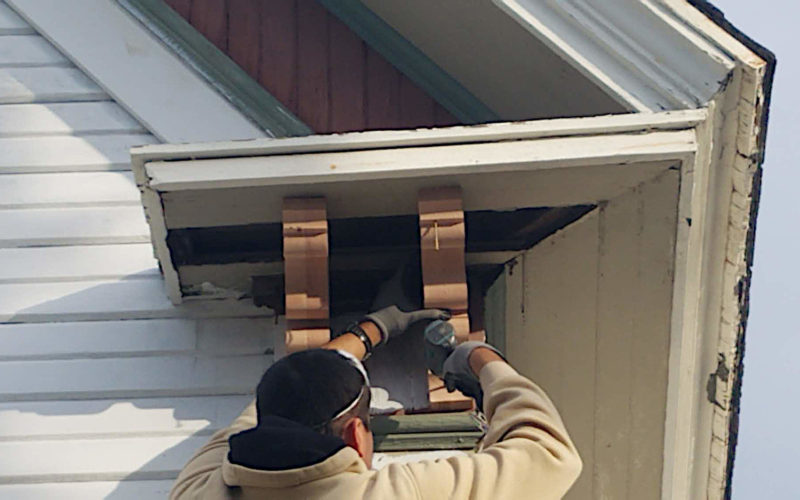
There is something very enchanting seeing work being done in the wee hours of the morning. The sun is just coming out.
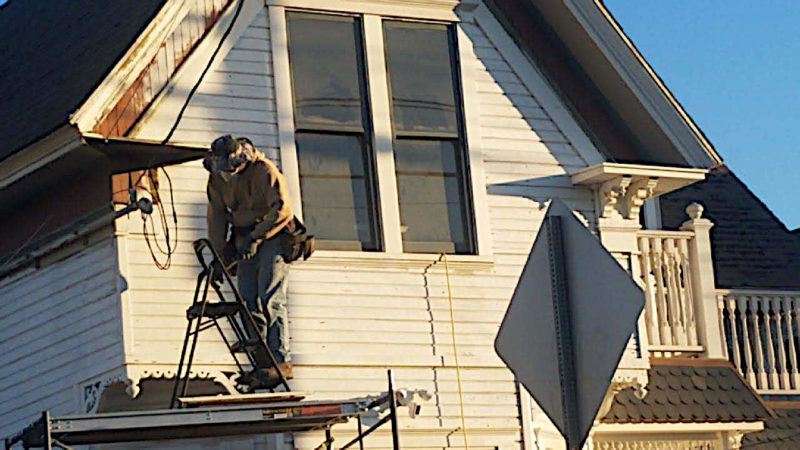
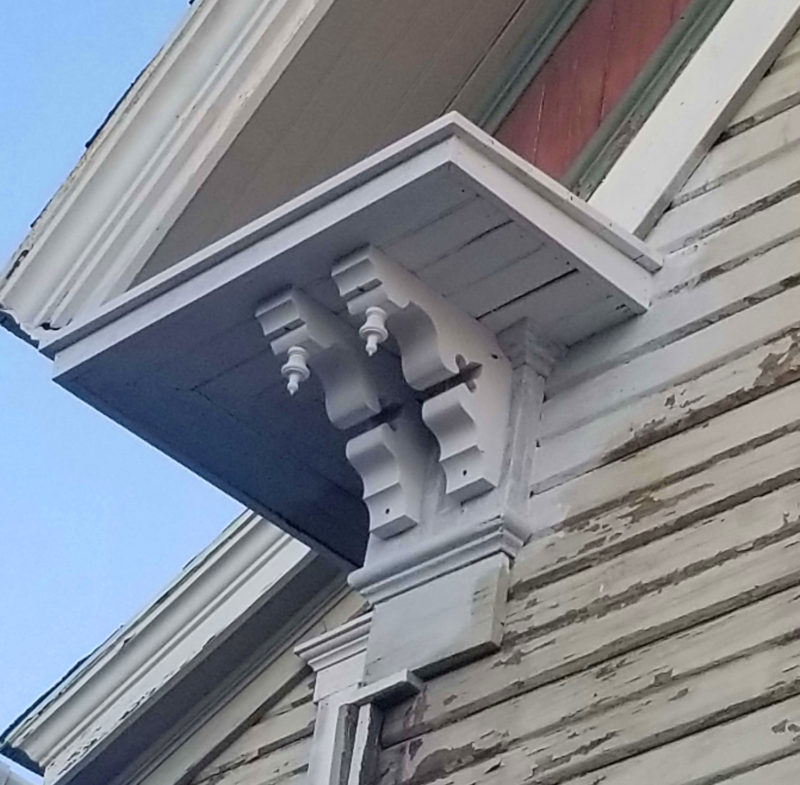
Look at the nice level eave on the right with the newly installed corbels. Beautiful.
A lot of work is involved to install the corbels. The original moldings had to be cut and fitted around them.
I love them! They just look “right”
Here is what the front of the house currently looks like, All of the new corbels have been installed on the 3 gables.
No more sagging and they are quite lovely.