Part 1:
Don’t throw out that old piece of dry rotted historic wood until you read this article.
You will be amazed at the result you can achieve restoring rotted wood with Abatron Liquid Wood with a little time and patience.
To Restore or Replace?
For about 8 months now all of the old porch balusters have been sitting in a sad little pile patiently waiting for someone to strip them and deal with the rot that is evident on many of them.
I had been advised to just throw them away and have new balusters turned.
Believe me, I did in fact entertain this idea.
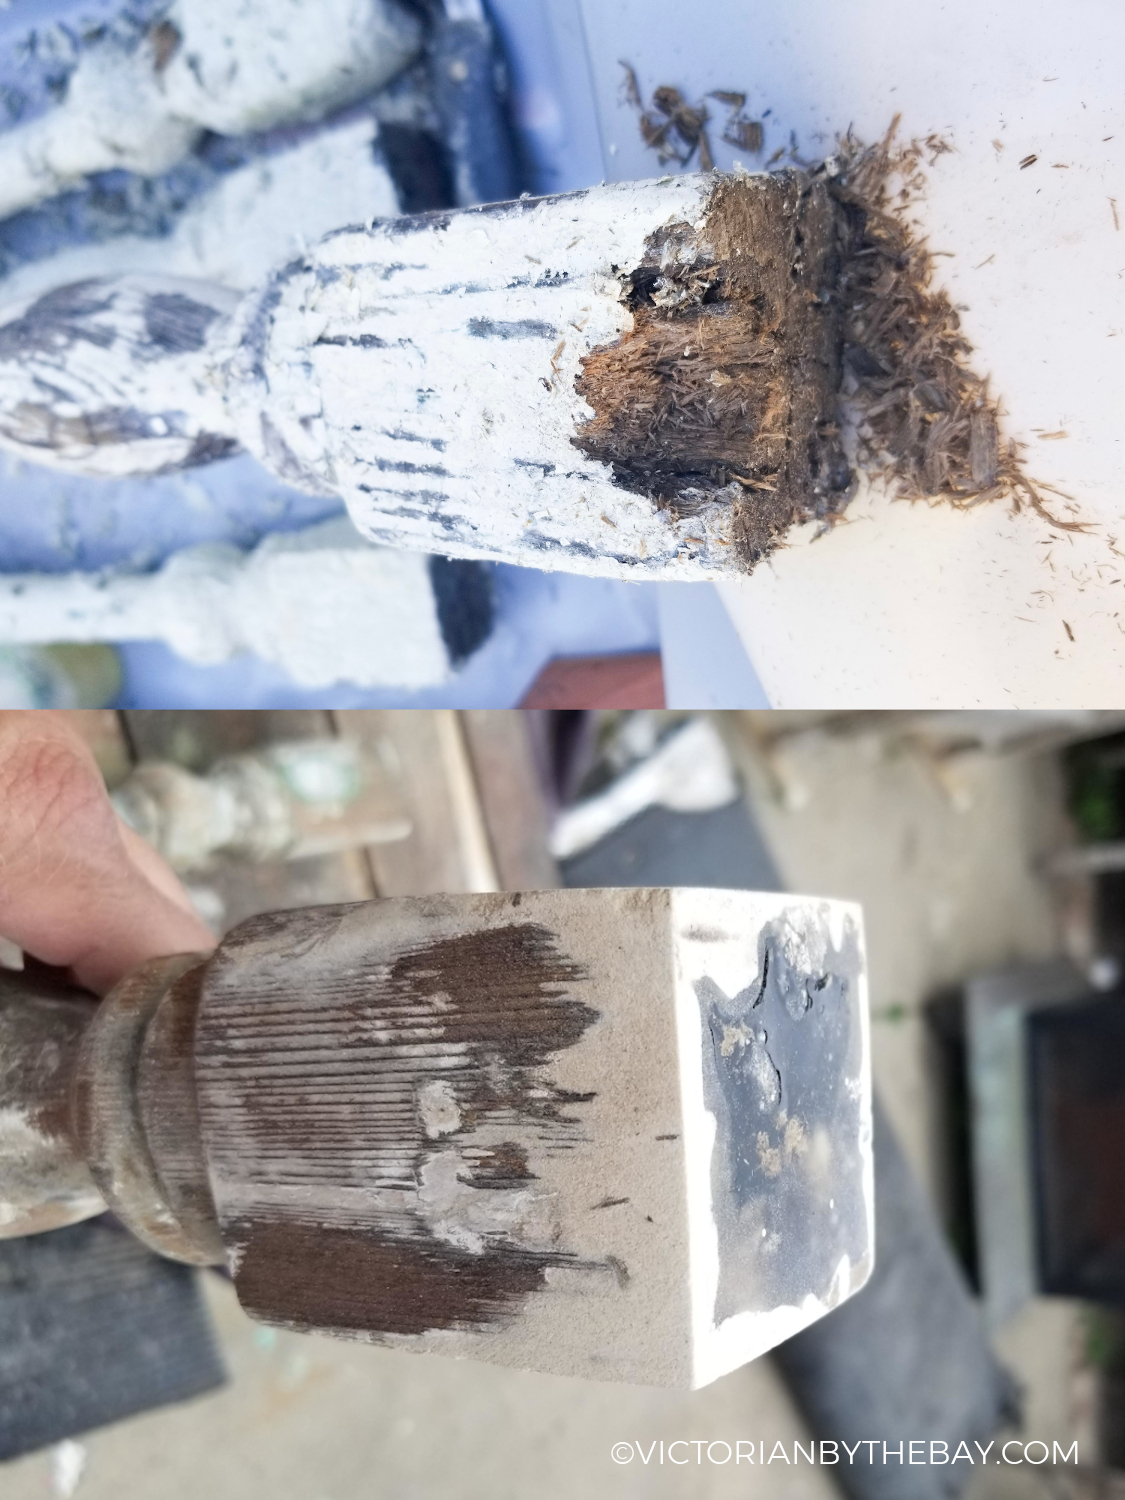
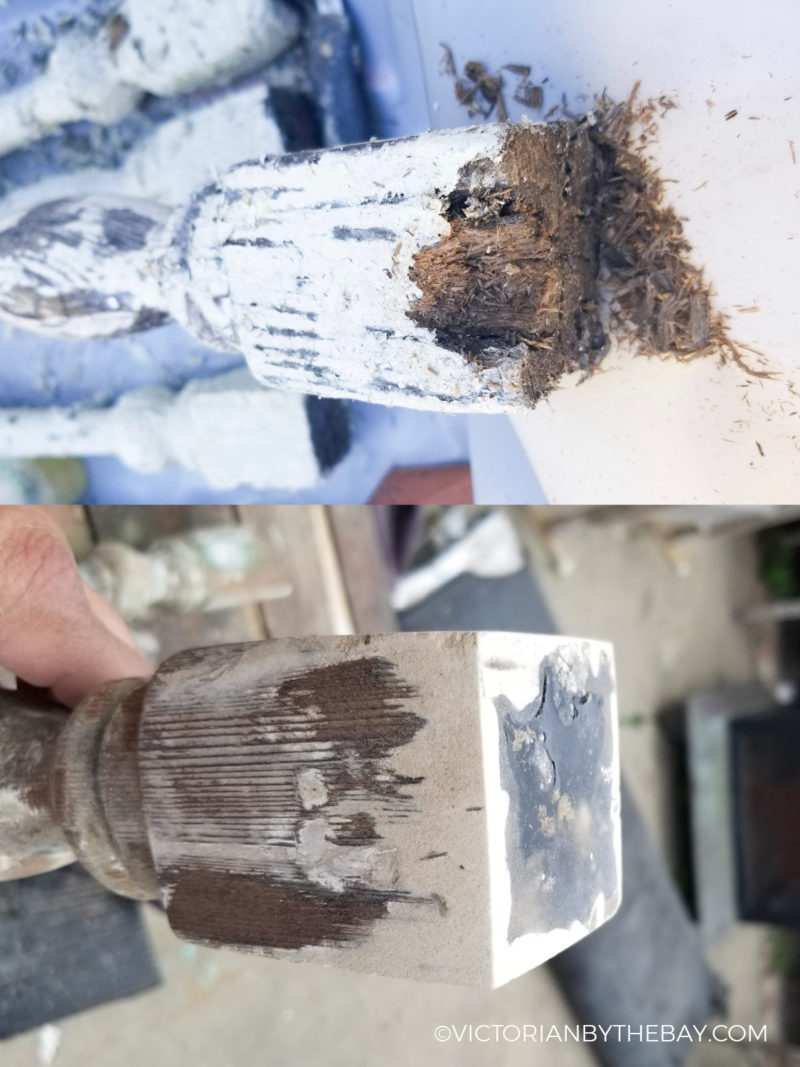
While structurally, most are in pretty good shape for their age, many have dry rot on the ends and in some places are missing big chunks of wood or are split here and there.
They really do look like trash.
But these balusters were hand turned over 125 years ago form very old lumber. They are part of the history of the house.
Just look at the beautiful old wood.
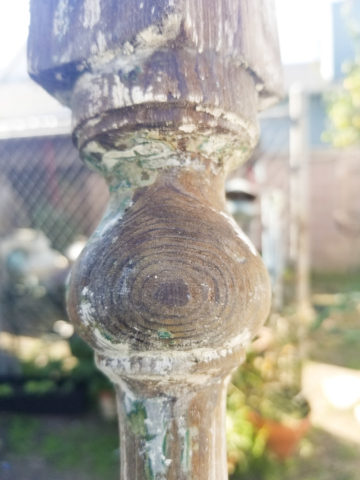
There are hints of the original paint colors still left behind after the house was professionally stripped and abated in the 90s.
How do I just throw them away? It would definitely be easier and faster, and while I don’t want to admit it… probably cheaper in the long run to have new ones made.
I have chosen to repair every single one of the 41 old balusters that still exist.
Be Sure to Strip the Wood Before Using any of the Abatron products
Abatron suggests stripping paint off of the areas where their products will be used.
It will allow their products to penetrate and adhere properly and allow you so see all of the mess and repairs that have been previously done to the wood.
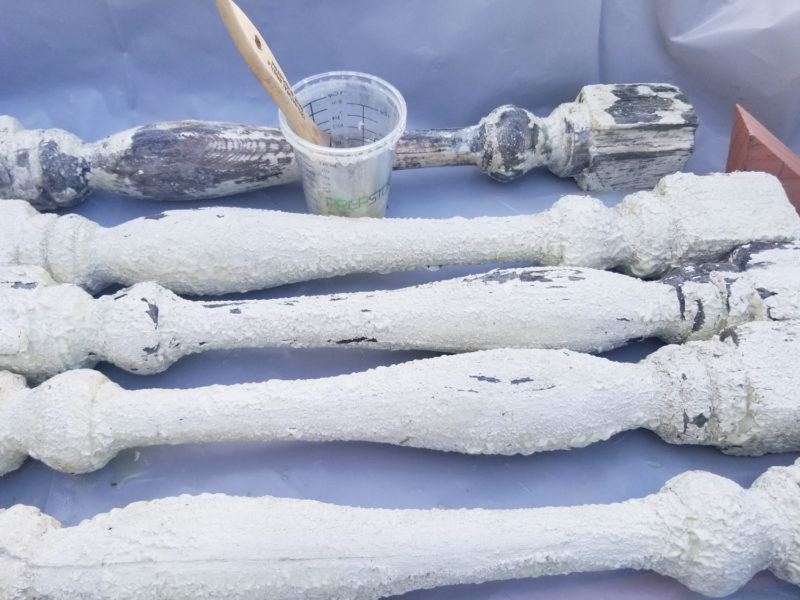
I have been able to work outside for this project, so I opted to use Jasco paint stripper.
Normally I use a low VOC, safer paint stripper, but Jasco is known to be quick and I have 41 of these ghastly balusters to work magic on.
It took about 2 applications to remove most of the paint. They don’t need to be perfect, you just need to be able to remove any old fillers or repairs.
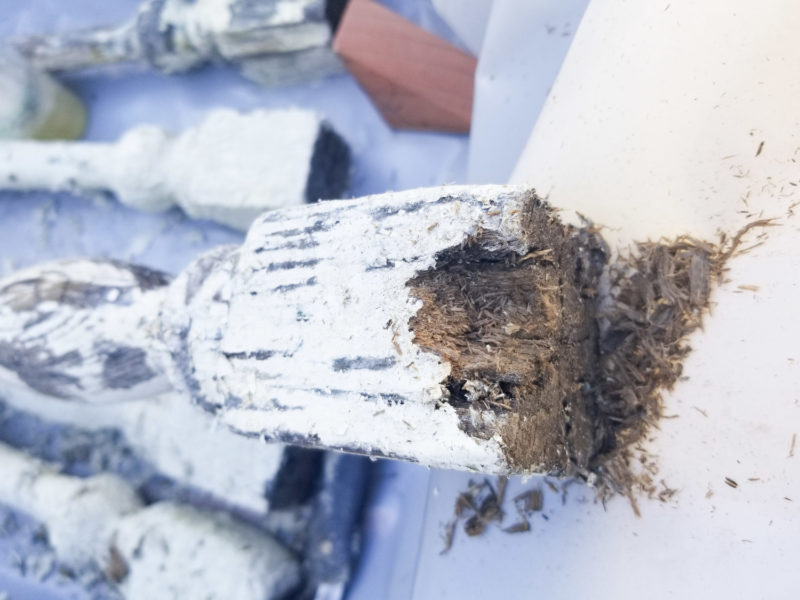
You find stuff like this terrible rot, it’s so soft and mushy, it is falling apart.
But don’t panic it will soon be as good as new.
Some of the balusters have some crazy patch jobs including 2 balusters (so far) that have repairs with hot glue.
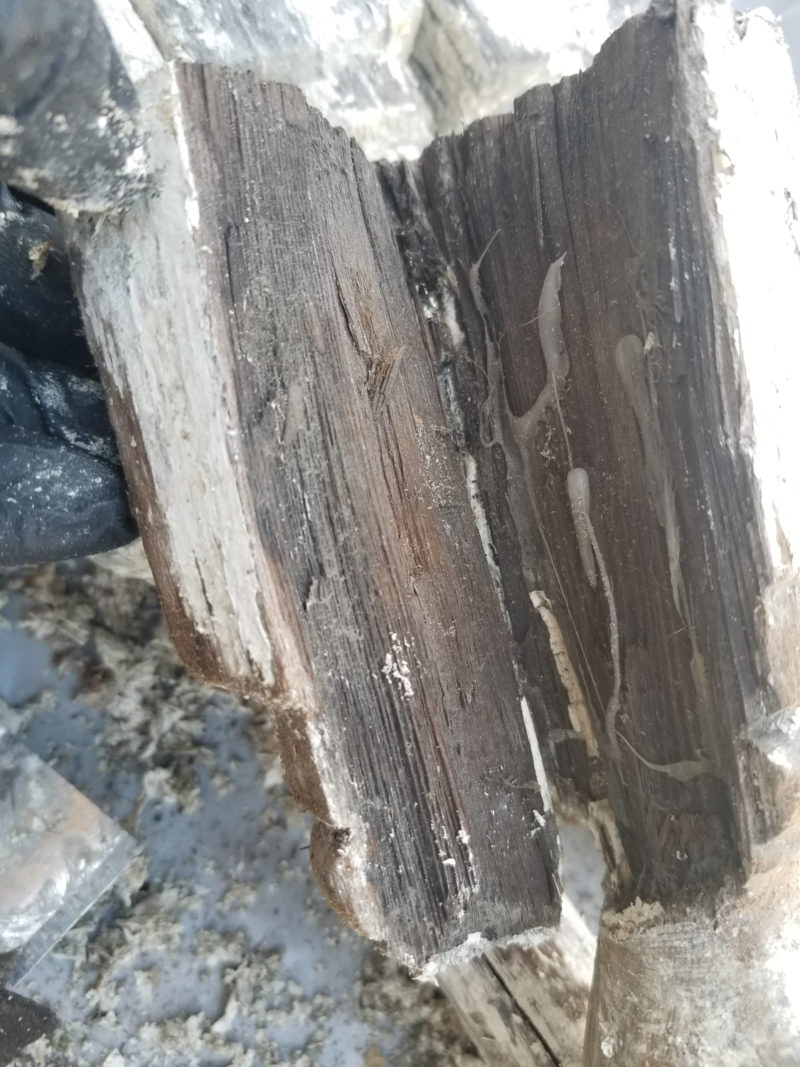
It’s insane what some people do to try and repair things. It’s really quite scary!
First Steps in Using Abatron Liquid Wood
Today we will be focusing on restoring rotted wood With Abatron Liquid Wood.
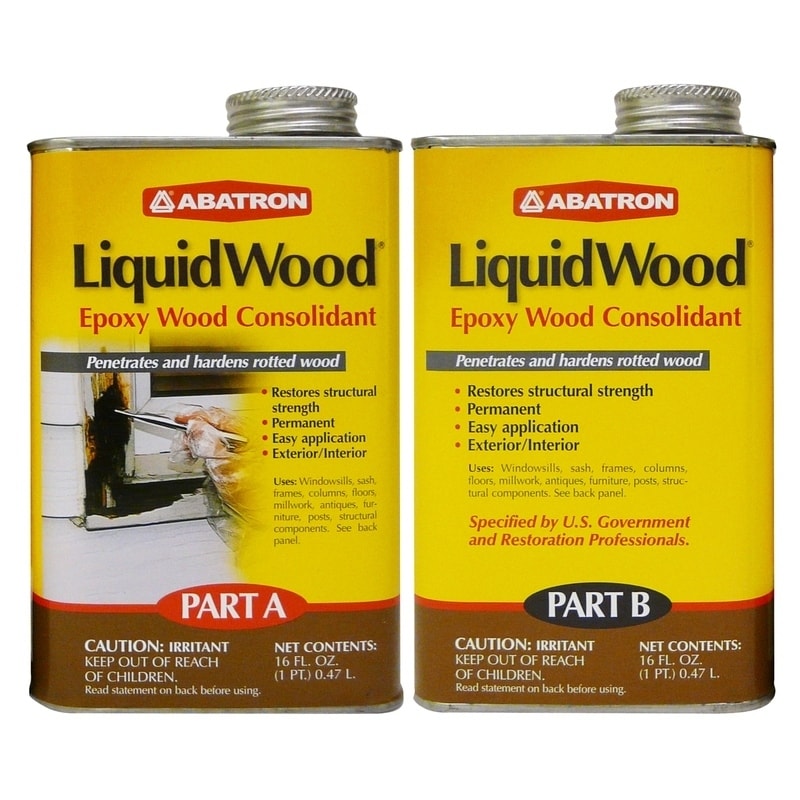
Once you have the wood pieces stripped of paint you will want to mix EQUAL parts of their Liquid Wood epoxy resin.
Personally I have found that the resin does not cure as fast as they say no matter what temperature I am working in.
I experimented with using tape around the top edges to help keep the resin where I wanted it. I found that the wide, painter’s blue tape was better than the masking tape pictured.
It works great but then you have to may have to sand the tape off in areas because it bonds to the wood.
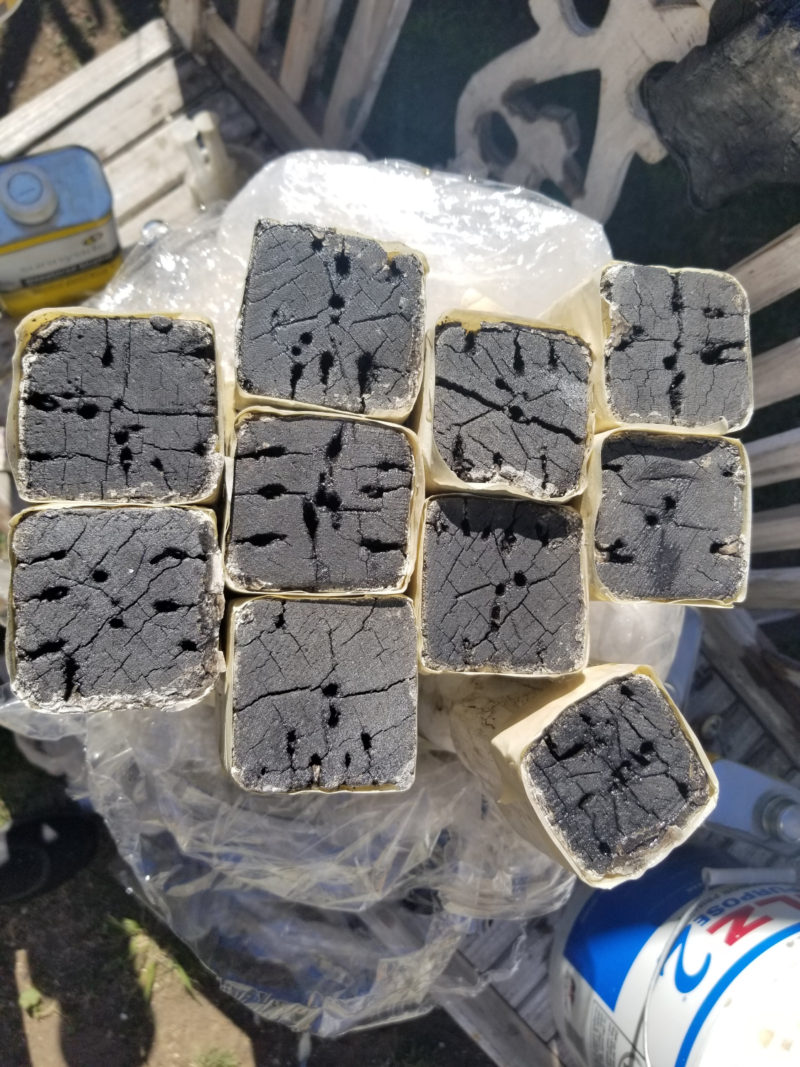
The other option was to add bits of the Wood Epoxy Compound to help hold the resin in. It is messier, but in the long run is easier to sand when it cures, no tape to remove.
Look at these dried out, and in some cases very rotten ends of the balusters.
I used a 5 gallon bucket to help hold them upright.
It’s shocking how much of the resin will keep absorbing into the wood.
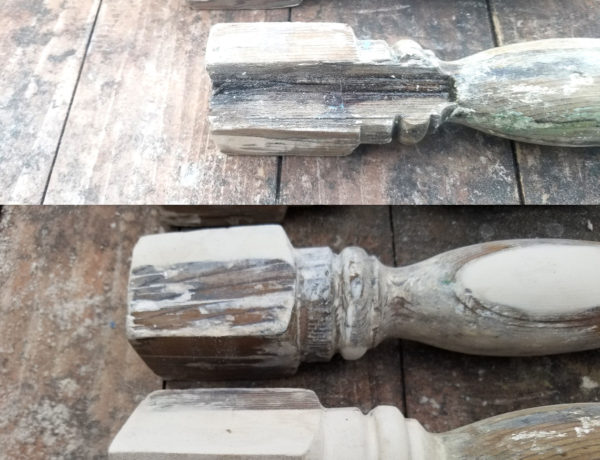
A few hours later it has completely absorbed into the wood.
Believe it or not, this is the 2nd application of resin. I let the first application soak in until it didn’t take anymore. See how the bottoms of the wood are darker now and look wet where the resin has been applied.
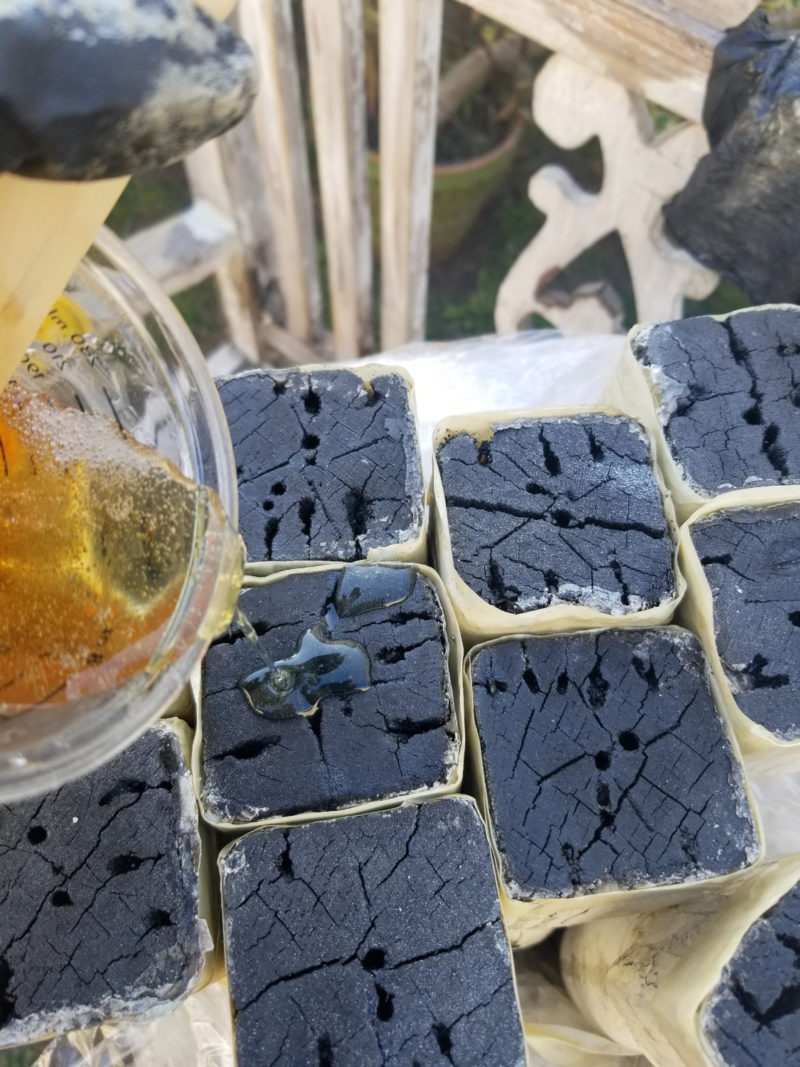
The Wood Will Seem Very Thristy
In this video you can see it bubbles as it continues to absorb into the dry wood.
It fills in any open areas and reinforces the areas where there is rot.
If it continues to absorb at a very quick rate chances are there is a leak where the resin is escaping further down where it is not taped. The best way I have found to deal with this it to mix up some of the epoxy compound and press it firmly into the holes where it is leaking.
Here you can see it is finally holding the liquid wood and not absorbing anymore.
This is a good sign.
In this photo I did not strip the balusters before filling them with the resin. It was an experiment. Because the ends were bare wood it works fine, but the resin that drips down the sides of the balusters makes it difficult to strip the paint off.
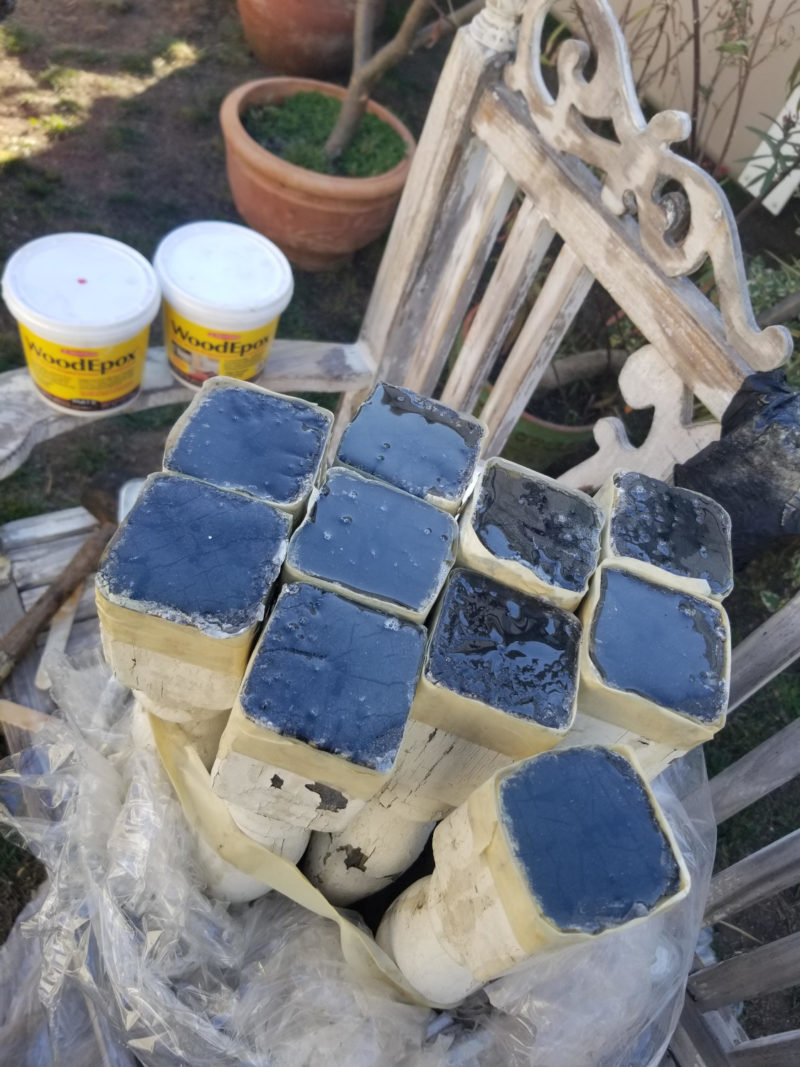
You can see below, where I experimented using the epoxy wood compound to sort of corral the resin in place. It is very messy and I needed to stop pouring the resin so I could mix up the epoxy compound.
But in the long run, I think I like this technique the best.
You can see 1 piece of wood that has a complete dam of epoxy built around it.
That was that very rotten piece from the photo in the beginning of this post.
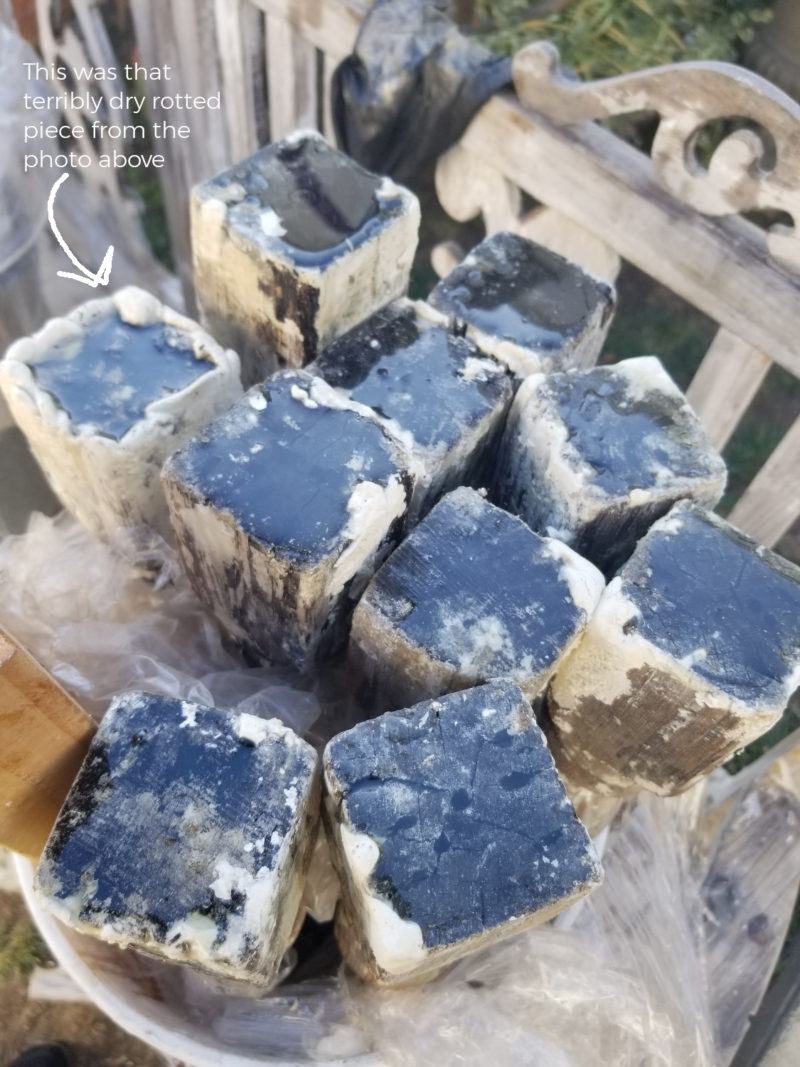
I am working on these in batches of 10 so it won’t seem so overhwelming.
Join me for part 2 of this article coming soon.
If you missed my last post about the new, incredible wood corbels, please go check out how we Added Much Needed Corbels at Victorian By The Bay.

