Sometimes I get so wrapped up in one project that is going on at The Queen, that I forget I have to keep moving forward with each phase of the renovation.
I have been so obsessed with getting my original windows and moldings back that I sort of had to suddenly rush out and look for tile and stone for the 2 upstairs bathrooms.
Choosing Tile For a Queen Anne Home can be a bit of a challenge.
I want something somewhat historically correct
Classic
Timeless
Light
Bright
But, at the same time…
I do not wish to live in a museum.
She was, after all, some sort of boarding house throughout the years
Not a fancy girl.
I know this may cause some of you to run screaming from my blog
To sever our relationship,
Possibly flog me in public.
I’ll wait while you get it out of your system!
Please understand, I want what’s best for The Queen as well as for Myself.
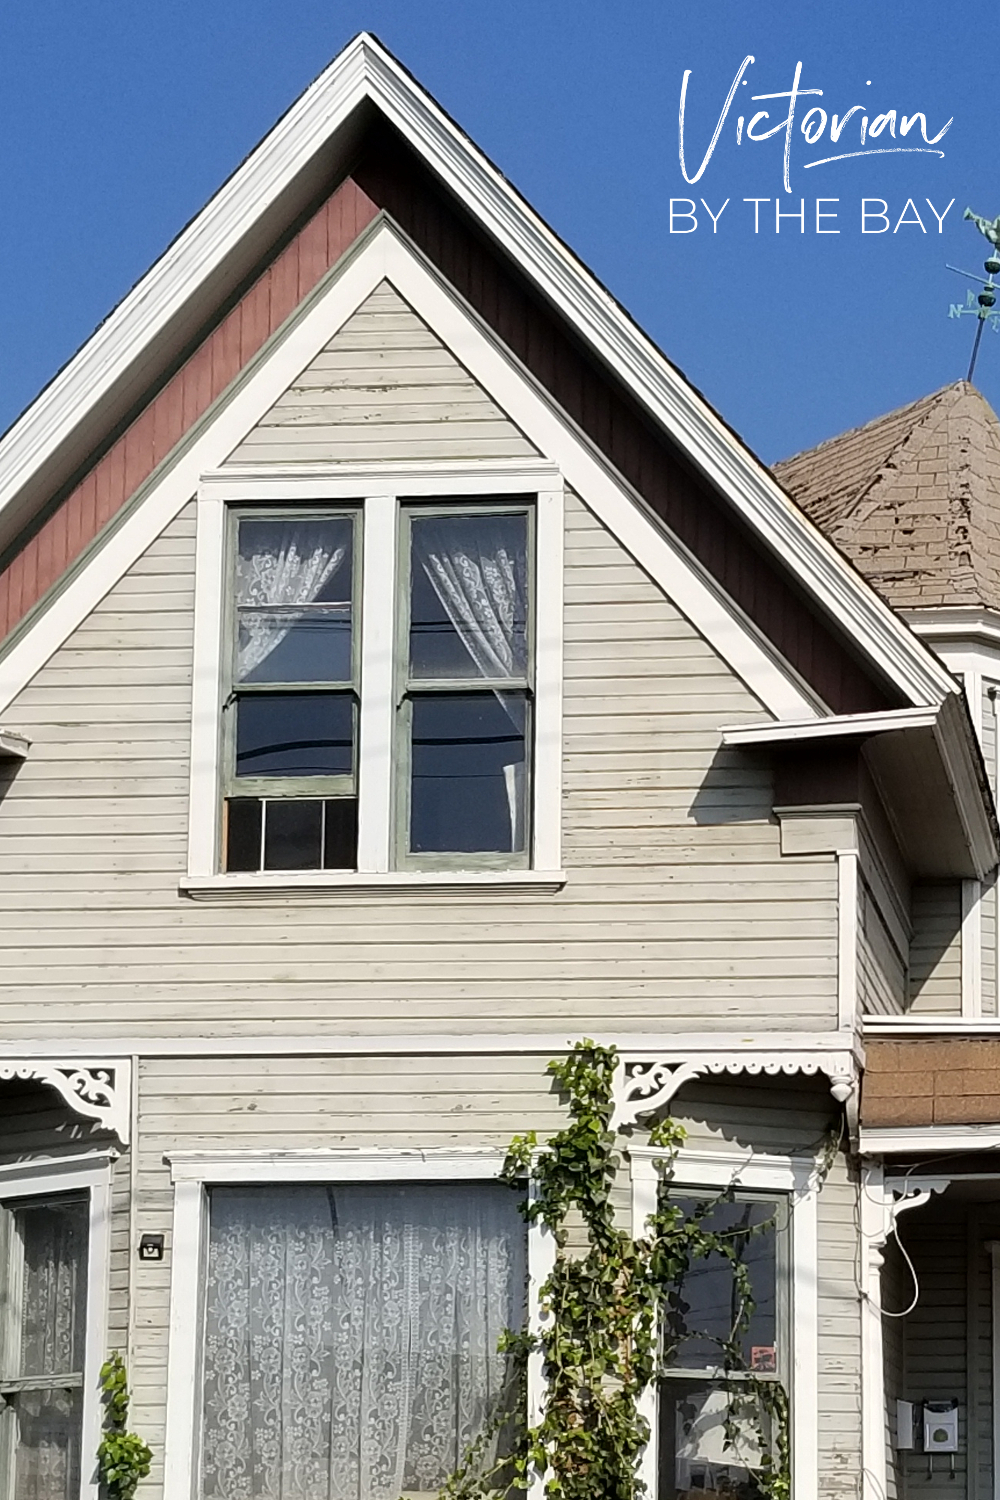
She has been mistreated for decades.
Now she is being properly repaired so she will be around for another 125 years.
This includes Renovation as well as Restoration
Quality comes first with the work.
So my dear Queen shall be a mix of her original “old”,
beautifully restored with a mix of new, but classic finishes.
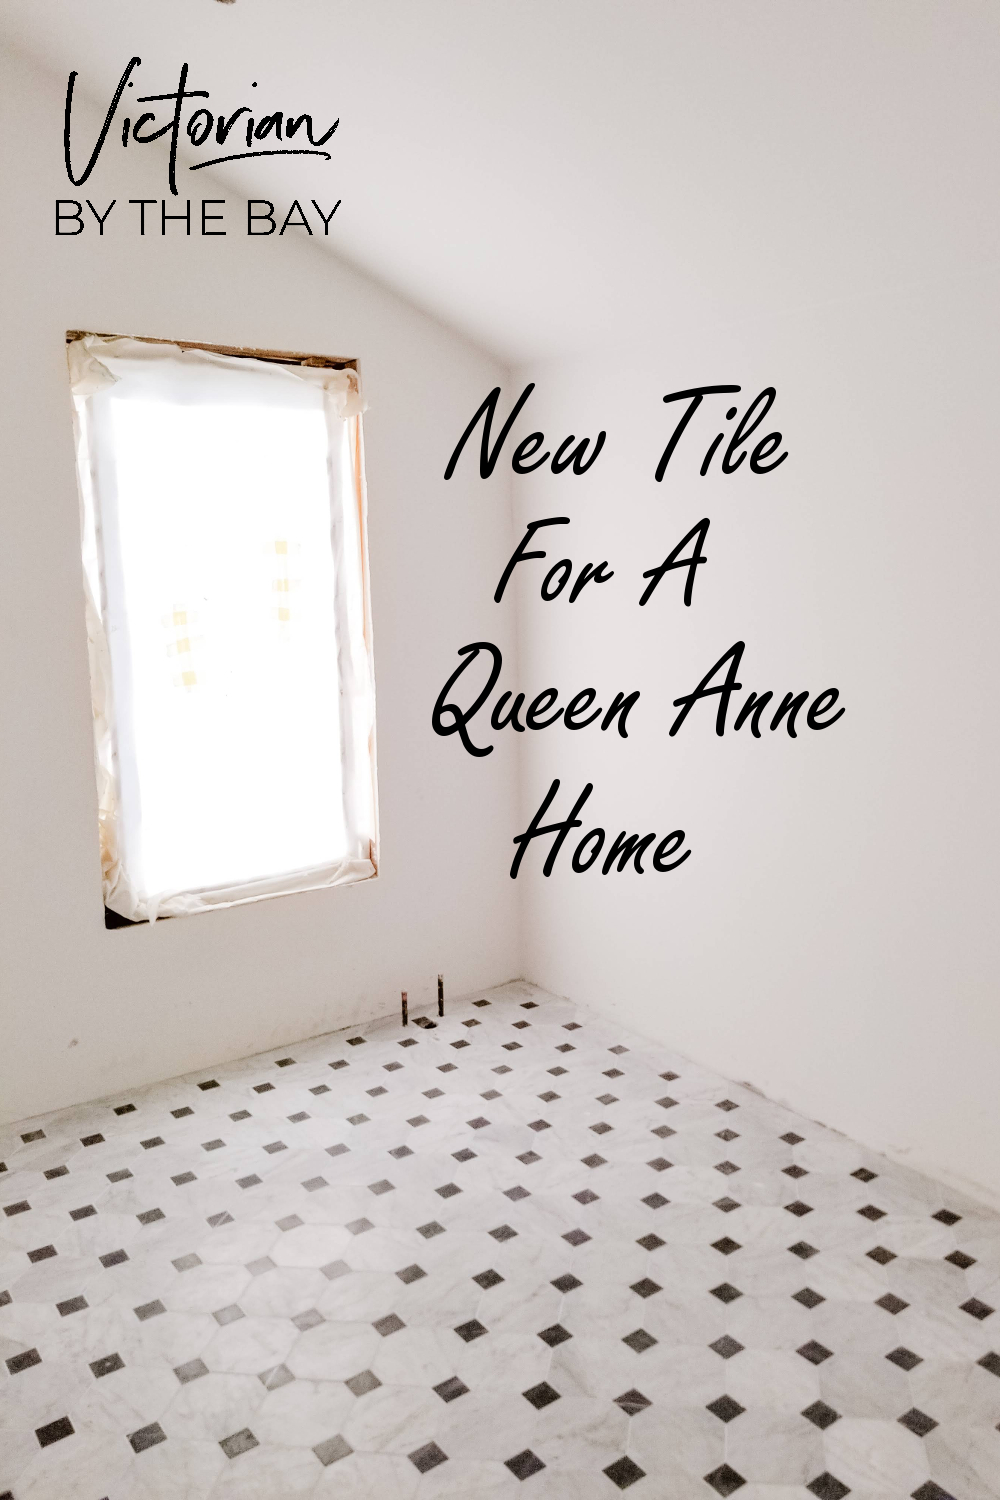
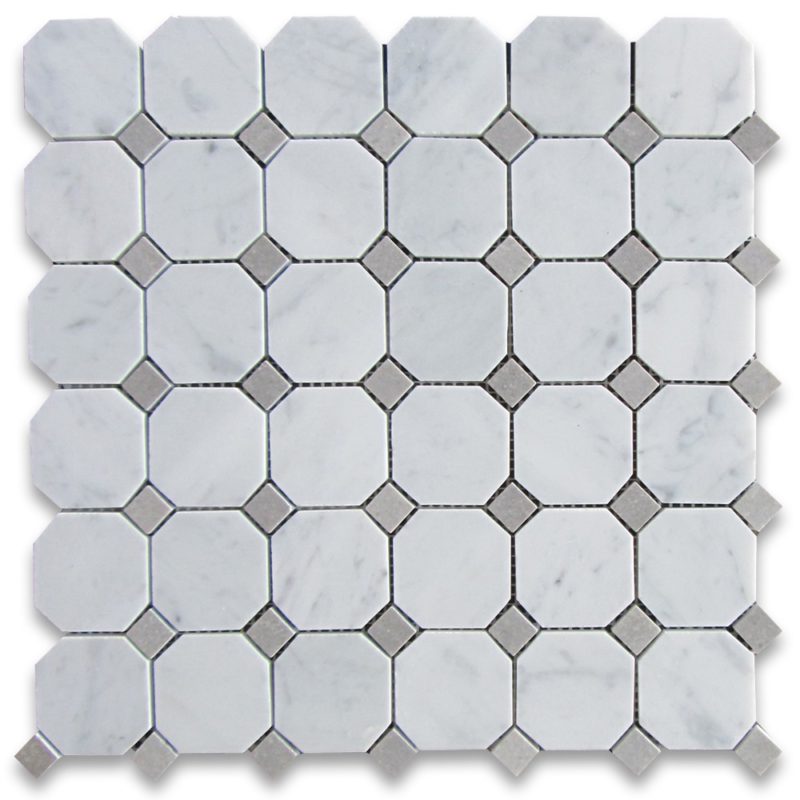
I was QUITE TAKEN with the old classic “Octagon & Dot” tile
But the only available tile in this pattern was a mesh panel with tiny 2 x 2 inch squares and even tinier gray dots!
That is a bit too much grout for this little Princess to ponder scrubbing.
So everyone says: “Well of course you are going to use the white penny tile with black penny accents, right?”
WRONG!
That’s even more endless miles of grout
stretched along a vast canvas of countless, tiny tiles.
I SIMPLY CAN’T!
It is a perfect choice, I know, I love it but…
I picture myself on my hands and knees scrubbing God knows what from all of the grout lines.
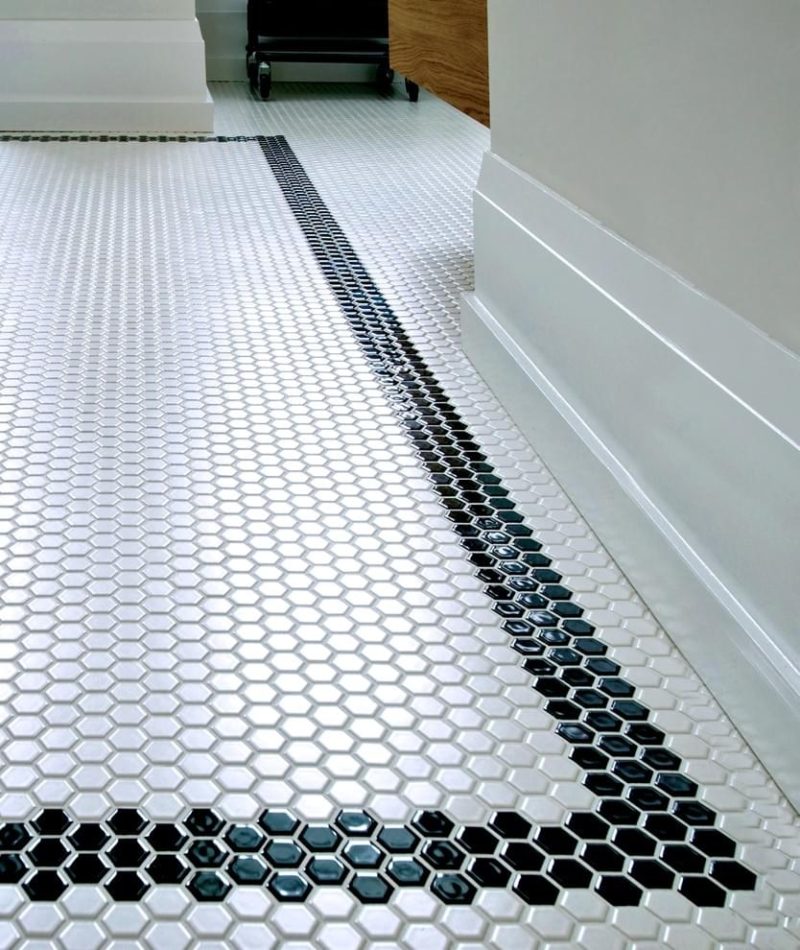
I wanted something like this:
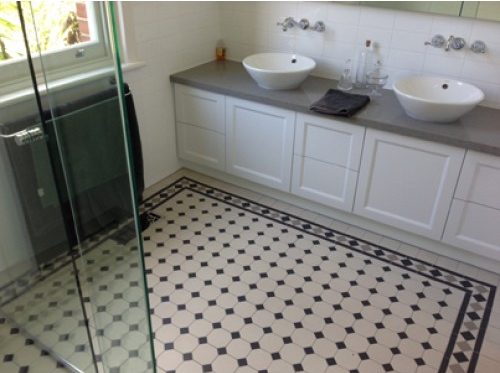
A little bit bigger tile
NO border, too busy for the clean look I want
This is lovely but a bit TOO BIG
But the bathroom in this photo is HUGE!
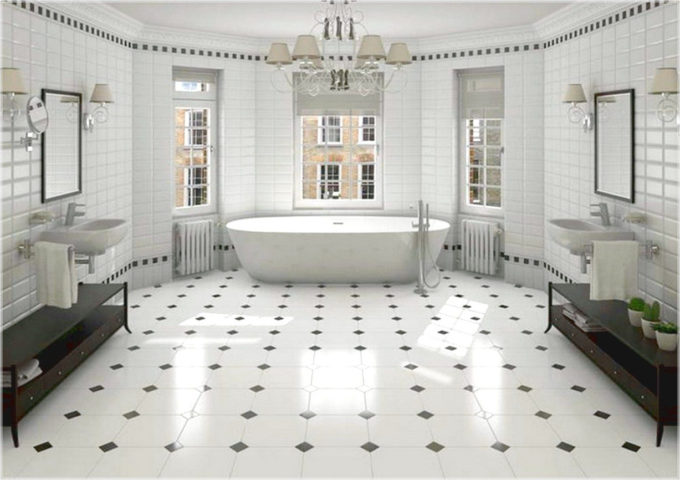
Then I saw one of my favorite Instagram accounts Victorian-Depot
They had a very similar floor that I was envisioning but couldn’t find.
I wanted more of the corners cut off to give a bigger dot, and more of an Octagon
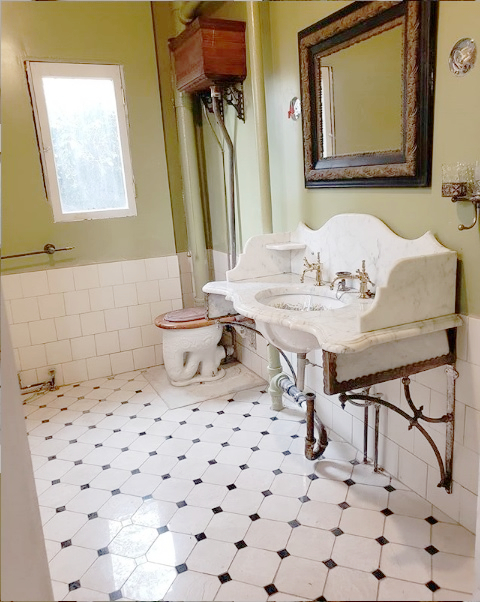
NOT polished but honed Bianco Carrara marble with a honed Bardiglio Gray Marble dot, not the traditional black dot.
I contacted Marcus at Victorian Depot just to make sure I wasn’t seeing things.
Maybe this came in sheets already laid out?
No such luck.
That’s okay, at least now I knew I could stop looking for a precut mosaic and start designing.
So I ventured out to a place they call “Tile Mile” in Anaheim, CA.
If you have ever been there, it is a bit daunting
Tile and Marble shops in all directions for over 1 mile
I landed at my old favorite tile and stone shop Oracle Tile and Stone
I was so happy to see the owner Mustafa there. He quickly helped me find the honed Bardiglio Gray marble tile that would be cut into the smaller squares for the “dots”.
He was one of the only suppliers who carried it.
Then he showed me the honed, Bianco Carrara tile he had in stock.
I had originally wanted 8″ squares, but the tile “only” came in 6″, 12″, 15″, 18″ and 24″ Squares.
I opted for the 6″ squares, the price was amazing!
This saved my tile guy a lot of cutting
We laid out the design.
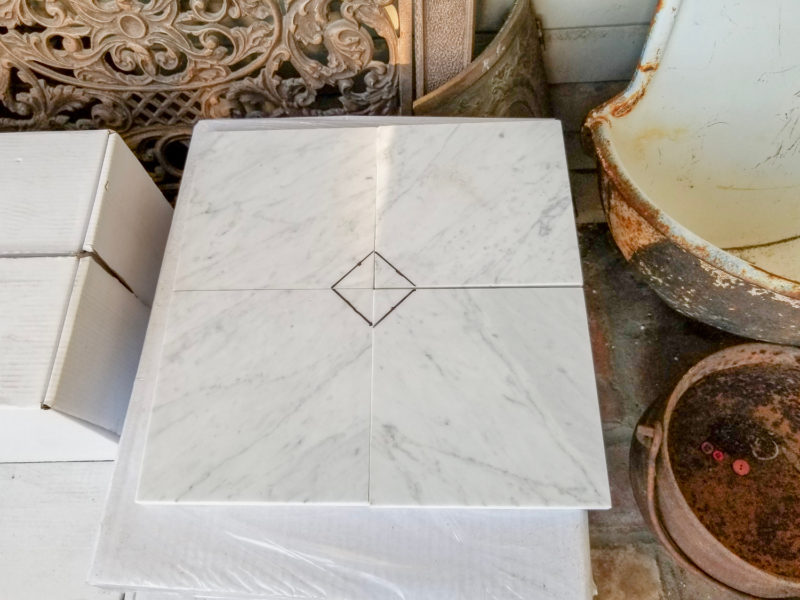
They got straight to work.
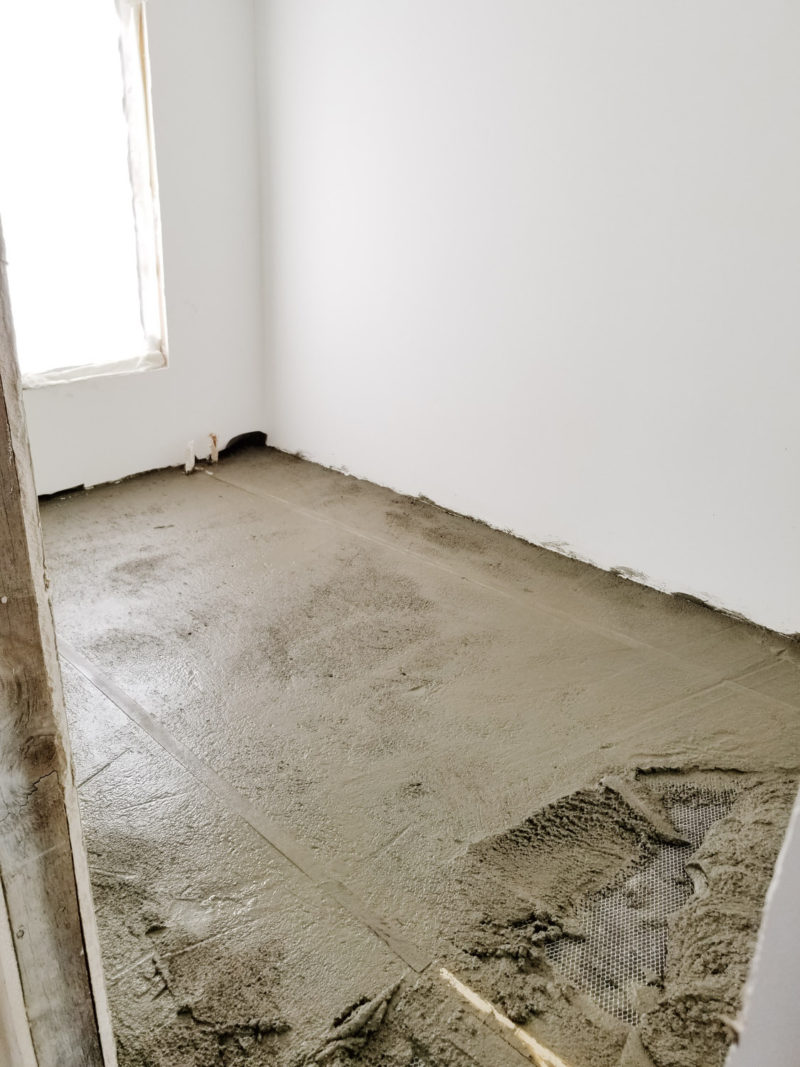
If you recall, the floor used to step down.
And was incredibly unstable
Certainly not capable of holding up a 300 lb cast iron tub
We had to beef up the floor to safely hold the tub. Read about What to Expect When Opening Up an Old House
It is shocking that tub never fell through the ceiling
Over the new floor, gobs of messy mud was poured
in preparation of the new tile floor
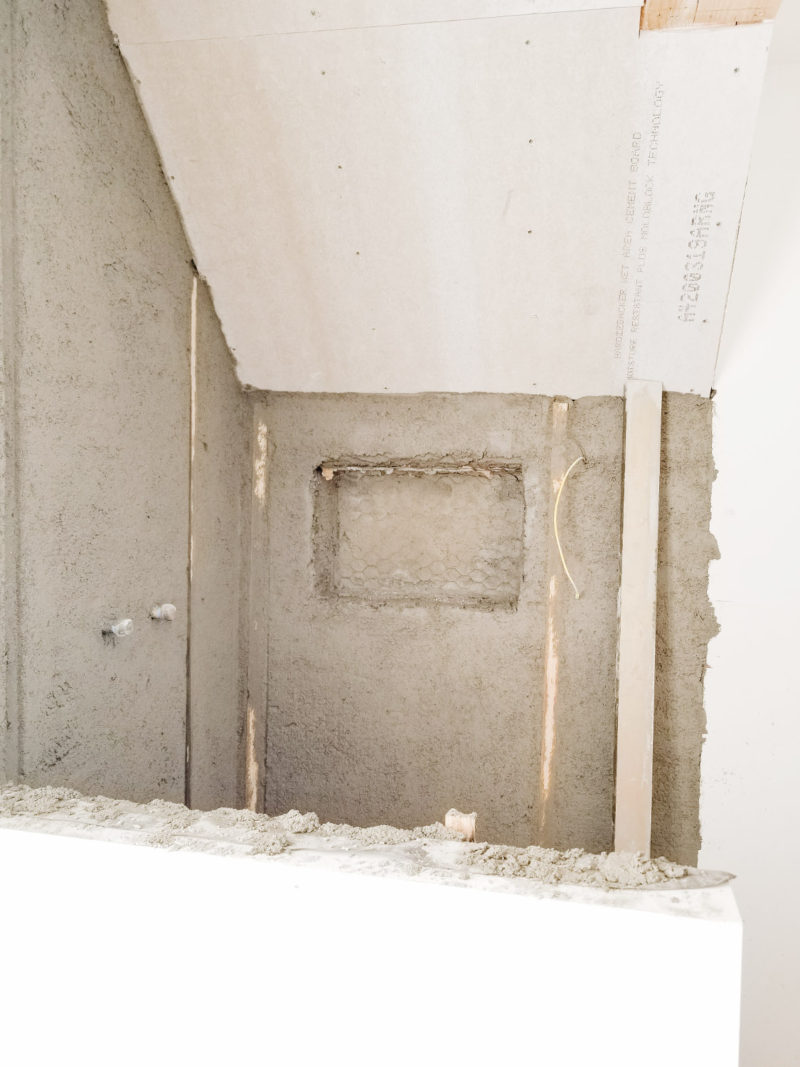
And more mud for the shower in the master bath.
The shower is “unique” in that it nestles under the original gable of the roof
This provides a vaulted ceiling
But also challenges in the finish work of the tile
Each 6″ tile had the corners cut off to accomodate a 2″ square “dot”
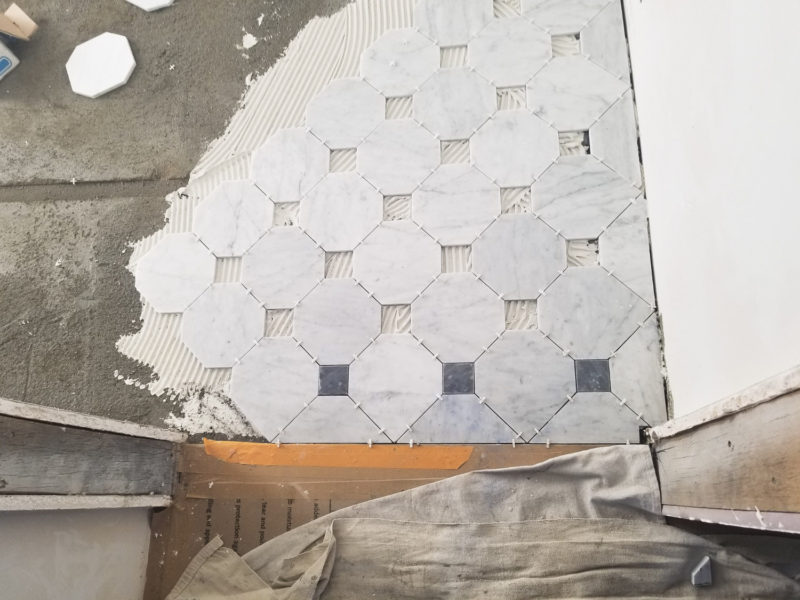
That’s a lot of cuts
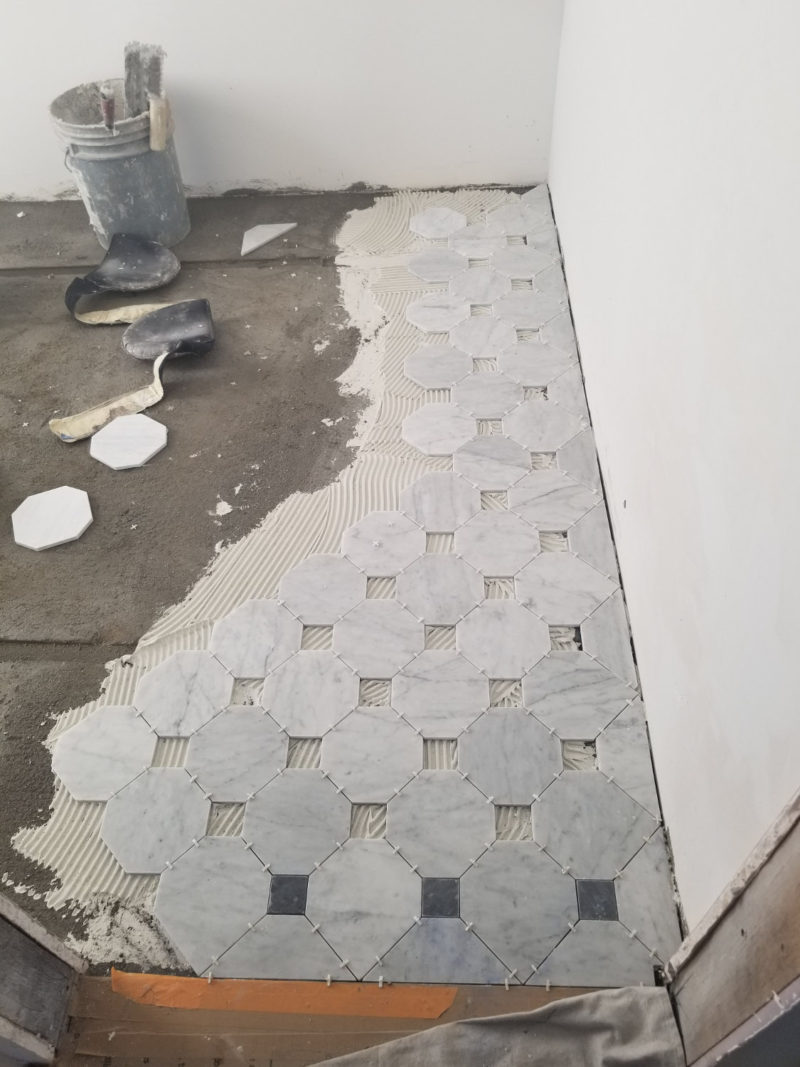
And now some “dots”
We also decided to turn the tile on the diagonal
To give it a bit of an update.
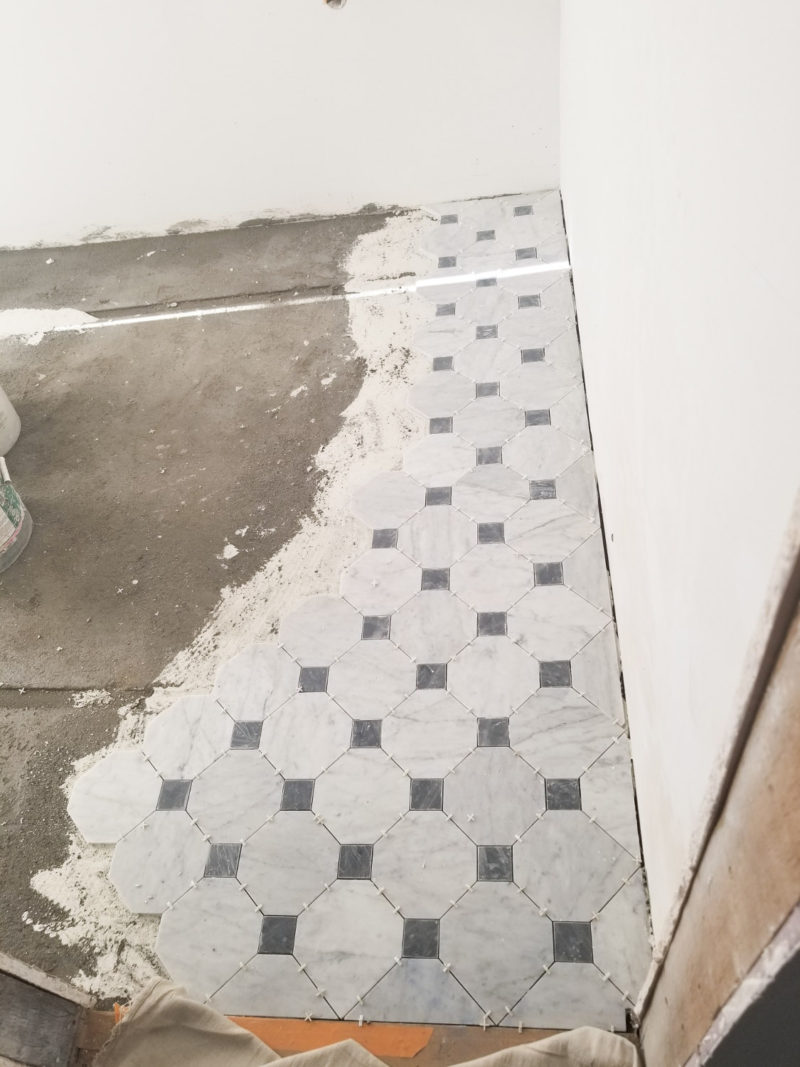
That’s a lot of “dots”
It’s a slow process
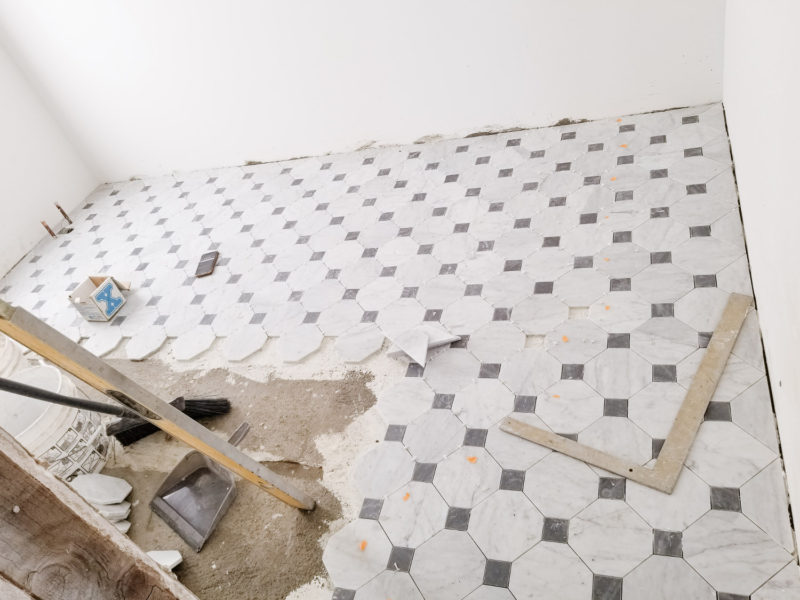
I love how perfectly spaced this floor is.
And I love the Bardiglio Gray Dots. So pretty
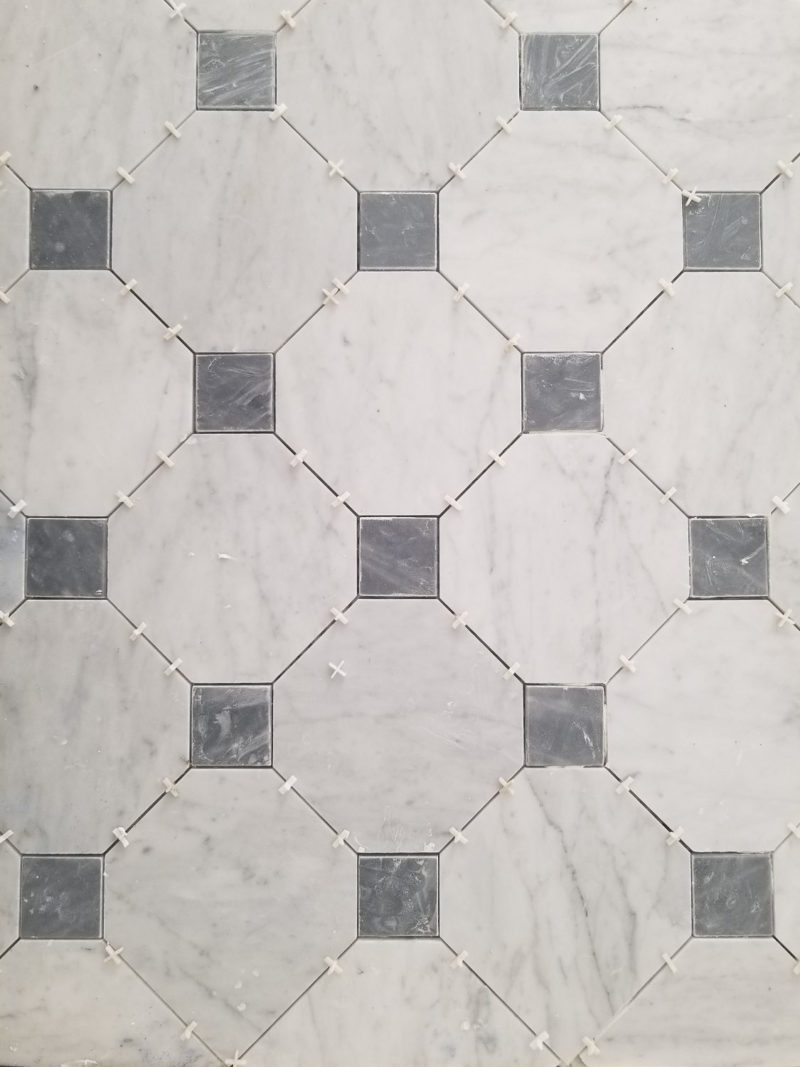
Then I have that moment when I drive all the way back to “Tile Mile” to pick up special marble tiles for the ceiling of the shower.
Spend all day in the blazing sun on the material yards to look for marble slabs.
Finally get home, exhausted and sweaty.
And my tile guy tells me they need 2 more pieces of Bardiglio Gray Tile to finish the floor.
Argh!
I WAS JUST THERE!
But I am a trooper!
There are about 18 “dots” missing!
Look closely in the background, you can see a few of the missing “dots”.
That honed Bardiglio Gray tile is gorgeous!
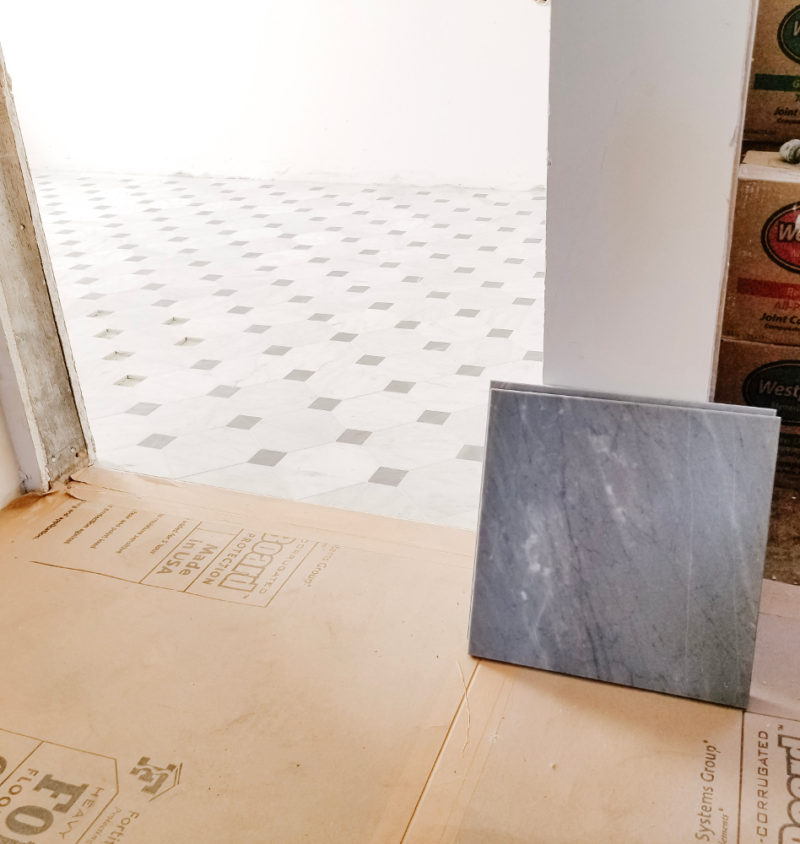
It was worth it.
Floor is grouted and sealed.
I love it!
It looks darker in the photos because it is still wet
I chose a natural sealer as opposed to an enhancer.
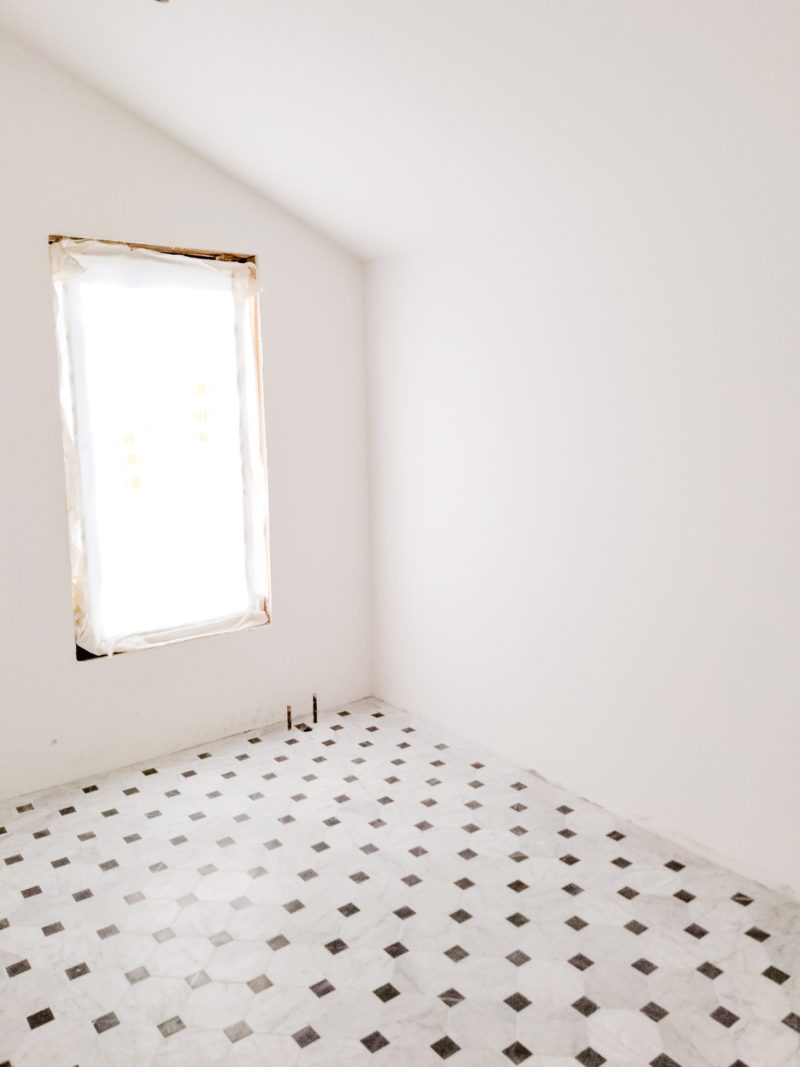
Let’s take a look at the shower!
Willie is a true Tile Artist!
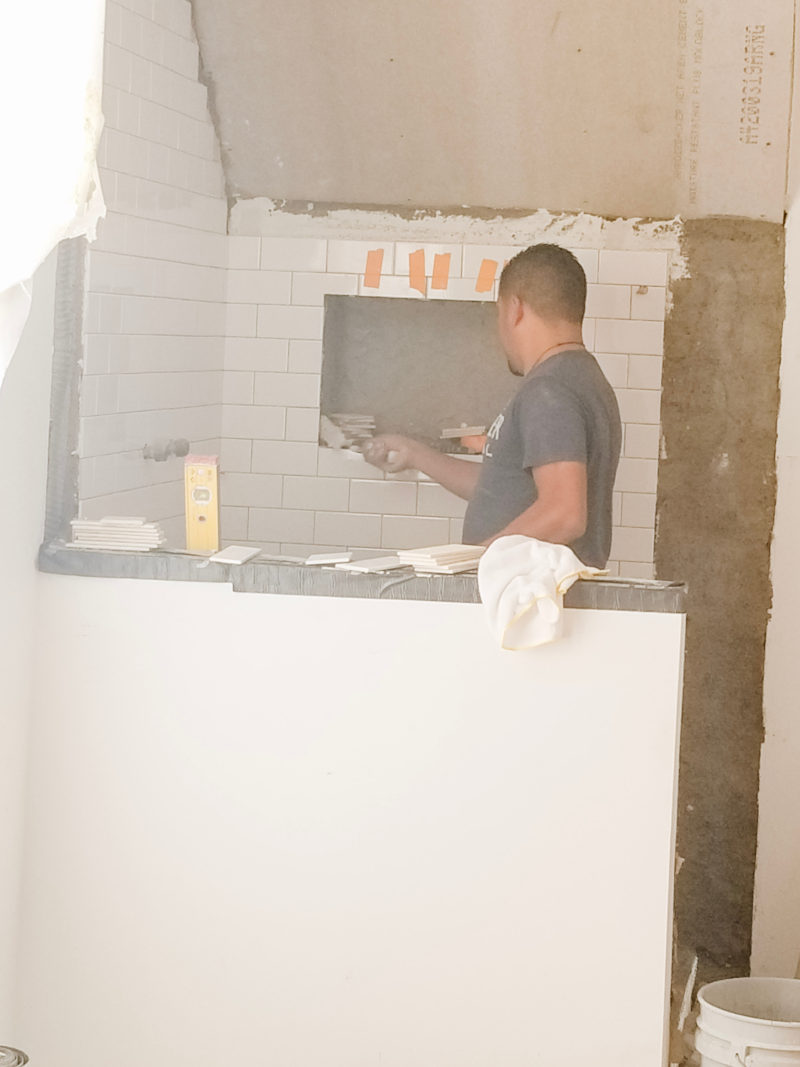
He works meticulously, using a laser to make sure everything is absolutely perfect.
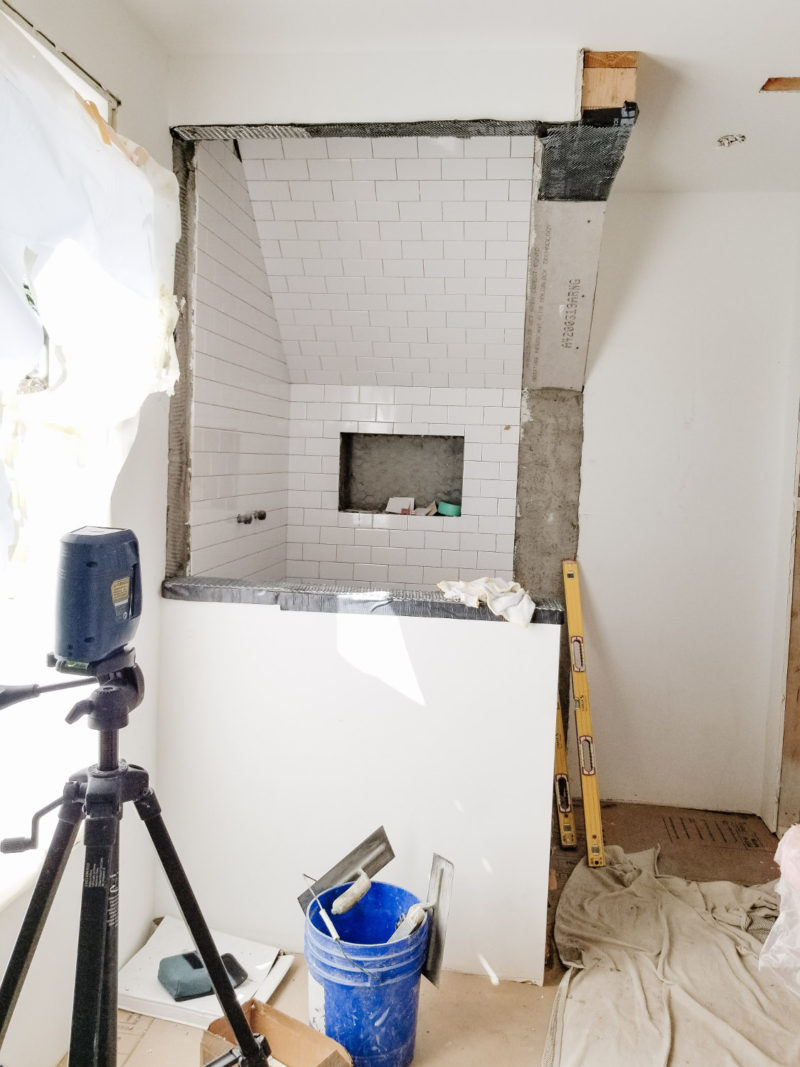
As perfect as things can be in a 125 year old house
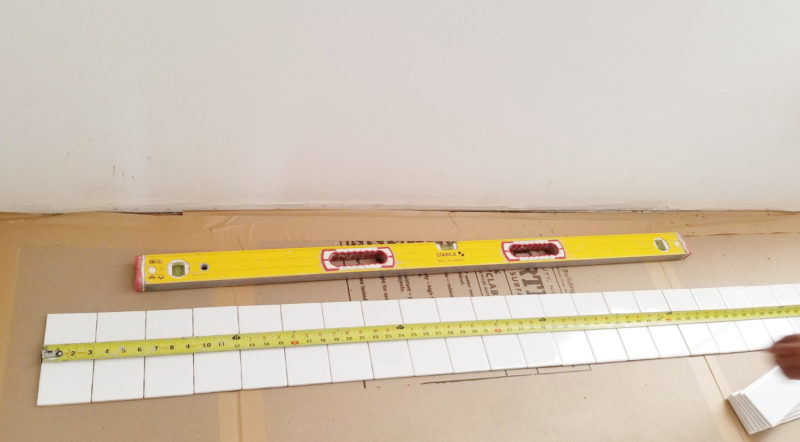
Precise calculations are done BEFORE any tile is laid
to figure out where the cuts need to be made to ensure a visually pleasing design.
The walls are certainly not close to being even or level.
The Queen presents many challenges in this respect!
The tile work is a family affair
Willie’s brother actually did the bathroom floor
And here, Willie’s son is helping him during Spring break
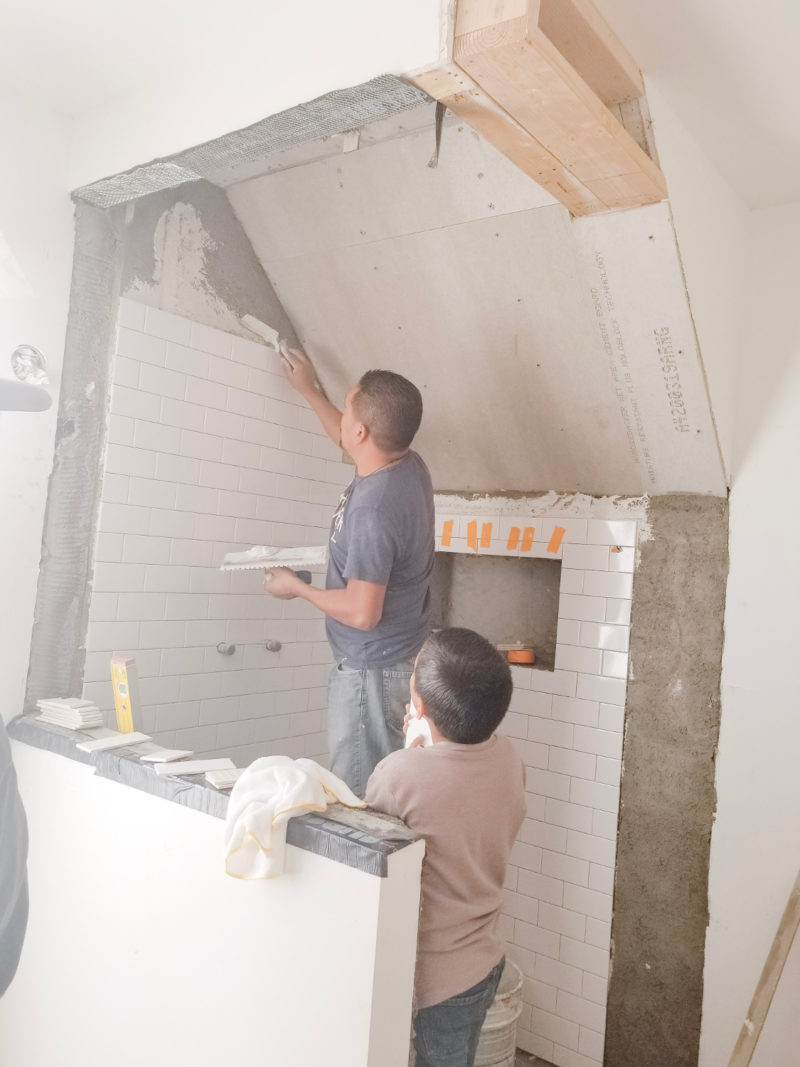
Because we are using the gabled roof-line as a ceiling, we ended up with an odd trim around the shower.
I would have liked to push the shower out to eliminate such a border, but what you can’t see in the photo is the water closet across from the shower to the right.
We had to leave room for the doors to have clearance and swing properly
Once the glass is in, it will look more balanced.
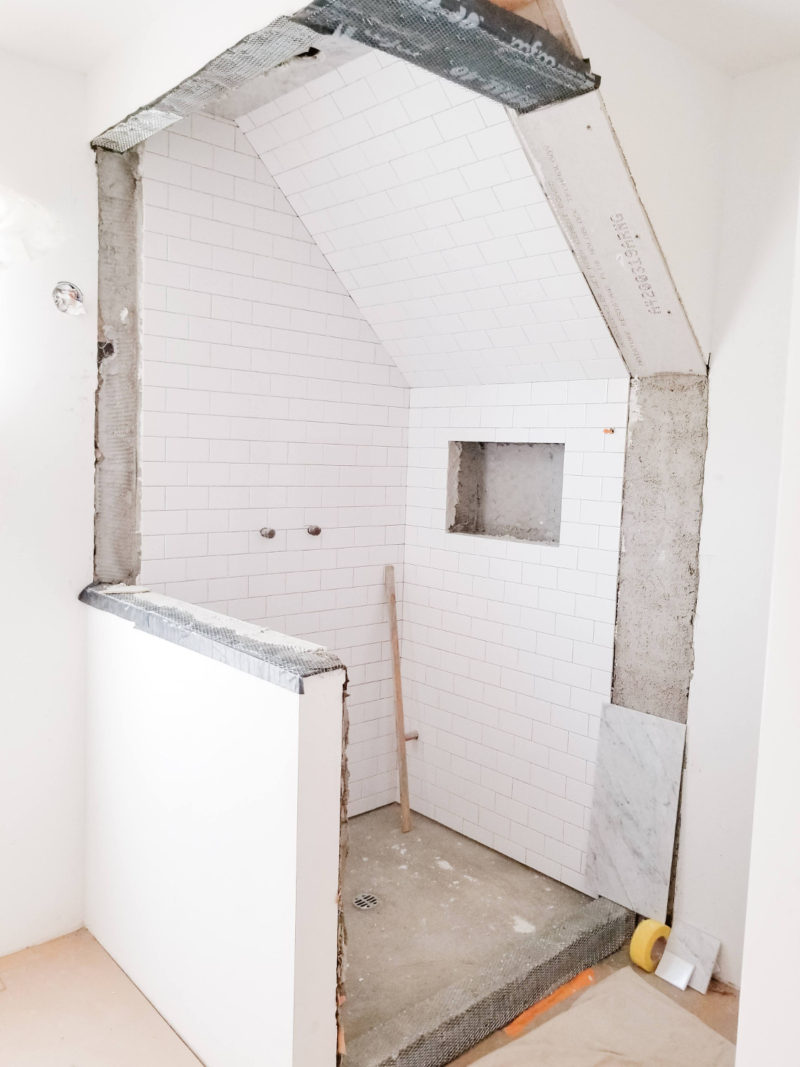
The tile is looking beautiful.
And Ohhh, that FLOOR!
It is honed Bianco Carrara Marble in a 3″ hexagon.
As you can see, Bianco Carrara is far from being white these days.
The floor is actually still wet from the sealer, so appears darker.
The ceiling has Bianco Carrara on it too with a place for a shower light.
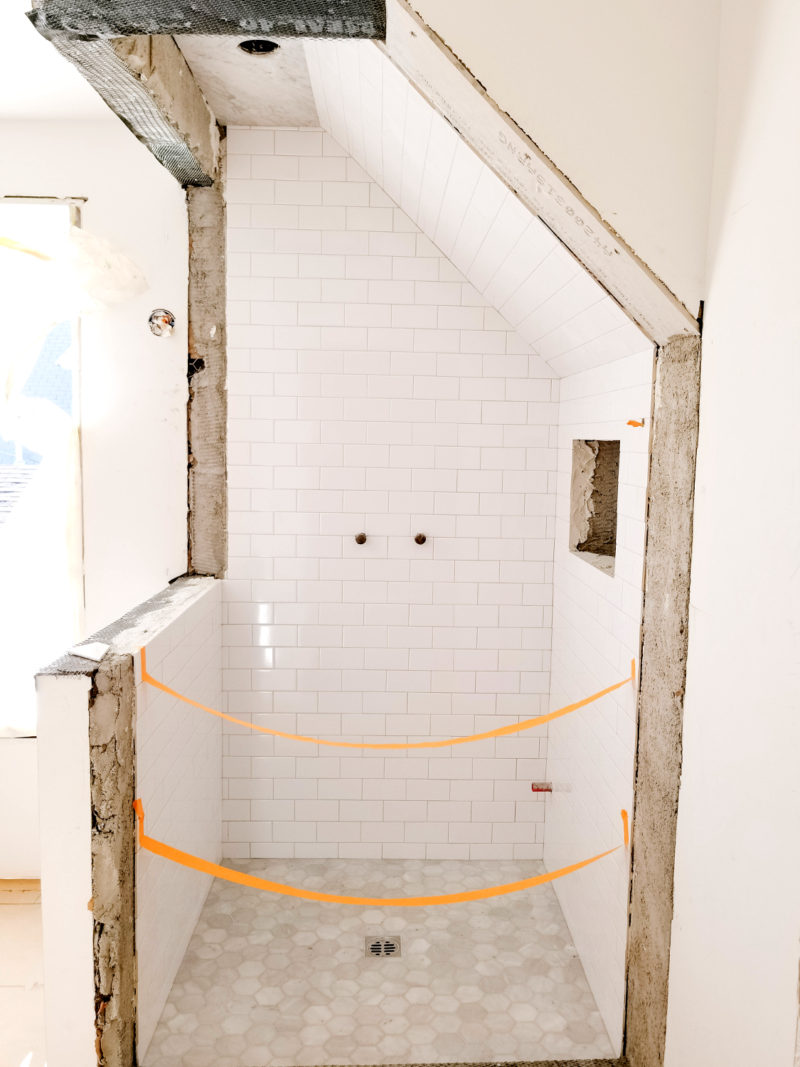
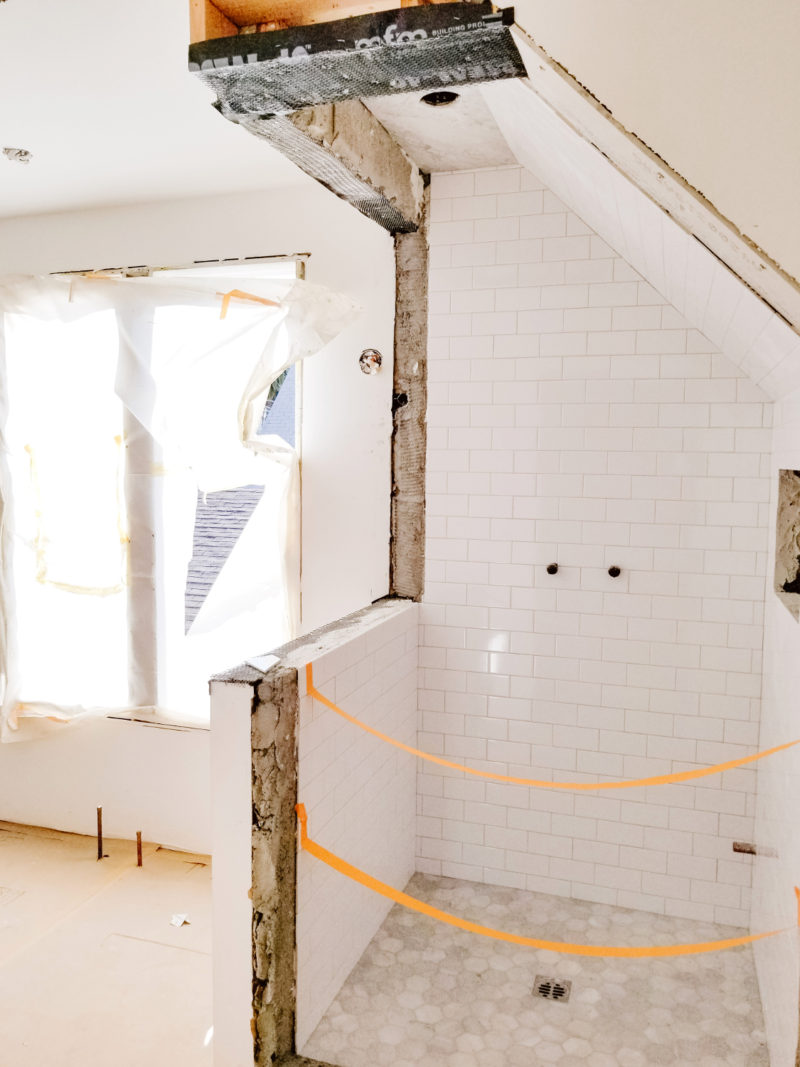
Below, you can see where the tub will rest
In front of those lovely, large, antique windows
All of the places on the shower that are still unfinished will have honed Bianco Carrara marble
The shower fixture will be an Exposed Pipe style with cross handles and a Rain head.
That odd little pipe sticking out of the wall on the bottom right will be a shower steamer
Yep, that sconce next to the shower will have to move over
These are the annoying little things that pop up as you go along
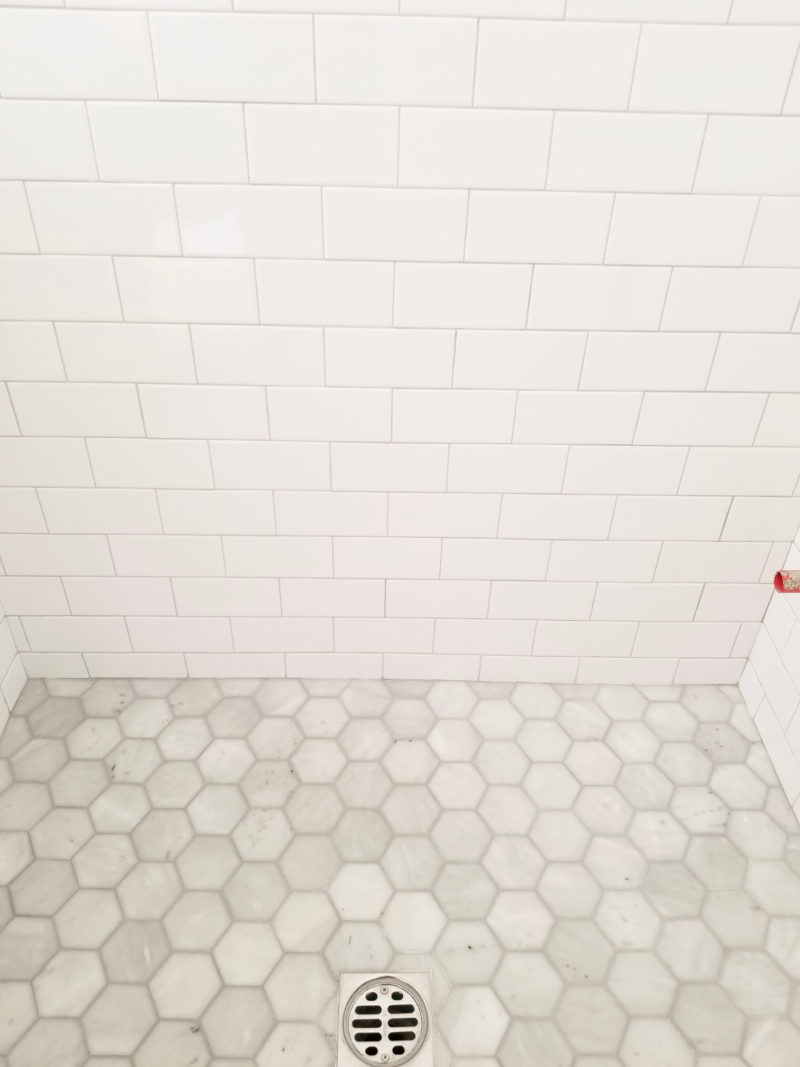
A closer look at the floor and subway tile
The grout color is Platinum, non sanded.
I chose this floor in the shower, to give a nod to the penny tiles.
But this way there is far less grout to clean
Okay, that is what’s happening around The Queen
As I am typing this, Walter, my Stone Fabricator is working on the marble and more exciting news:
I have some finish carpenters busy in the Master bedroom working on the Shiplap on the walls and putting back the original moldings and trims
I am so thrilled as the progress continues.
So much to do
Doors need stripping
More window hardware to strip and seal
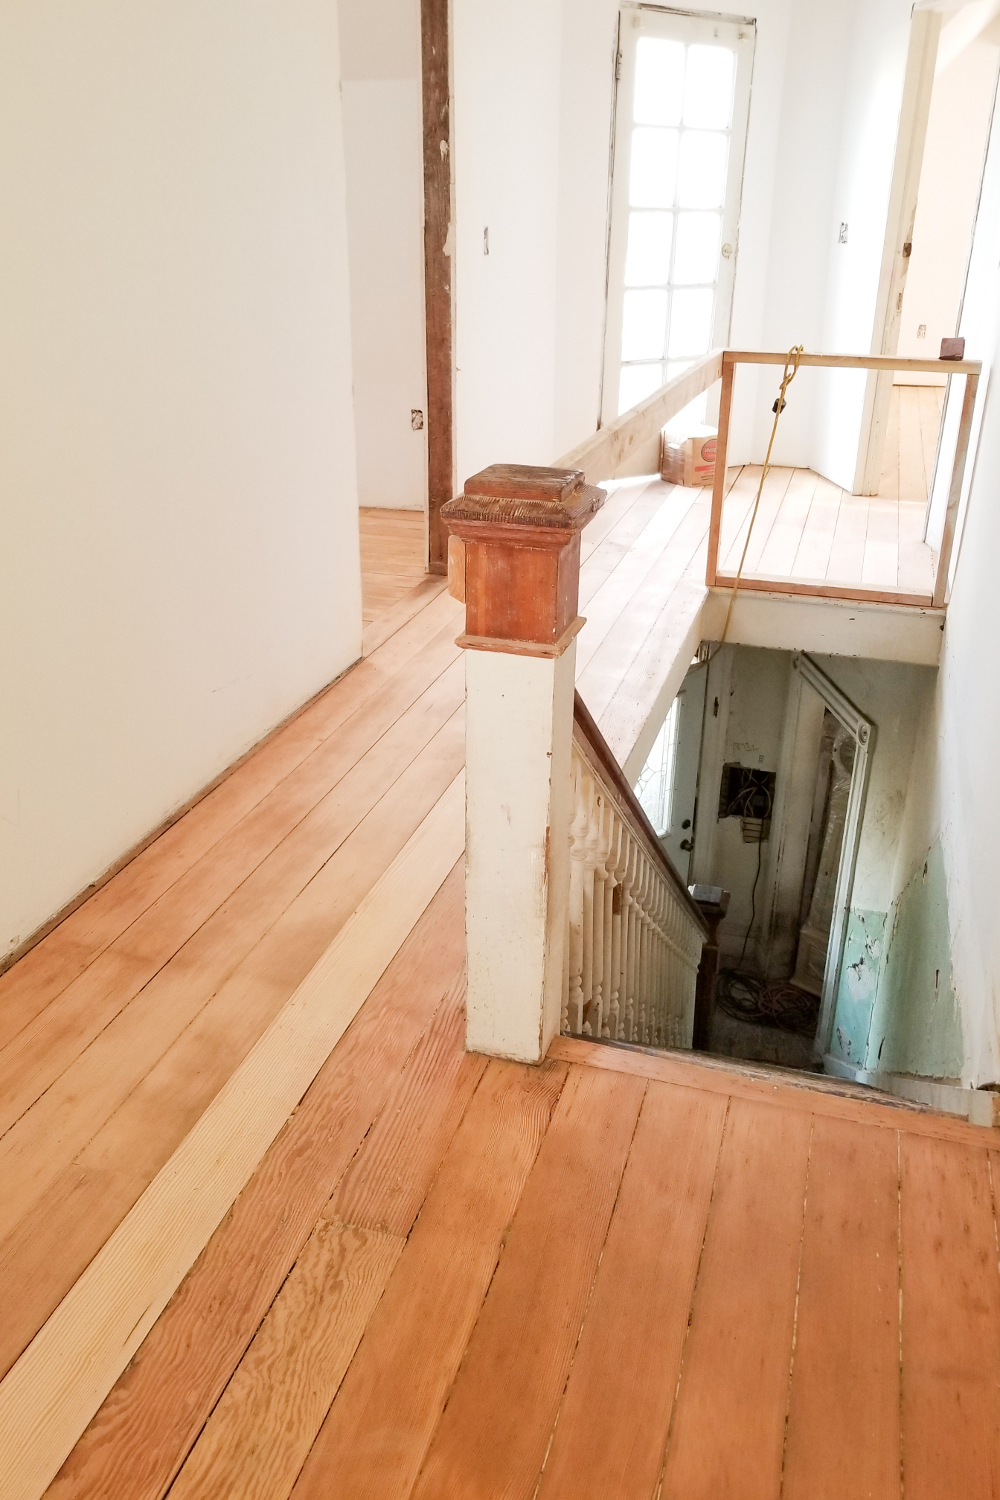
If you missed the last post, we had some beautiful results with sanding the floors.
They were promptly covered up to protect them until I can figure out how I want them finished.
So happy you stopped by to check out this blog post!

