This will serve as part 2 of the restoration of the floors in the Widows Walk. For those of you just joining us, this home was built in 1895 in the Los Angeles Harbor for the Crocker family. You can read a little history about The Prominent Figure That Had The Widows Walk Built
I affectionately refer to her as The Queen
She is my sweet Victorian By The Bay…
…The San Pedro Bay…that is!
There is a lot involved in the Floor Restoration of an 1895 Queen Anne home.
Time and circumstances have not been kind to this house.
No one has ever really cared enough to dig deep and take proper care of her.
Her floors have endured some atrocities over the years.
Here is a photo just as they were beginning the sanding
You can read about Part 1 Restoring The Floors at Victorian By The Bay here.
She has had large sections of her sacred floorboards ripped out and replaced with plywood in the name of “progress”
This was done when they added some “new” electrical to her.
They also cut big chunks out of the floor all around the perimeter of her walls.
The repairs were “expertly” executed with Plywood patches
WHY!!!

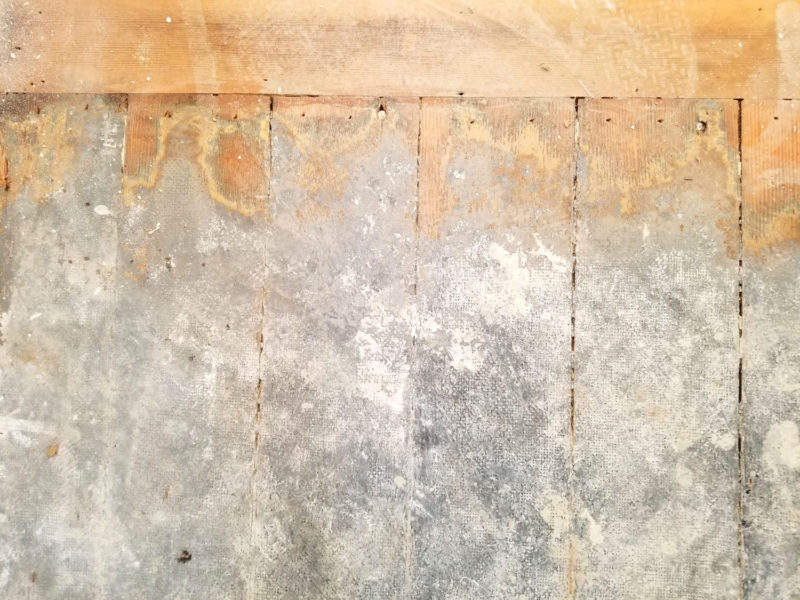
The poor dear had the remains of carpet backing that was glued to her floor and then gobs of heavy layers of paint put on RIGHT OVER THE GLUE AND BURLAP BACKING OF THE CARPET!
Who DOES that!!!
Here, take a Good CLOSE Look!
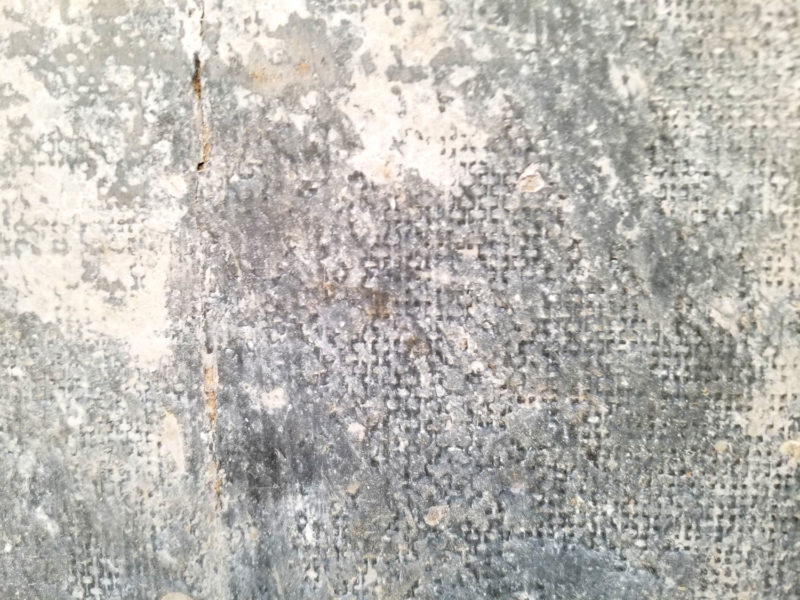
People actually painted over this and lived their lives like this was
“NORMAL”!
Is it???
Finding The Silver Lining
The good news is that all of that paint and glue actually protected her beautiful floors from the barbaric acts of the feral cats that had taken up residence in The Queen for almost 4 years.
These poor wretched creatures basically used her floors as a litter box
When I first acquired The Queen, she was hard to be inside of.
The smell was HORRIBLE!
This is an example of the defecation that was going on by all sorts of critters.
ALL over the HOUSE
That’s POOP and urine!
Here’s a “Great Shot”
I didn’t think to take photos of the animal feces at the time!
Good God, it took all my strength to snap these early shots without gagging from the stench.
But here is something to see so you can really appreciate the transformation taking place.
All sorts of animal feces
My house was one big pet bathroom.
The scary thing?
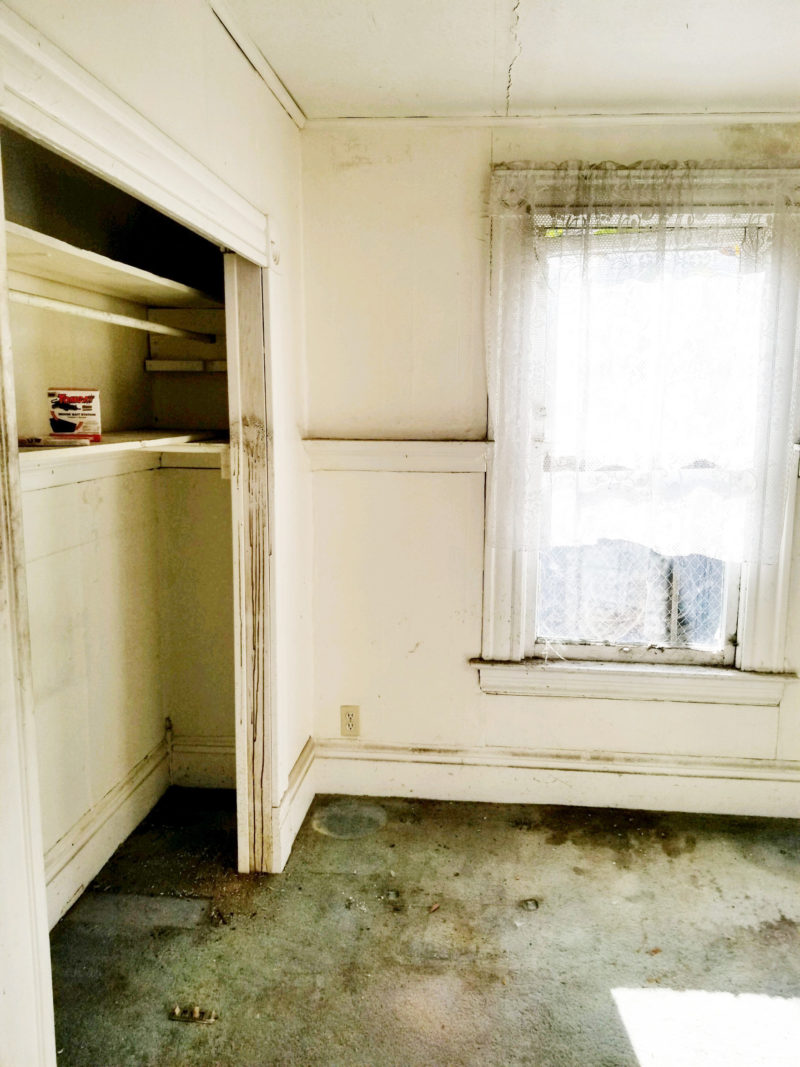
In the shot above, that was the last owners PANTRY to the left! UGH!
If you want a good laugh, read about
Stage 2 Clean Up The Interior
Okay…ENOUGH!
You came here to see beautiful sanded floors being lovingly restored!
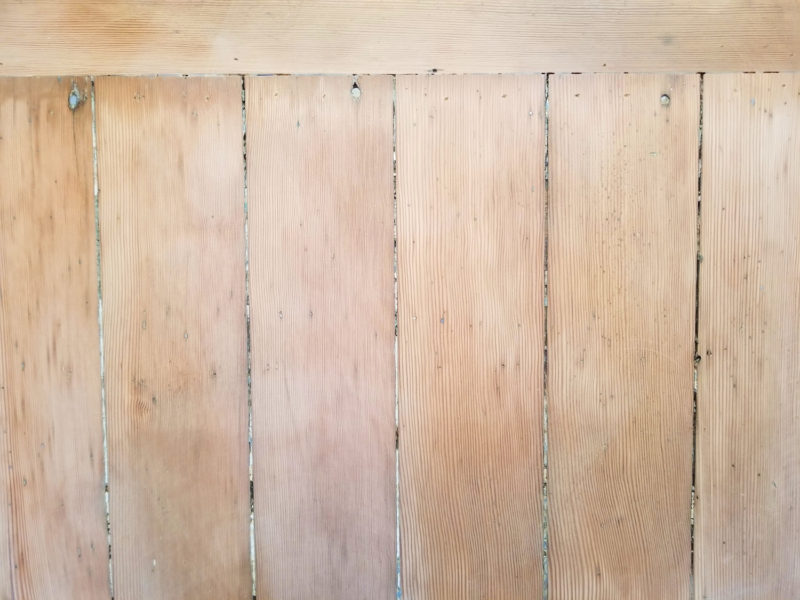
Enter Eddie Ramirez. He magically turned the decades old paint and glue into a sight to behold.
“Pretty Picture Time”
Can you believe it?
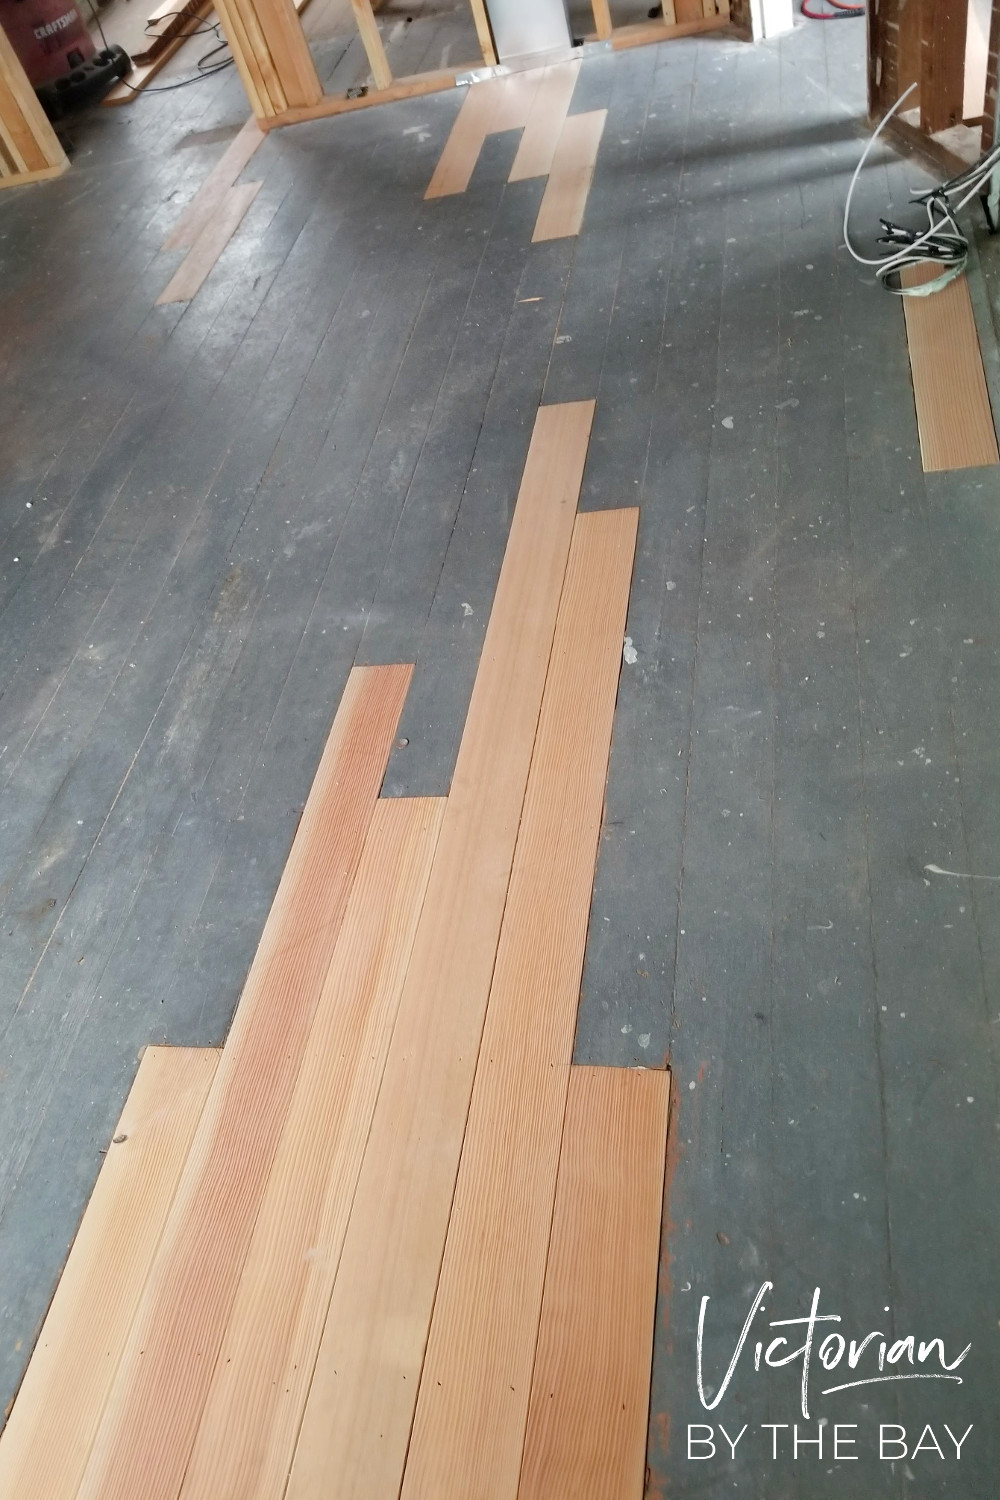
Now the new wood repairs look bad and out of place!
The lighter color wood is the same species, but unfortunately it is new
We will have to be creative to get it to match
It lacks the 125 year old patina
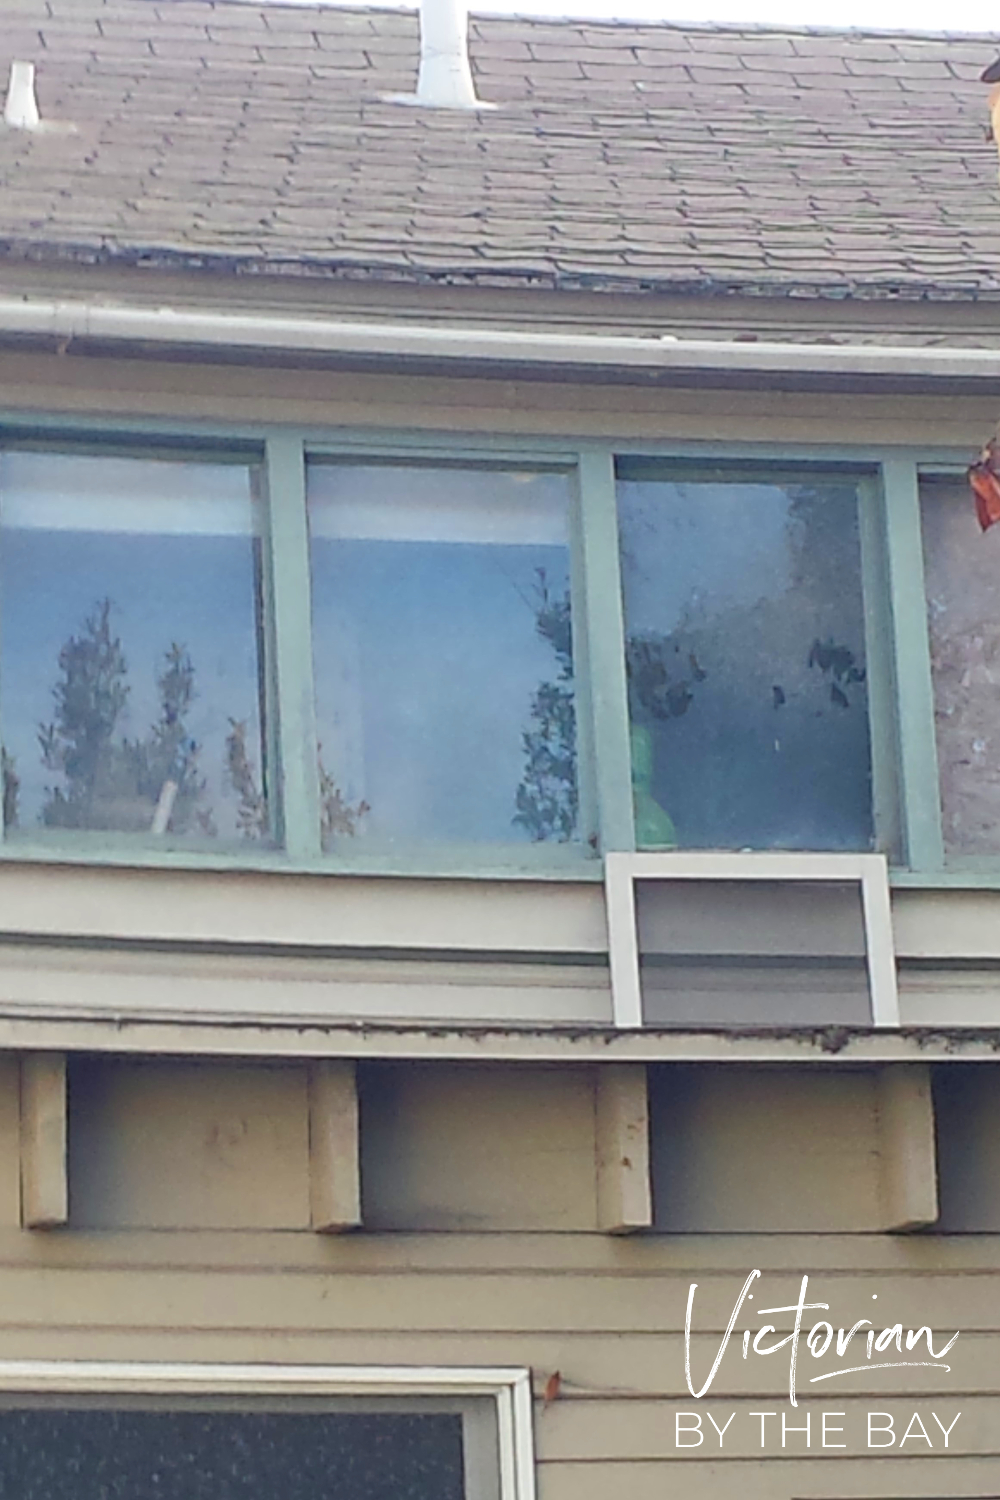
In the photo below, there was a lot of water damage from the balcony
We used as much old wood as we could for the repair
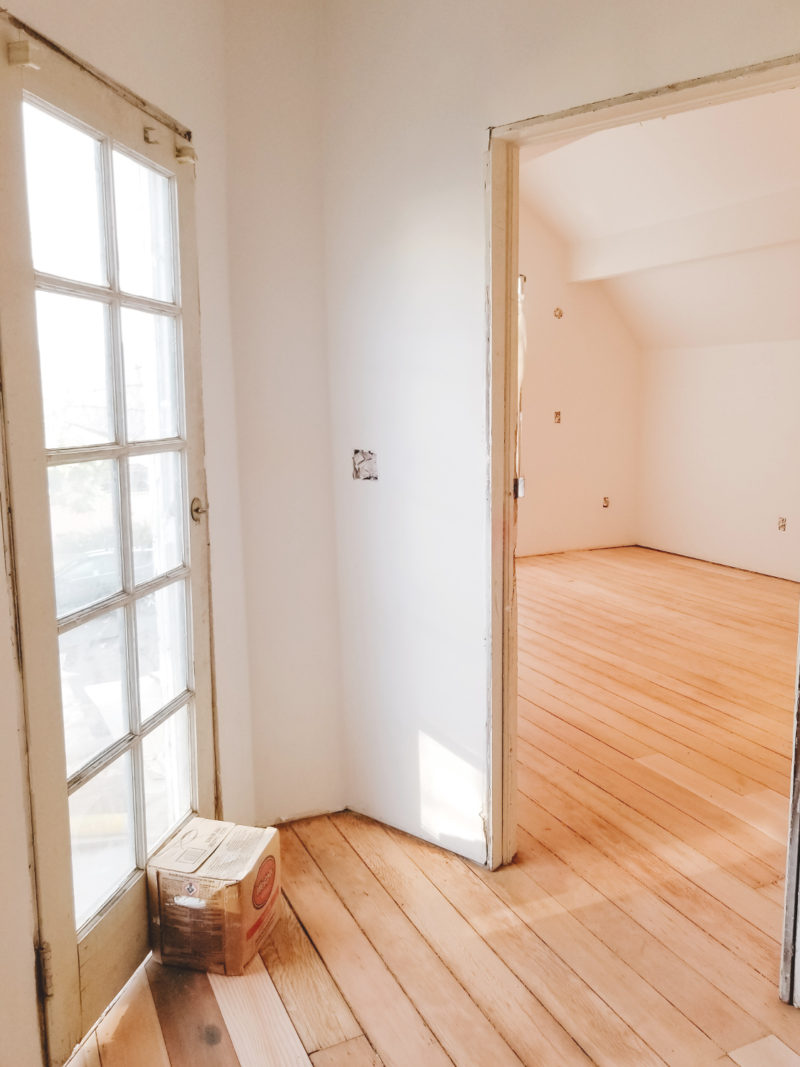
Oh, the Master Bedroom Suite is really starting to make my heart sing!
It’s already so fresh and bright!
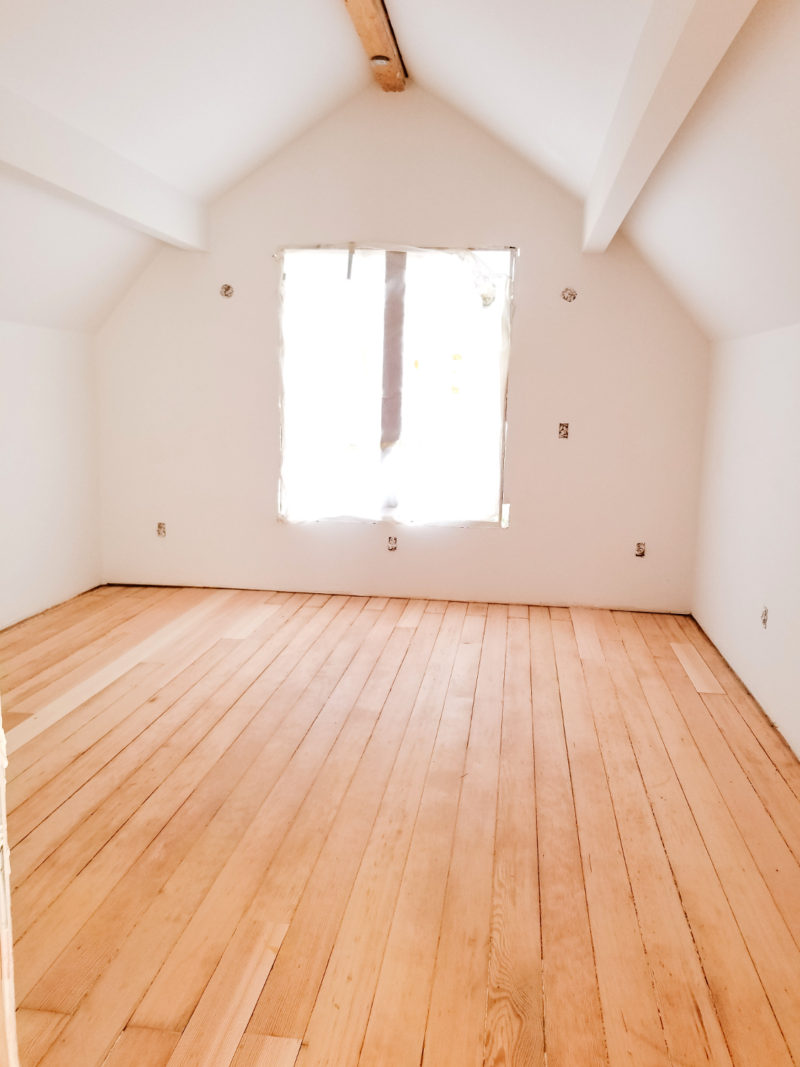
An Amazing Fact
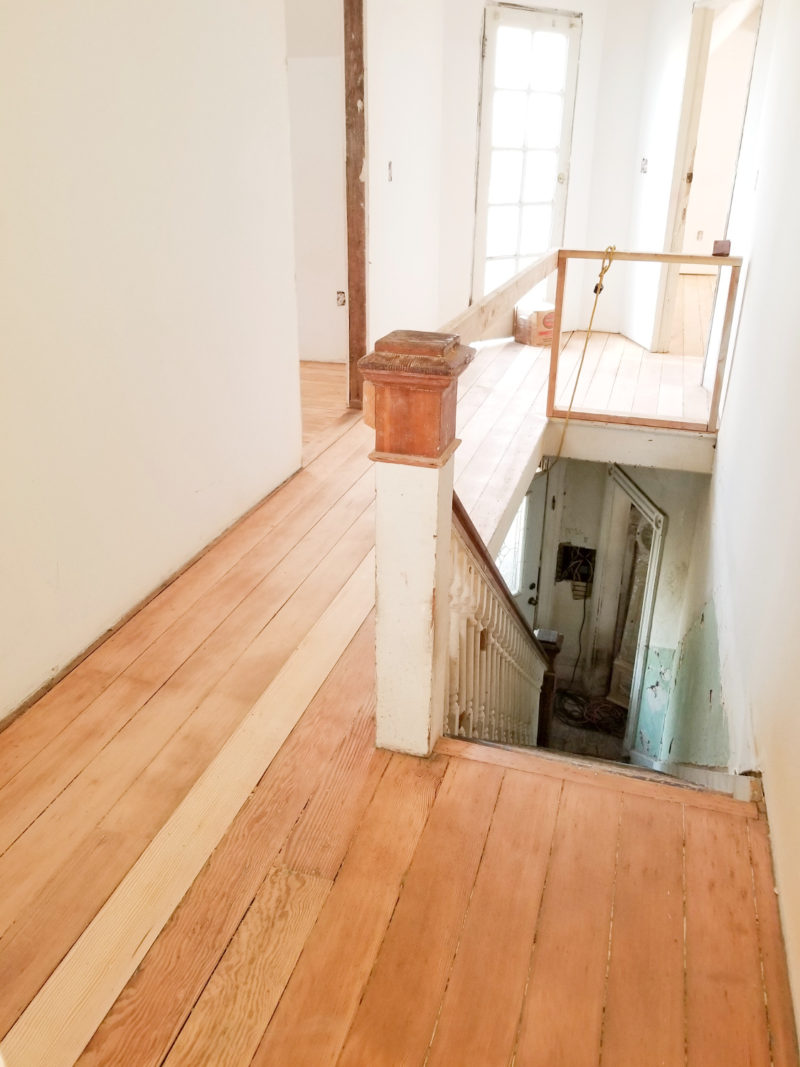
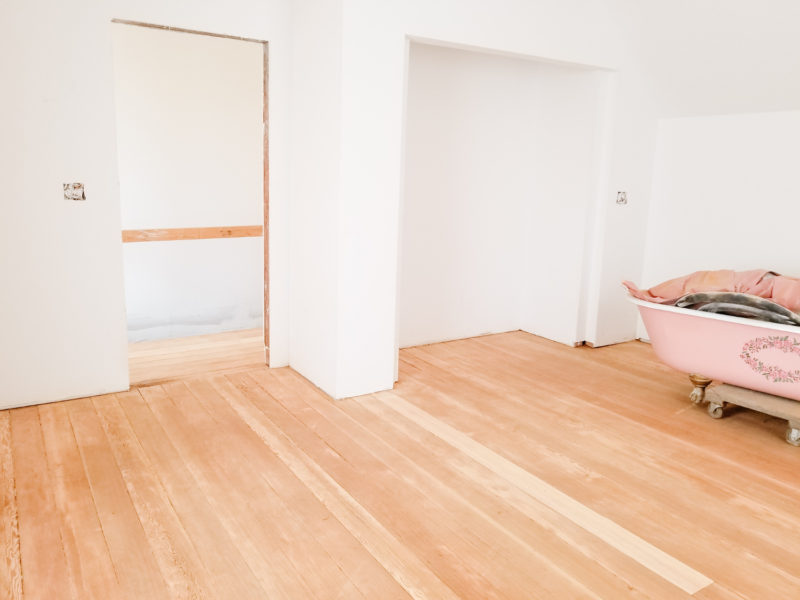
If you look at all of these photos, you can see that before the repairs were made
The wood planks went ALL THE WAY ACROSS THE FLOOR
In ONE Piece!
Anywhere you see a seam is where we did repairs.
Again using as much of the old wood as we could salvage from other places in the home.
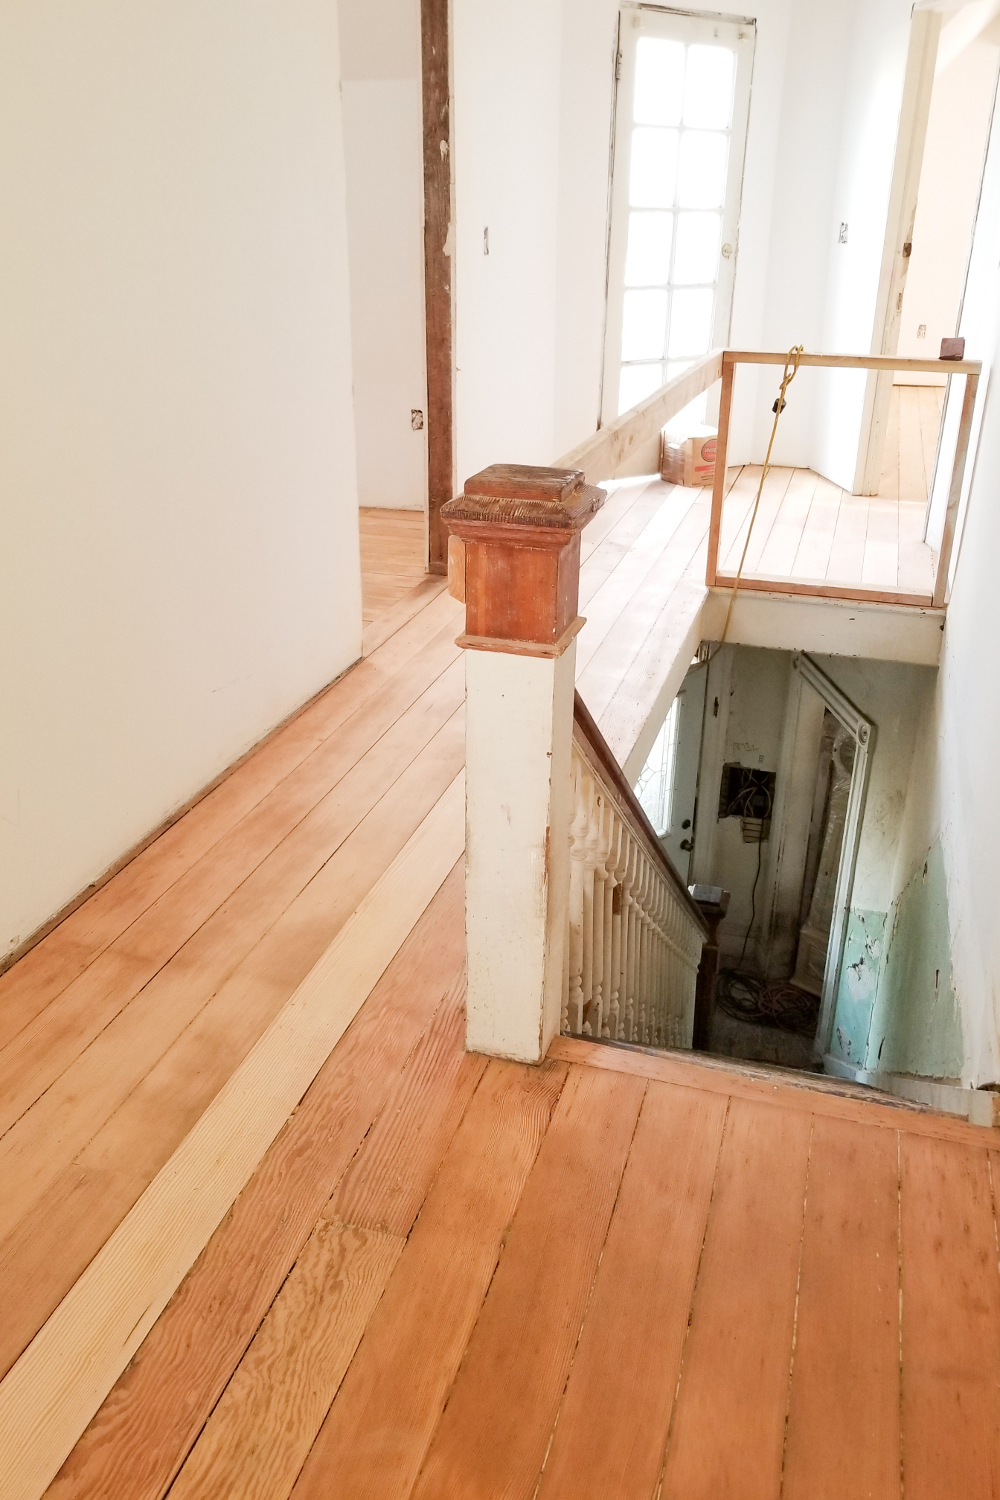
Way back in the day, they didn’t use subfloors
They also built the floors first including the finished floor and then built the walls over it.
I find this fascinating!
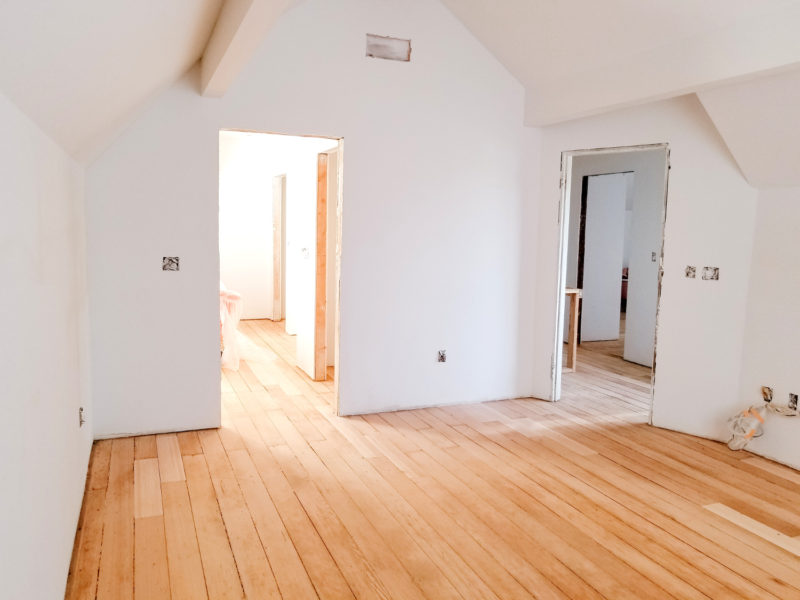
This is a shot into the master bathroom looking from the master bedroom
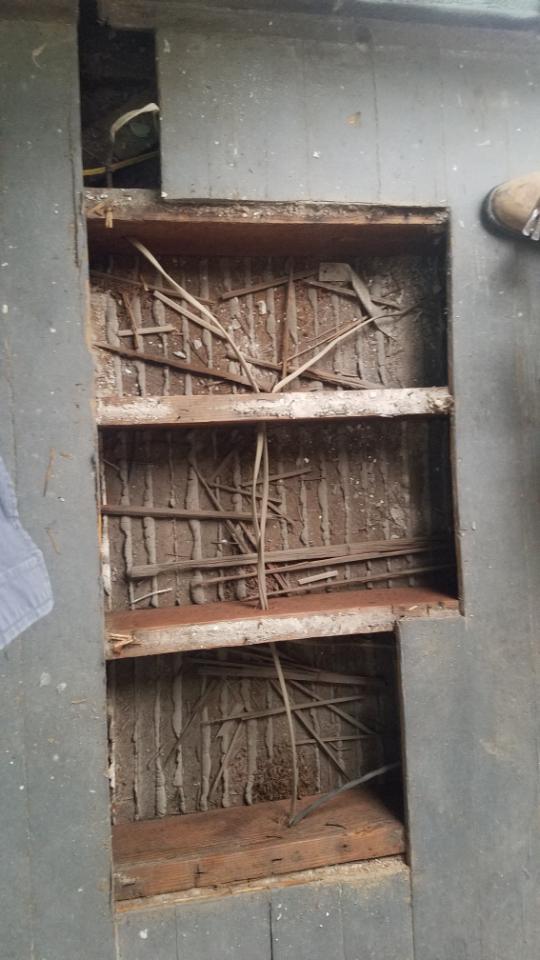
These repairs were made when they put plumbing into the original bathroom behind that back wall. The tore open the length of a whole floor board.
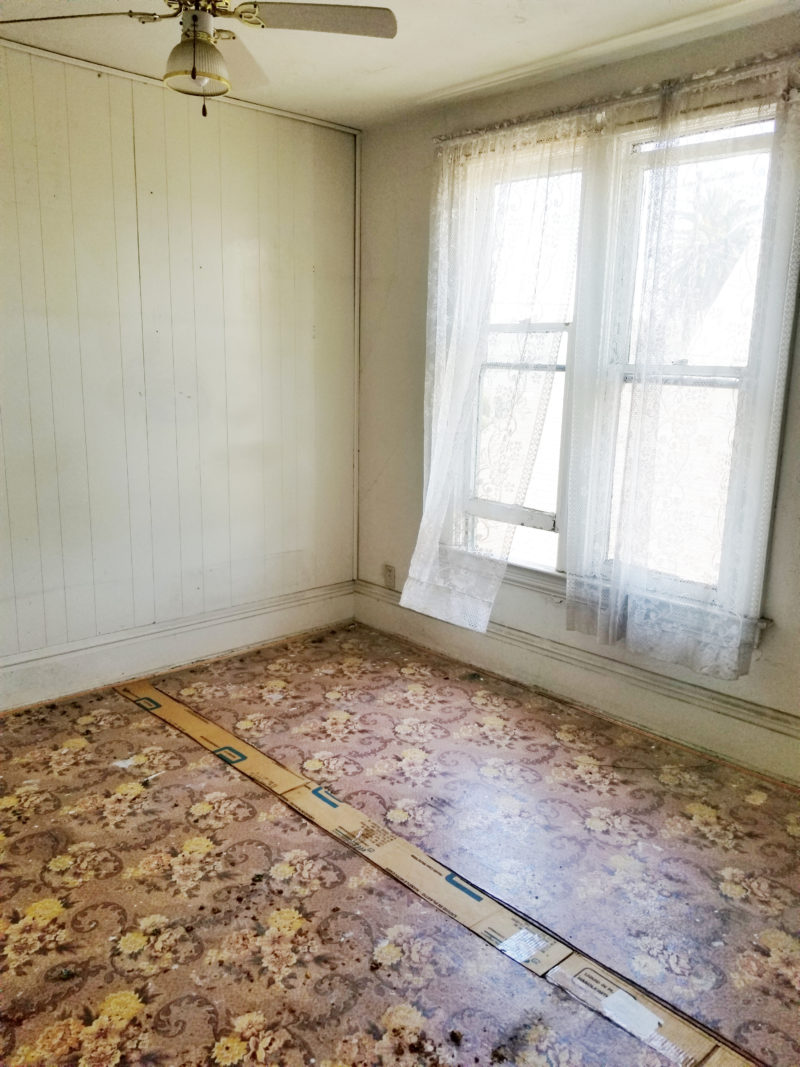
Here is a Before photo. They used cardboard to fill in the spaces.
This is looking from the opposite direction
NO, we didn’t keep that adorable linoleum.
I loved it, but it was full of holes and in pretty bad shape.
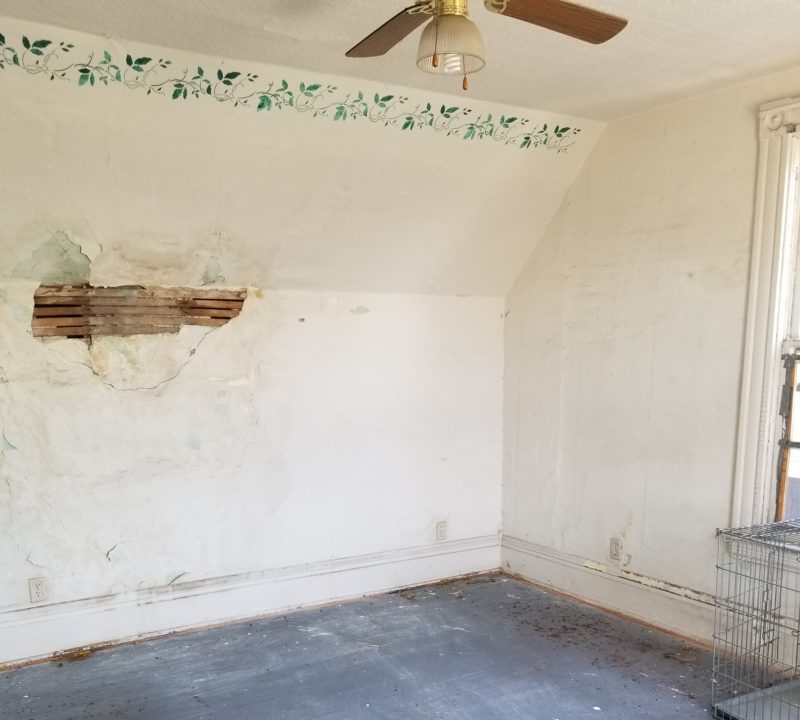
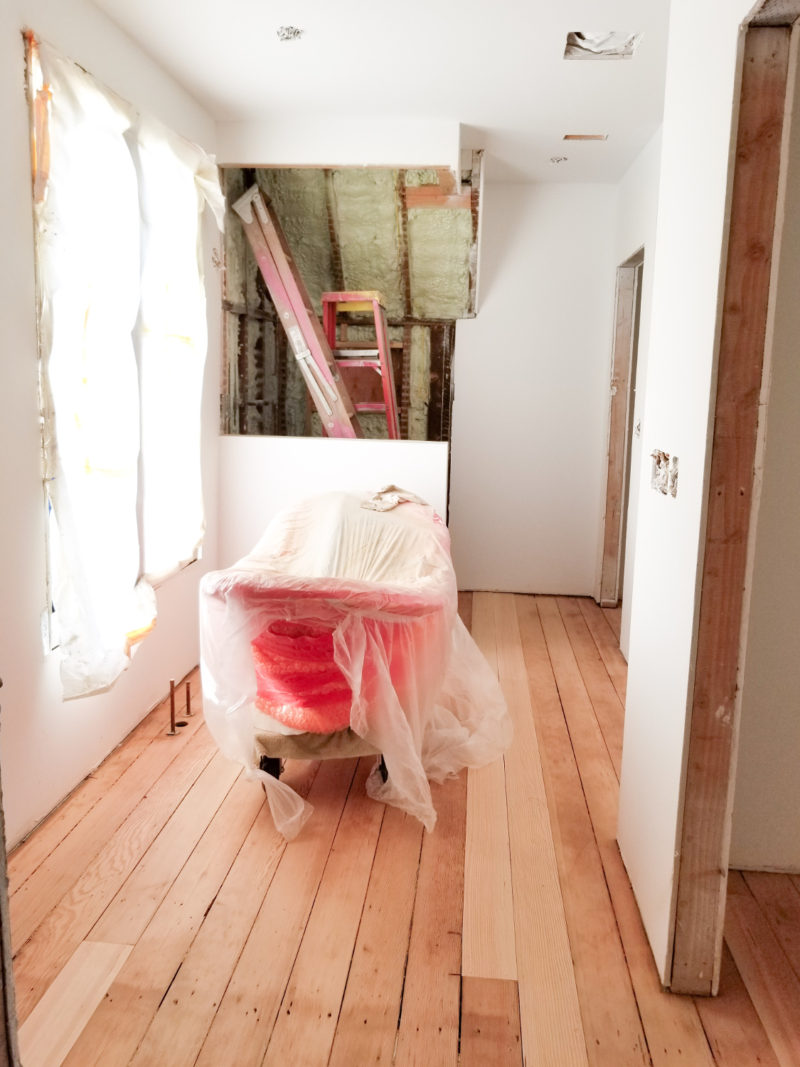
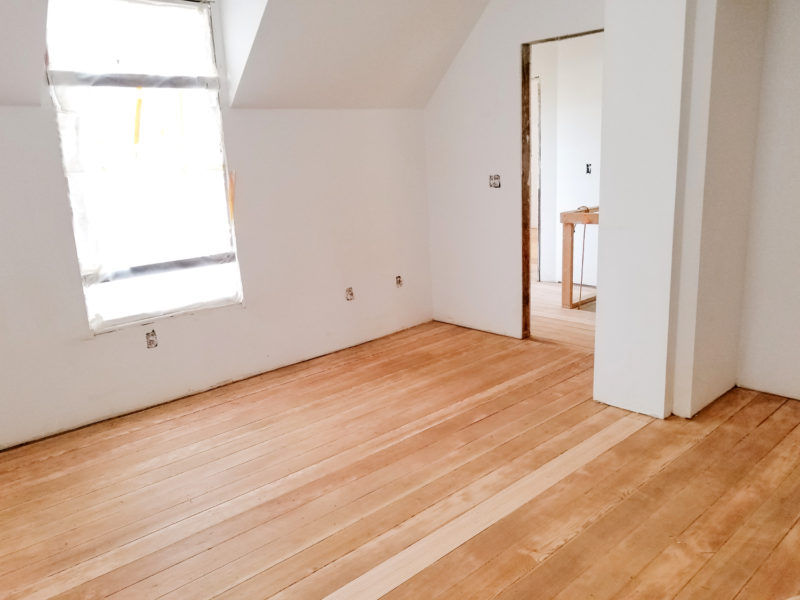
Here are a few shots of the Guest Bedroom
This was the room with a lot of the animal feces and the huge rotten hole in the wall where the tub is resting. You can see some slight staining left behind, but it wasn’t as bad as I thought it would be.
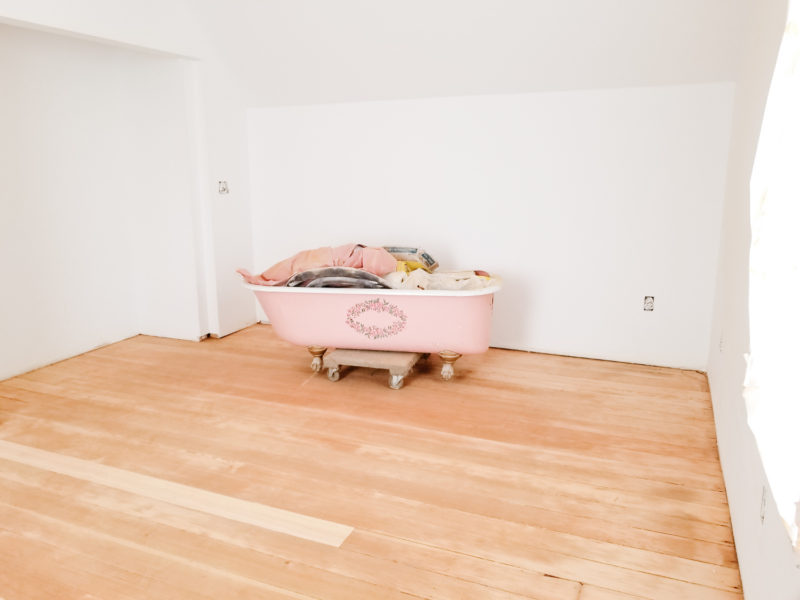
Thankfully, there was only 1 major repair in this floor
The floors in this room are a bit darker, but it is the same wood
You can see how all the planks are 1 long length except where we had to do repairs.
Another shot looking toward the front of the bedroom.
I’m standing in the corner where all the animal filth was.
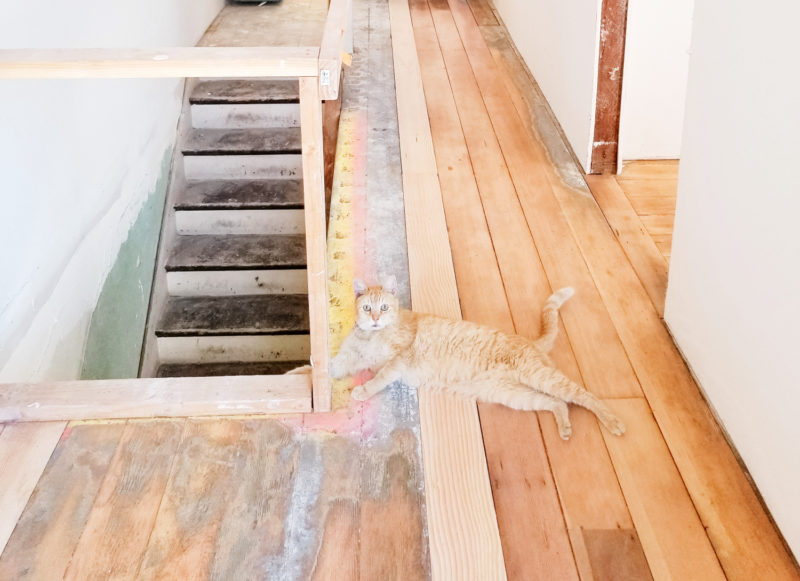
And this is a shot of Buddy helping out when they were on day 1 of the sanding.
He loves hanging out in the house.
My little construction cat.
So happy the floors have been sanded. I will be experimenting with some products from WOCA USA to bleach the wood a bit and we will also test out a whitener to take some of the reddish tones out of the wood.
If you missed my last post you can read about how fun it was Getting the Clawfoot Tub Into Victorian By The Bay
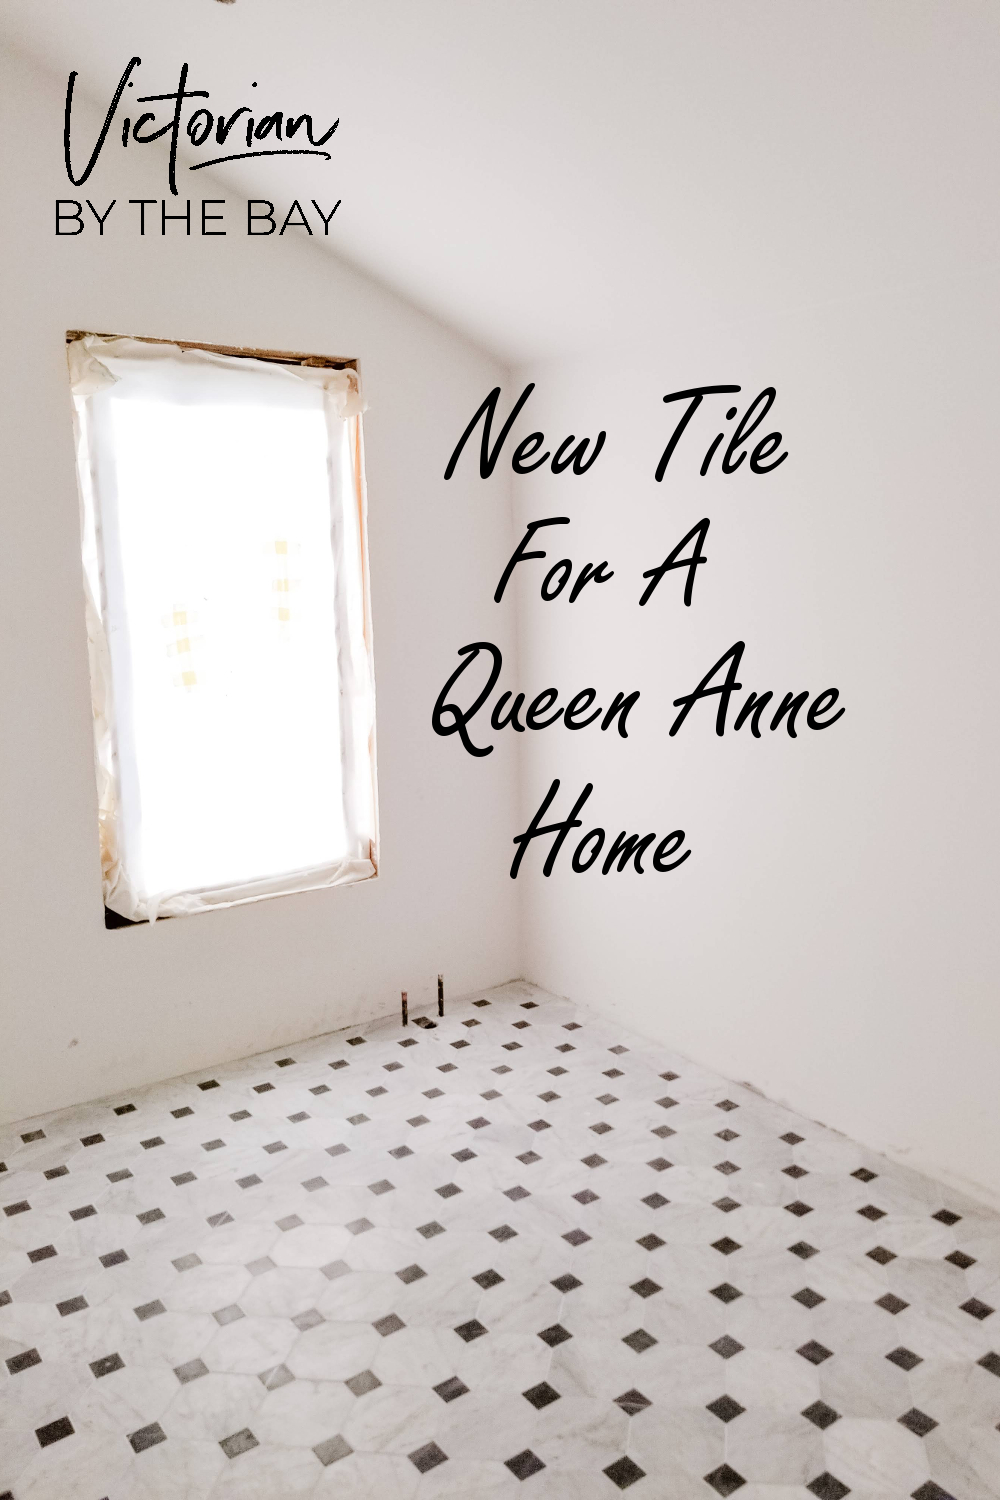
Thanks so much for following along. Next up will be the tile work in the Master bedroom shower and the Original bathroom floor.
So EXCITING!