So much more happens at The Widows Walk than I tend to post about.
I am guilty lately of just posting photos to Instagram which then can be shared to FaceBook.
I apologize for that because it is a disservice to the documentation that is vital for The Widows Walk!
This blog was created as a means for me to keep track of the progress of The Queen as well as to be able to share her journey with everyone who is interested
I’ve also done this for whoever is just a little curious to see what it’s really like behind the scenes of a renovation/restoration.
Believe me, it’s not always pretty
It’s actually quite filthy
Grimy
Frustrating
There are no pretty Instagram Squares here
But…
This journey can also be
EXCITING!
Oddly fun and…
Rewarding!
I mean having the Big Blue Genie around for one day was quite exciting, oddly fun and rewarding all in one!
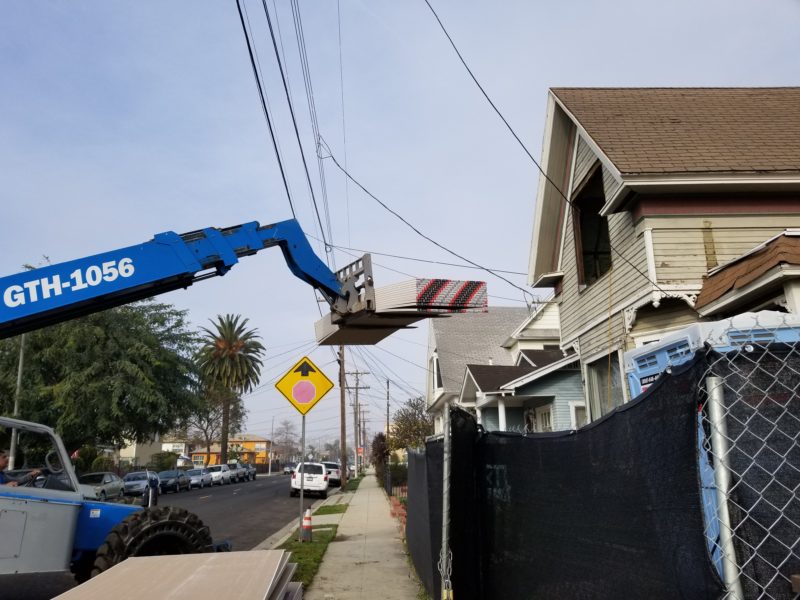
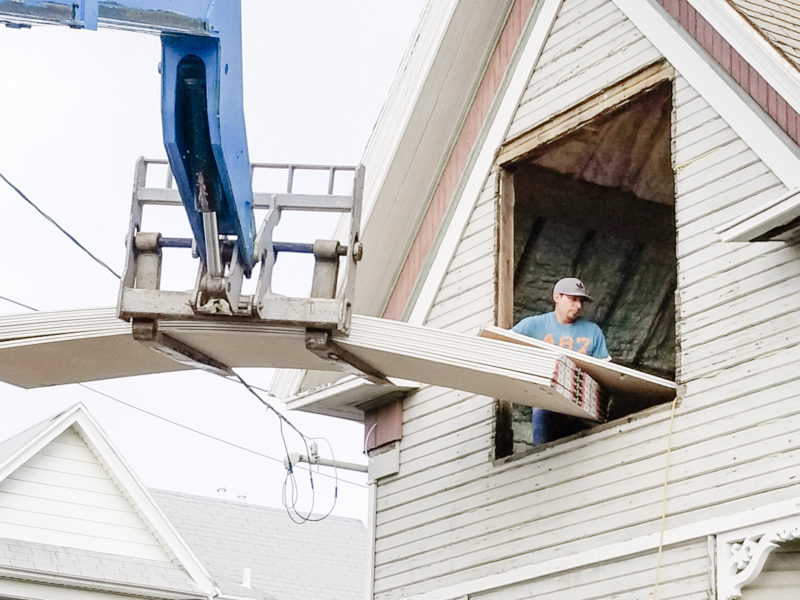
Watching this beast lift the drywall and magically float it up to the window was pretty cool to watch
It was no easy task as the machine operator had to take great care not to hit any of the many wires waving frantically in it’s path.
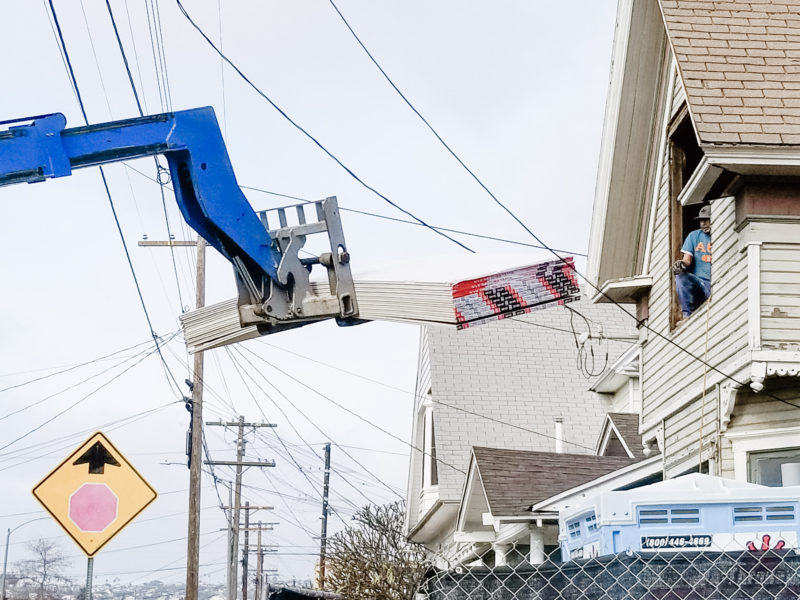
And of course that great team of workers was there ready to pull it safely thru the window opening
So, back to why we had to have new drywall.
If you are new here and are wondering why I didn’t keep the original plaster read how the Crumbling Plaster Tells A Tale Of Time
Or see how it all came off as the Demo Got Underway & The Plaster Came Off
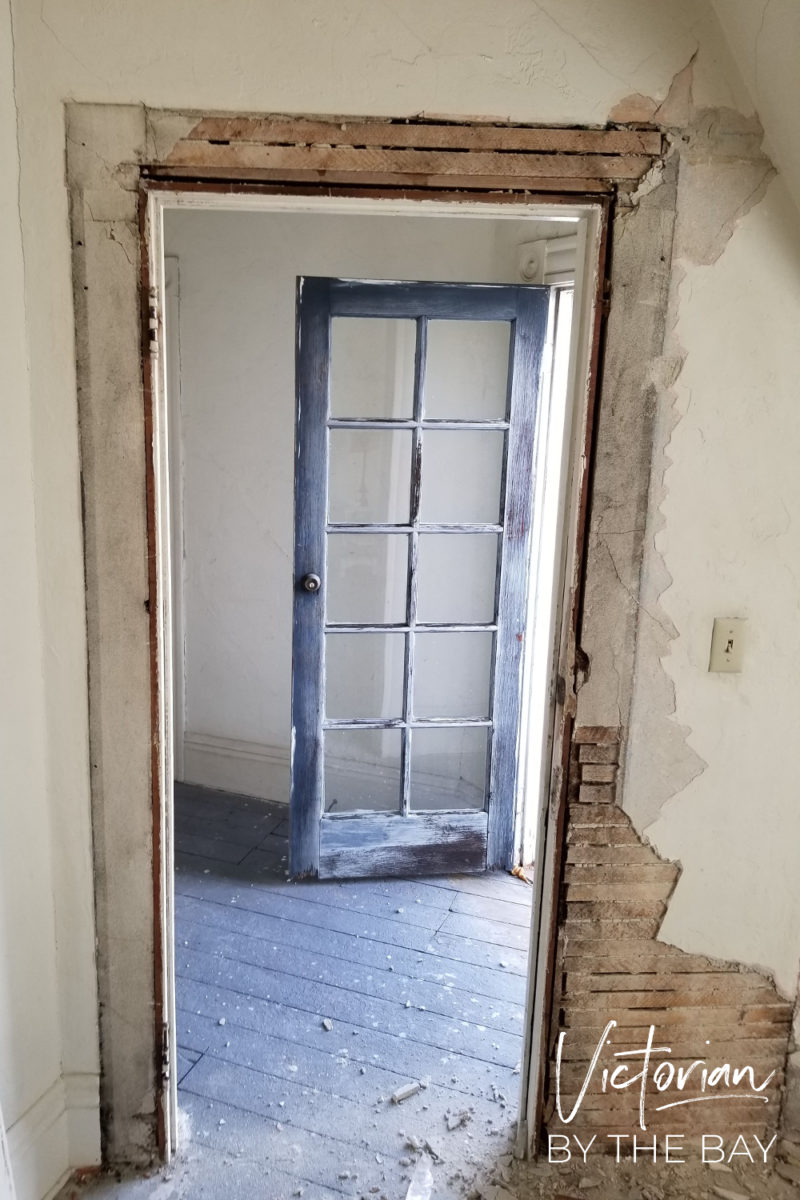
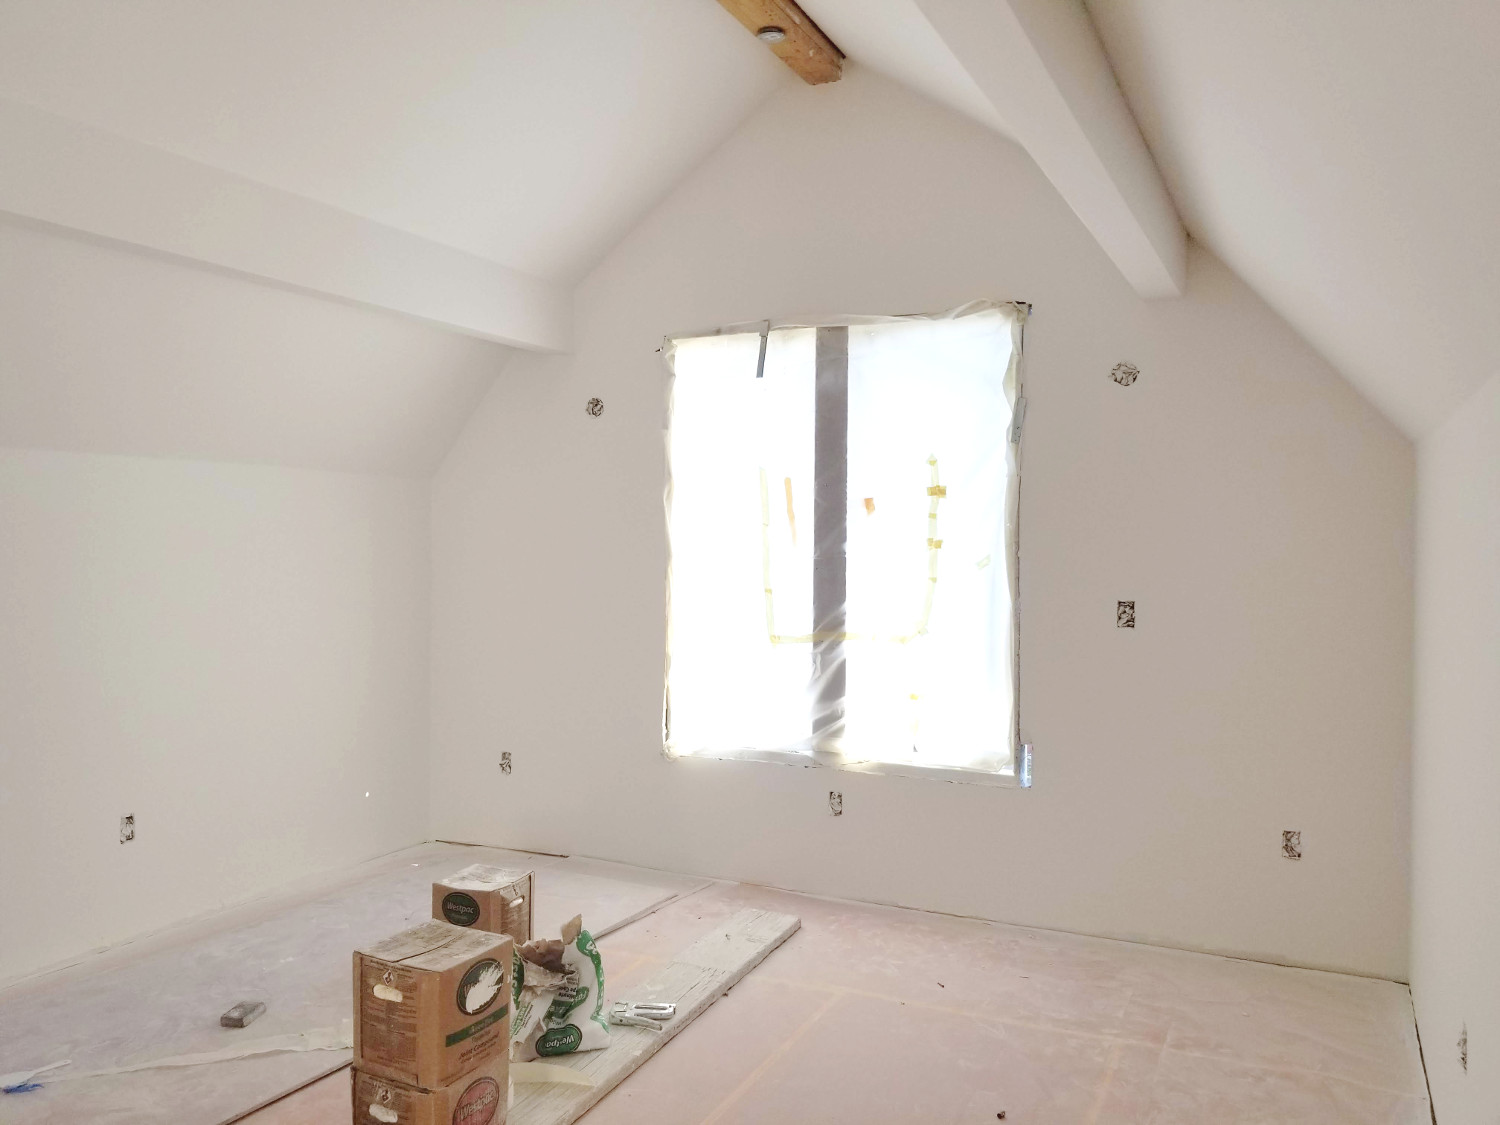
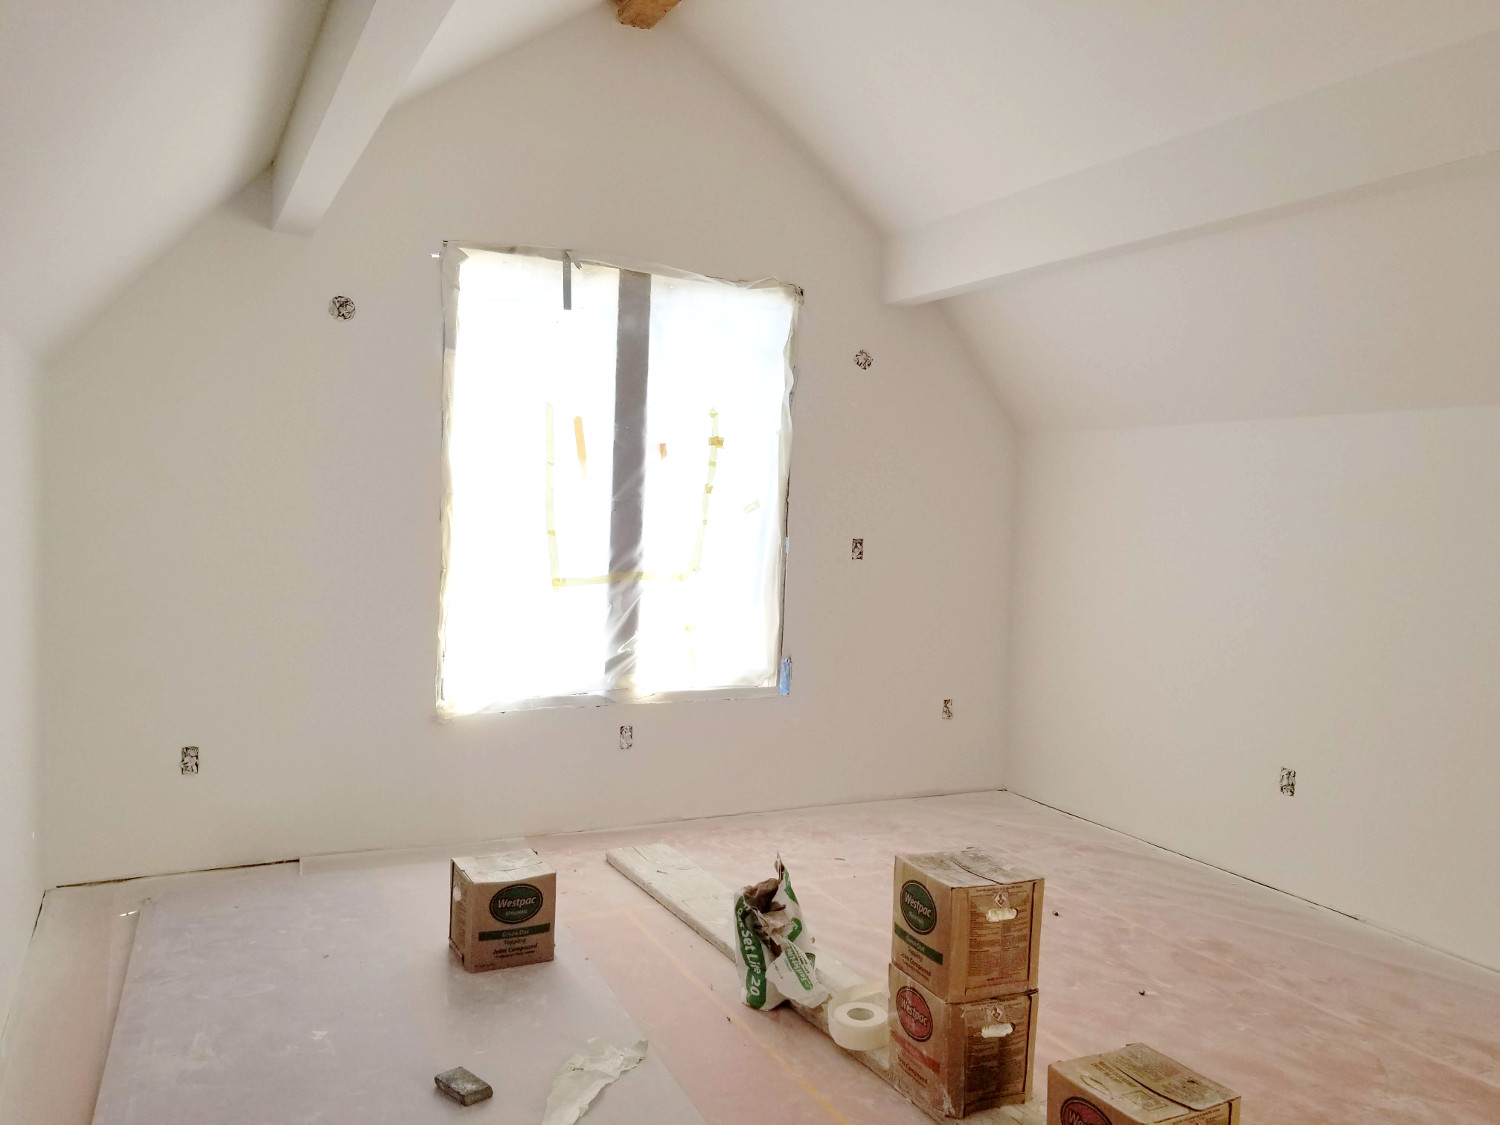
Today, I present to you the sometimes messy photos of the drywall installation. I feel they speak volumes.
Here are the photos of the application of the sheetrock before the tape and mud.
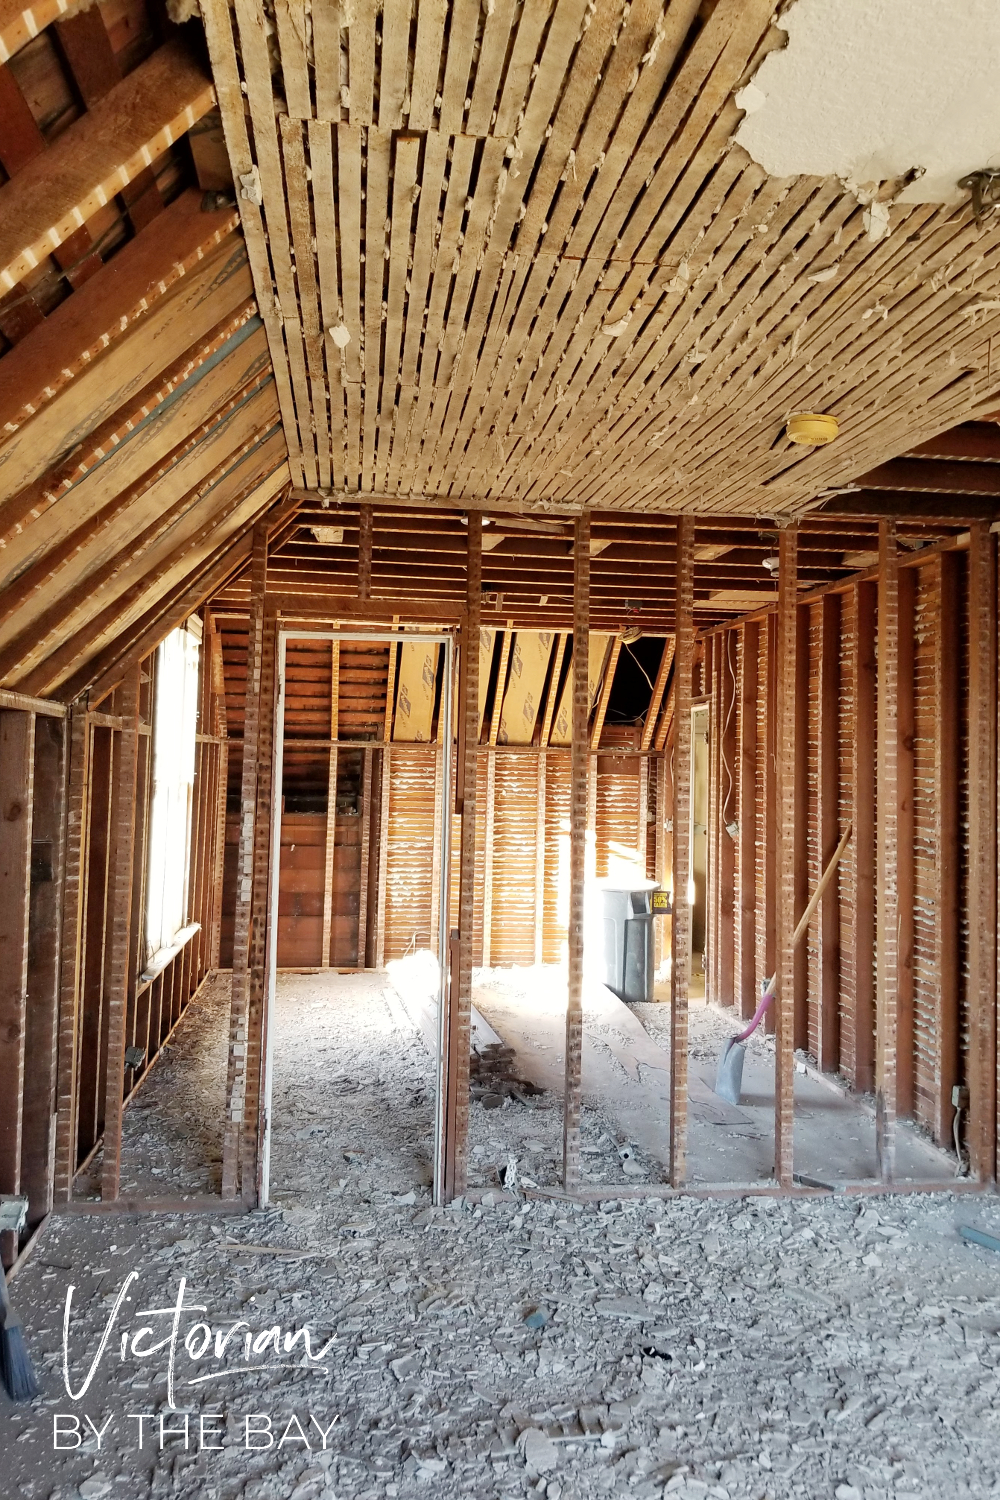
Please don’t PANIC at the beams in the master bedroom being covered in drywall. It is the code for fire safety.
I assure you they will be covered over again with wood
This room will retain all of it’s original charm, molding and window trim
It will just now have a higher gabled ceiling that was hiding in the attic.


The home looks so much lighter and brighter now.
And it smells good too!
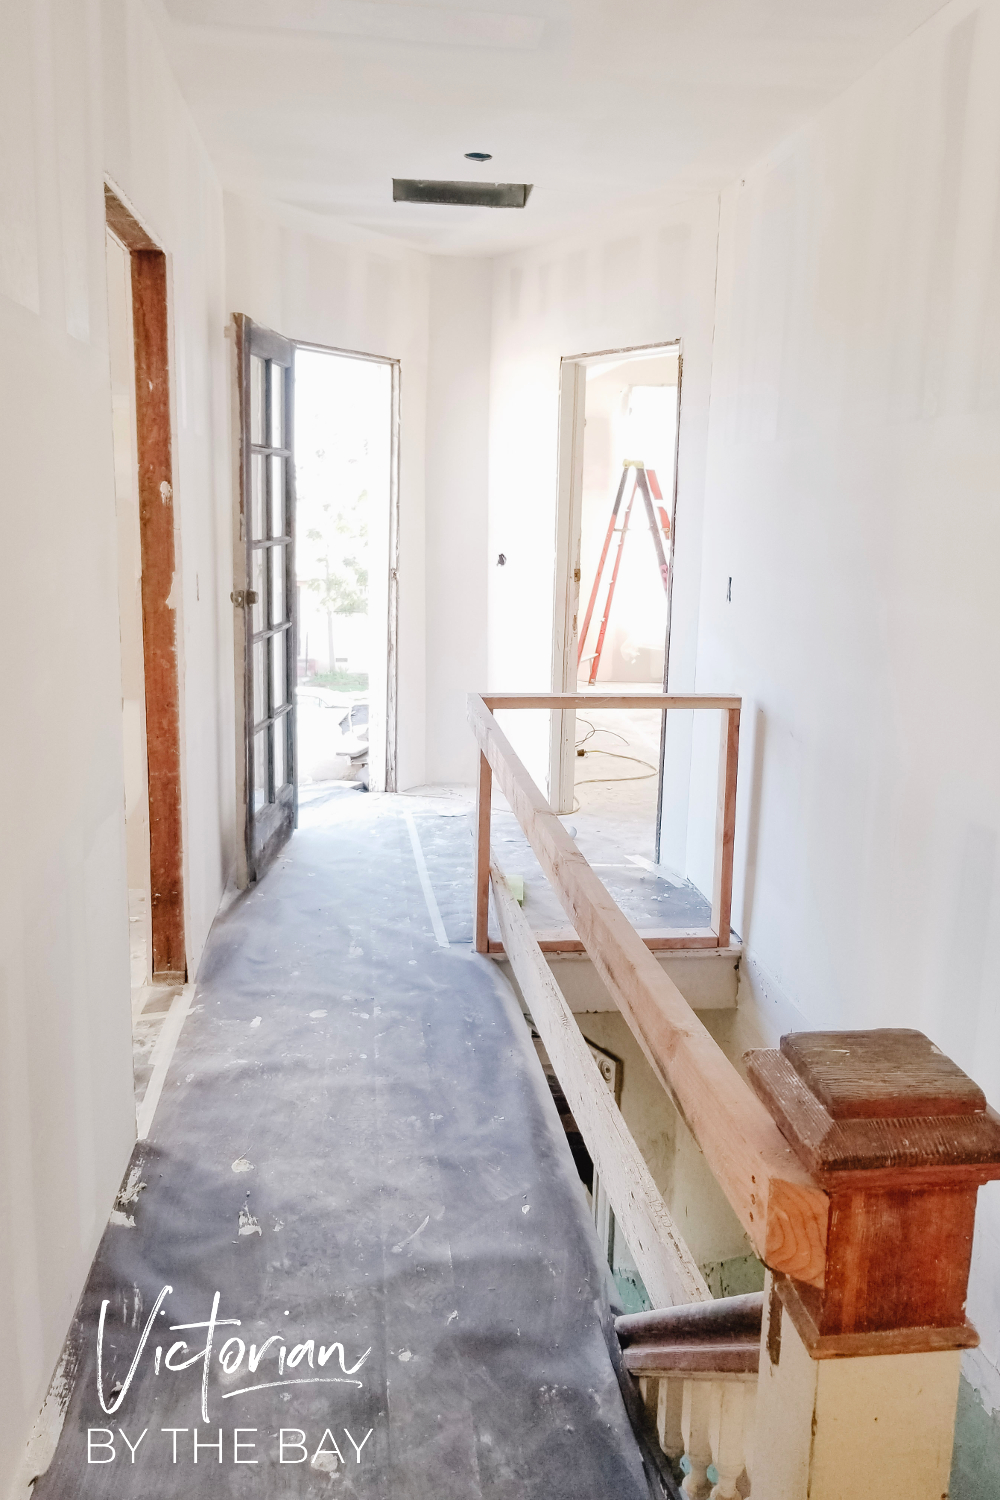
Here’s a few photos of the Tape & Mud


And finally the finished drywall sanded, primed and ready for paint or Shiplap! It is so exciting to see the upstairs really taking shape
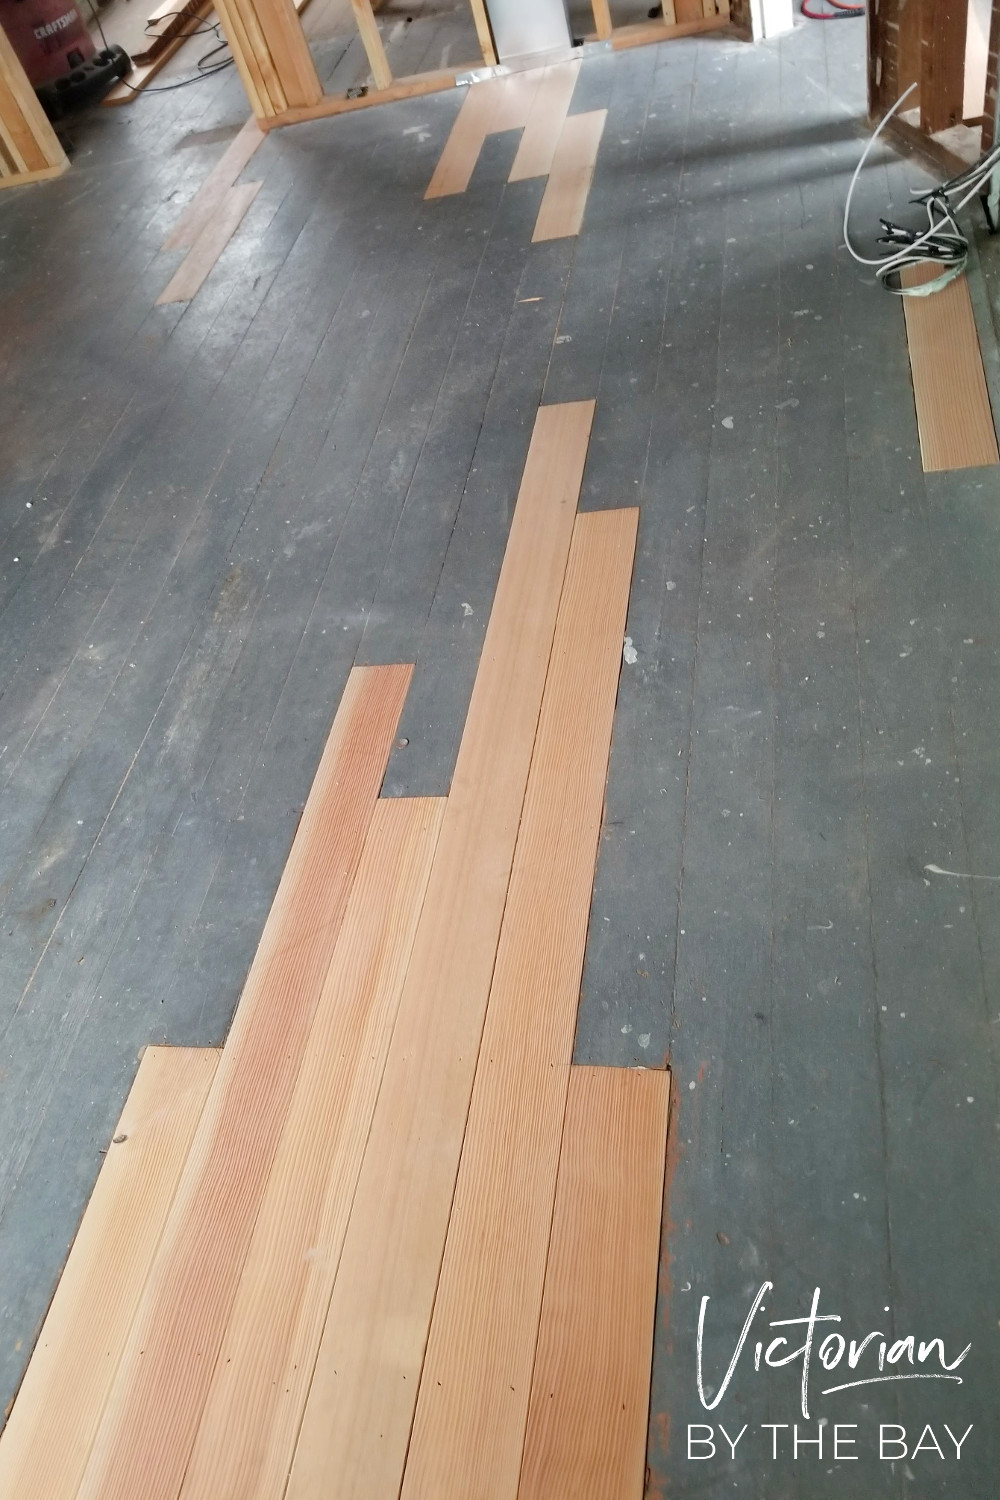
I hope to have the wood floors sanded by my next post and the tile work getting underway!


I feel like I am cutting this short, but the pictures really do tell the story!
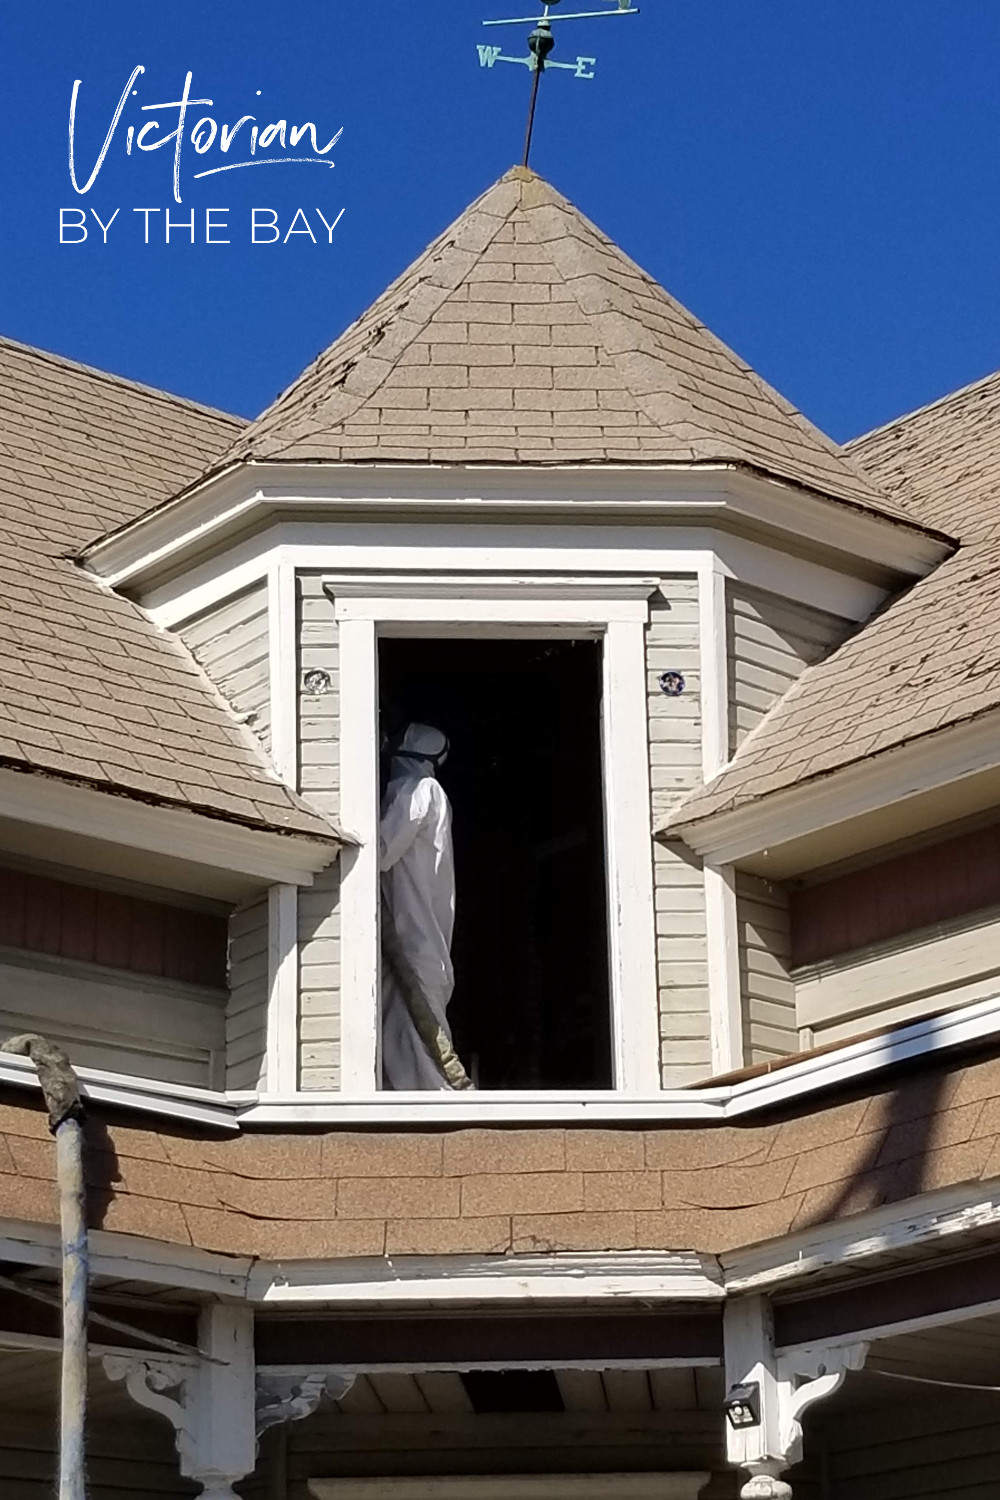
I am off to continue stripping 125 years of filth, grime and rust off of the original Window Sash Pulleys and some beautiful antique Sash Locks.
I hope to see you here again as we continue this crazy but meaningful journey.